Crochet basics new stitch techniques, featuring the corkscrew stitch (CS).

I found myself so frustrated with back loop only stitches..
I found myself so frustrated with back loop only stitches when I was working on a pattern that had ribbing. I would tell close crochet friends how one day I would find a stitch that worked through more than one loop and still created a beautiful ribbing effect.
I think what bothers me the most about this stitch, is how it stretches out the yarn by pulling on the back loop. Tugging on the back loop only creates a lift on that loop and bunching up the rest of the stitch. I needed something with a little more structure but wanted to keep the ribbing texture.
I decided to test out a series of different stitches..
I decided to test out a series of different stitches until I came up with a few different ribbing textures I knew I’d use for future projects. This one being my favorite, the corkscrew stitch. I love the idea of this stitch for all ribbing projects.
The Corkscrew Stitch
- Start by chaining however many stitches you need for your ribbing.
- Half double crochet (hdc) across to create your first row. Chain and turn. Here is where you will start creating the ribbing effect by creating the corkscrew stitch (CS).


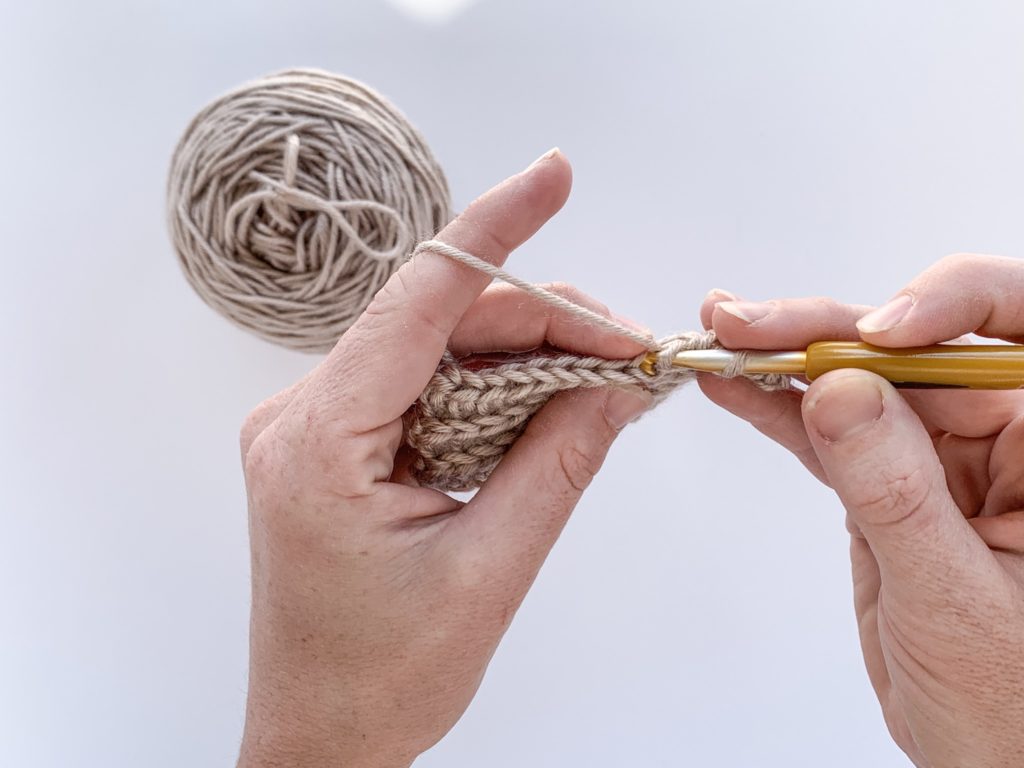

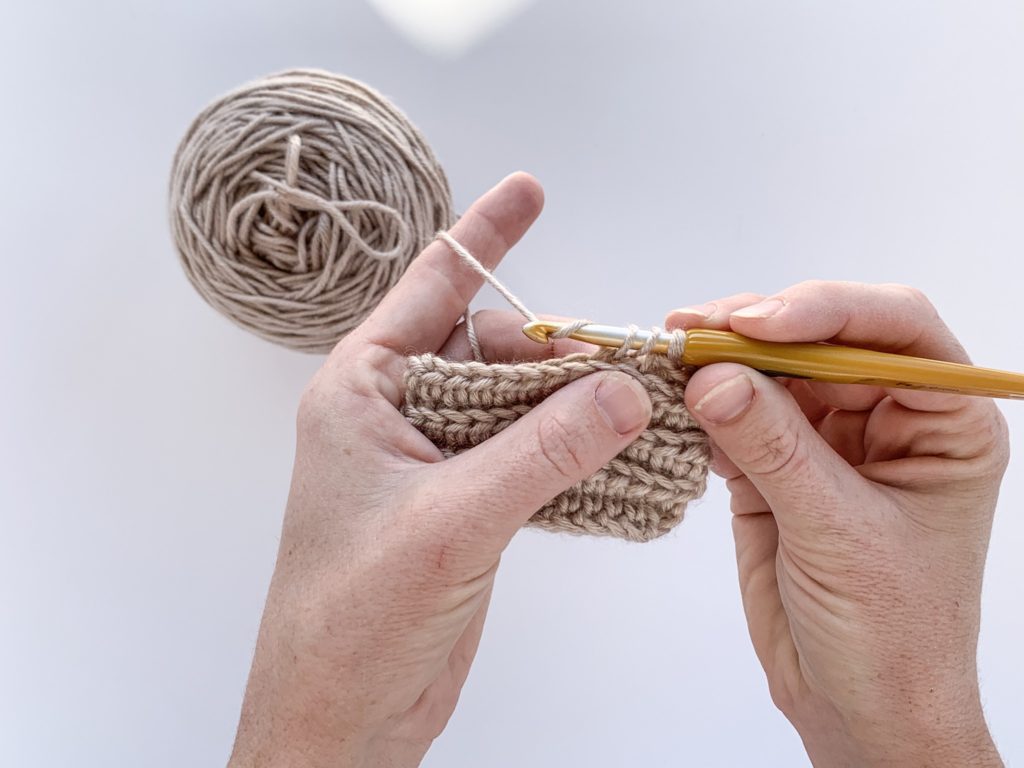


- Yarn over and insert your hook into the back and third loop.
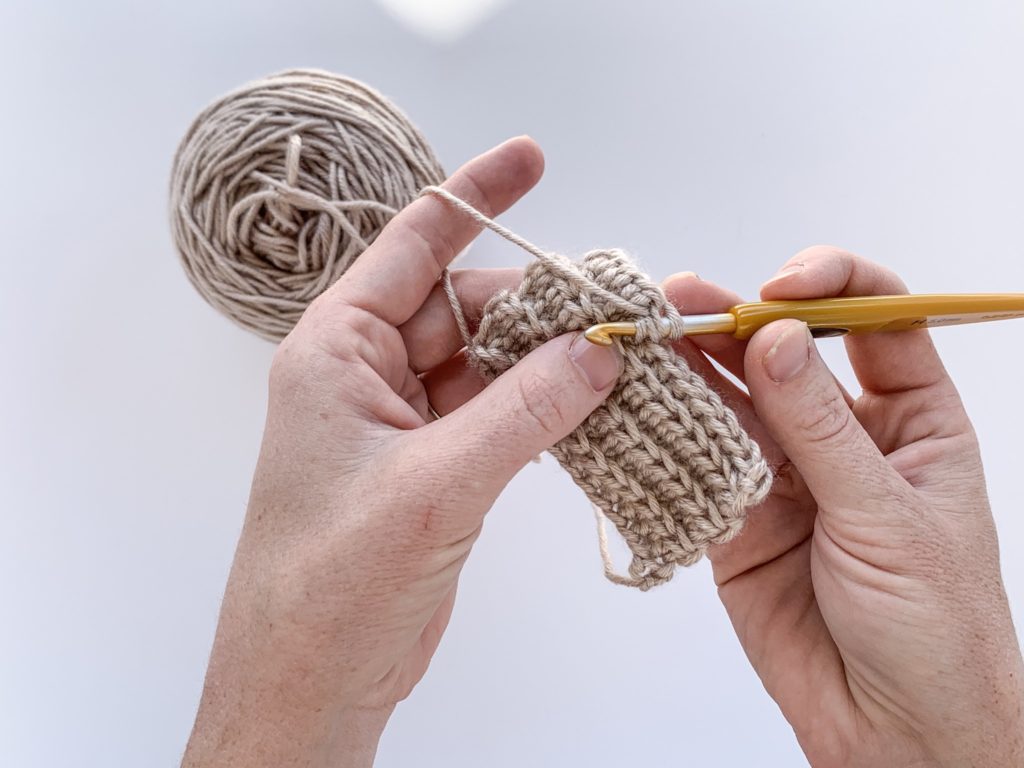
- Yarn over again and draw up a loop.
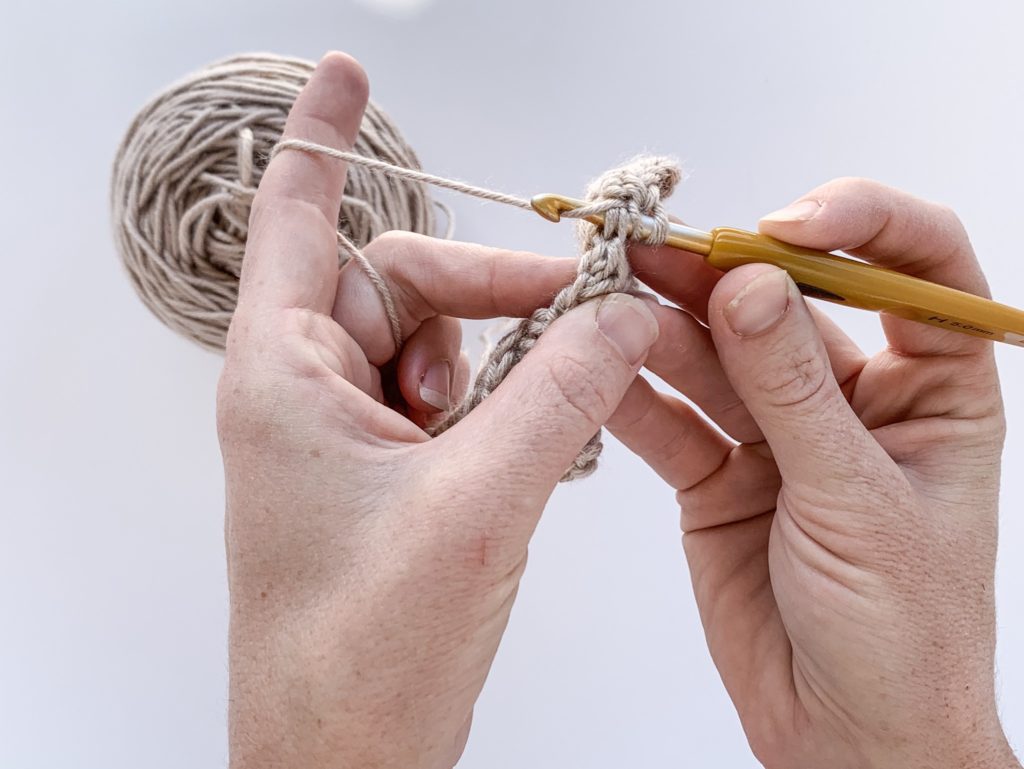
- With three loops on your hook, yarn over and draw through all three, like a half double crochet.
- Repeat until you reach desired ribbing length.
*If you have tried all of my back loop only alternatives, comment below with your favorite stitch.
PIN IT FOR LATER!!

What projects are you using the corkscrew stitch for?