Calendula has amazing medicinal properties, and is commonly used in salves & tea’s. Aside from its amazing medicinal properties, the blooms are beautiful and abundant throughout the growing season. In fact, calendula has to be one of my favorite plants to grow, because it’s so easy to maintain & the blooms are endless! By pinching the tops of your flowering stems, you’ll get twice as many flowers, and when the season is over collect the seeds by removing husks or pods and store in a brown paper bag away from any moisture.

Calendula is easy to grow and should be planted after your last frost date. Calendula is an edible flower and will continue to provide new blooms as you harvest them. This encourages the plant to create more branches around the base, increasing the amount of flowering stems. Fertilizing will also help extend your blooming season.
If your looking for a more in-depth guide, check out Bloom- A Flower Seed Starting Guide. This guide is designed to help you succeed in growing beautiful blooms! Covering annuals, biennials, perennials, bulbs and tubers.
Harvesting your blooms is really simple. Pinch just under the head of the flower/bloom and place the flowers face down on a drying rack or counter top to dry. Allow them to completely dry at room temperature or on low within a dehydrator. Be sure your flowers are completely dry before storing them together or they will mold. Once you have enough blooms you can begin to process of making Calendula Salve.

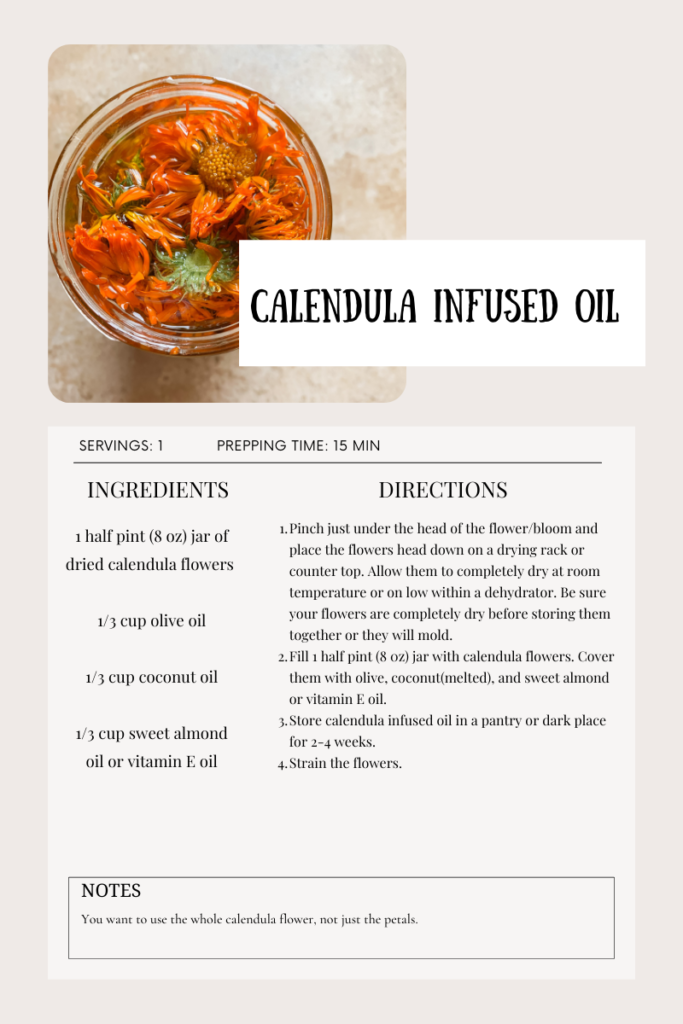
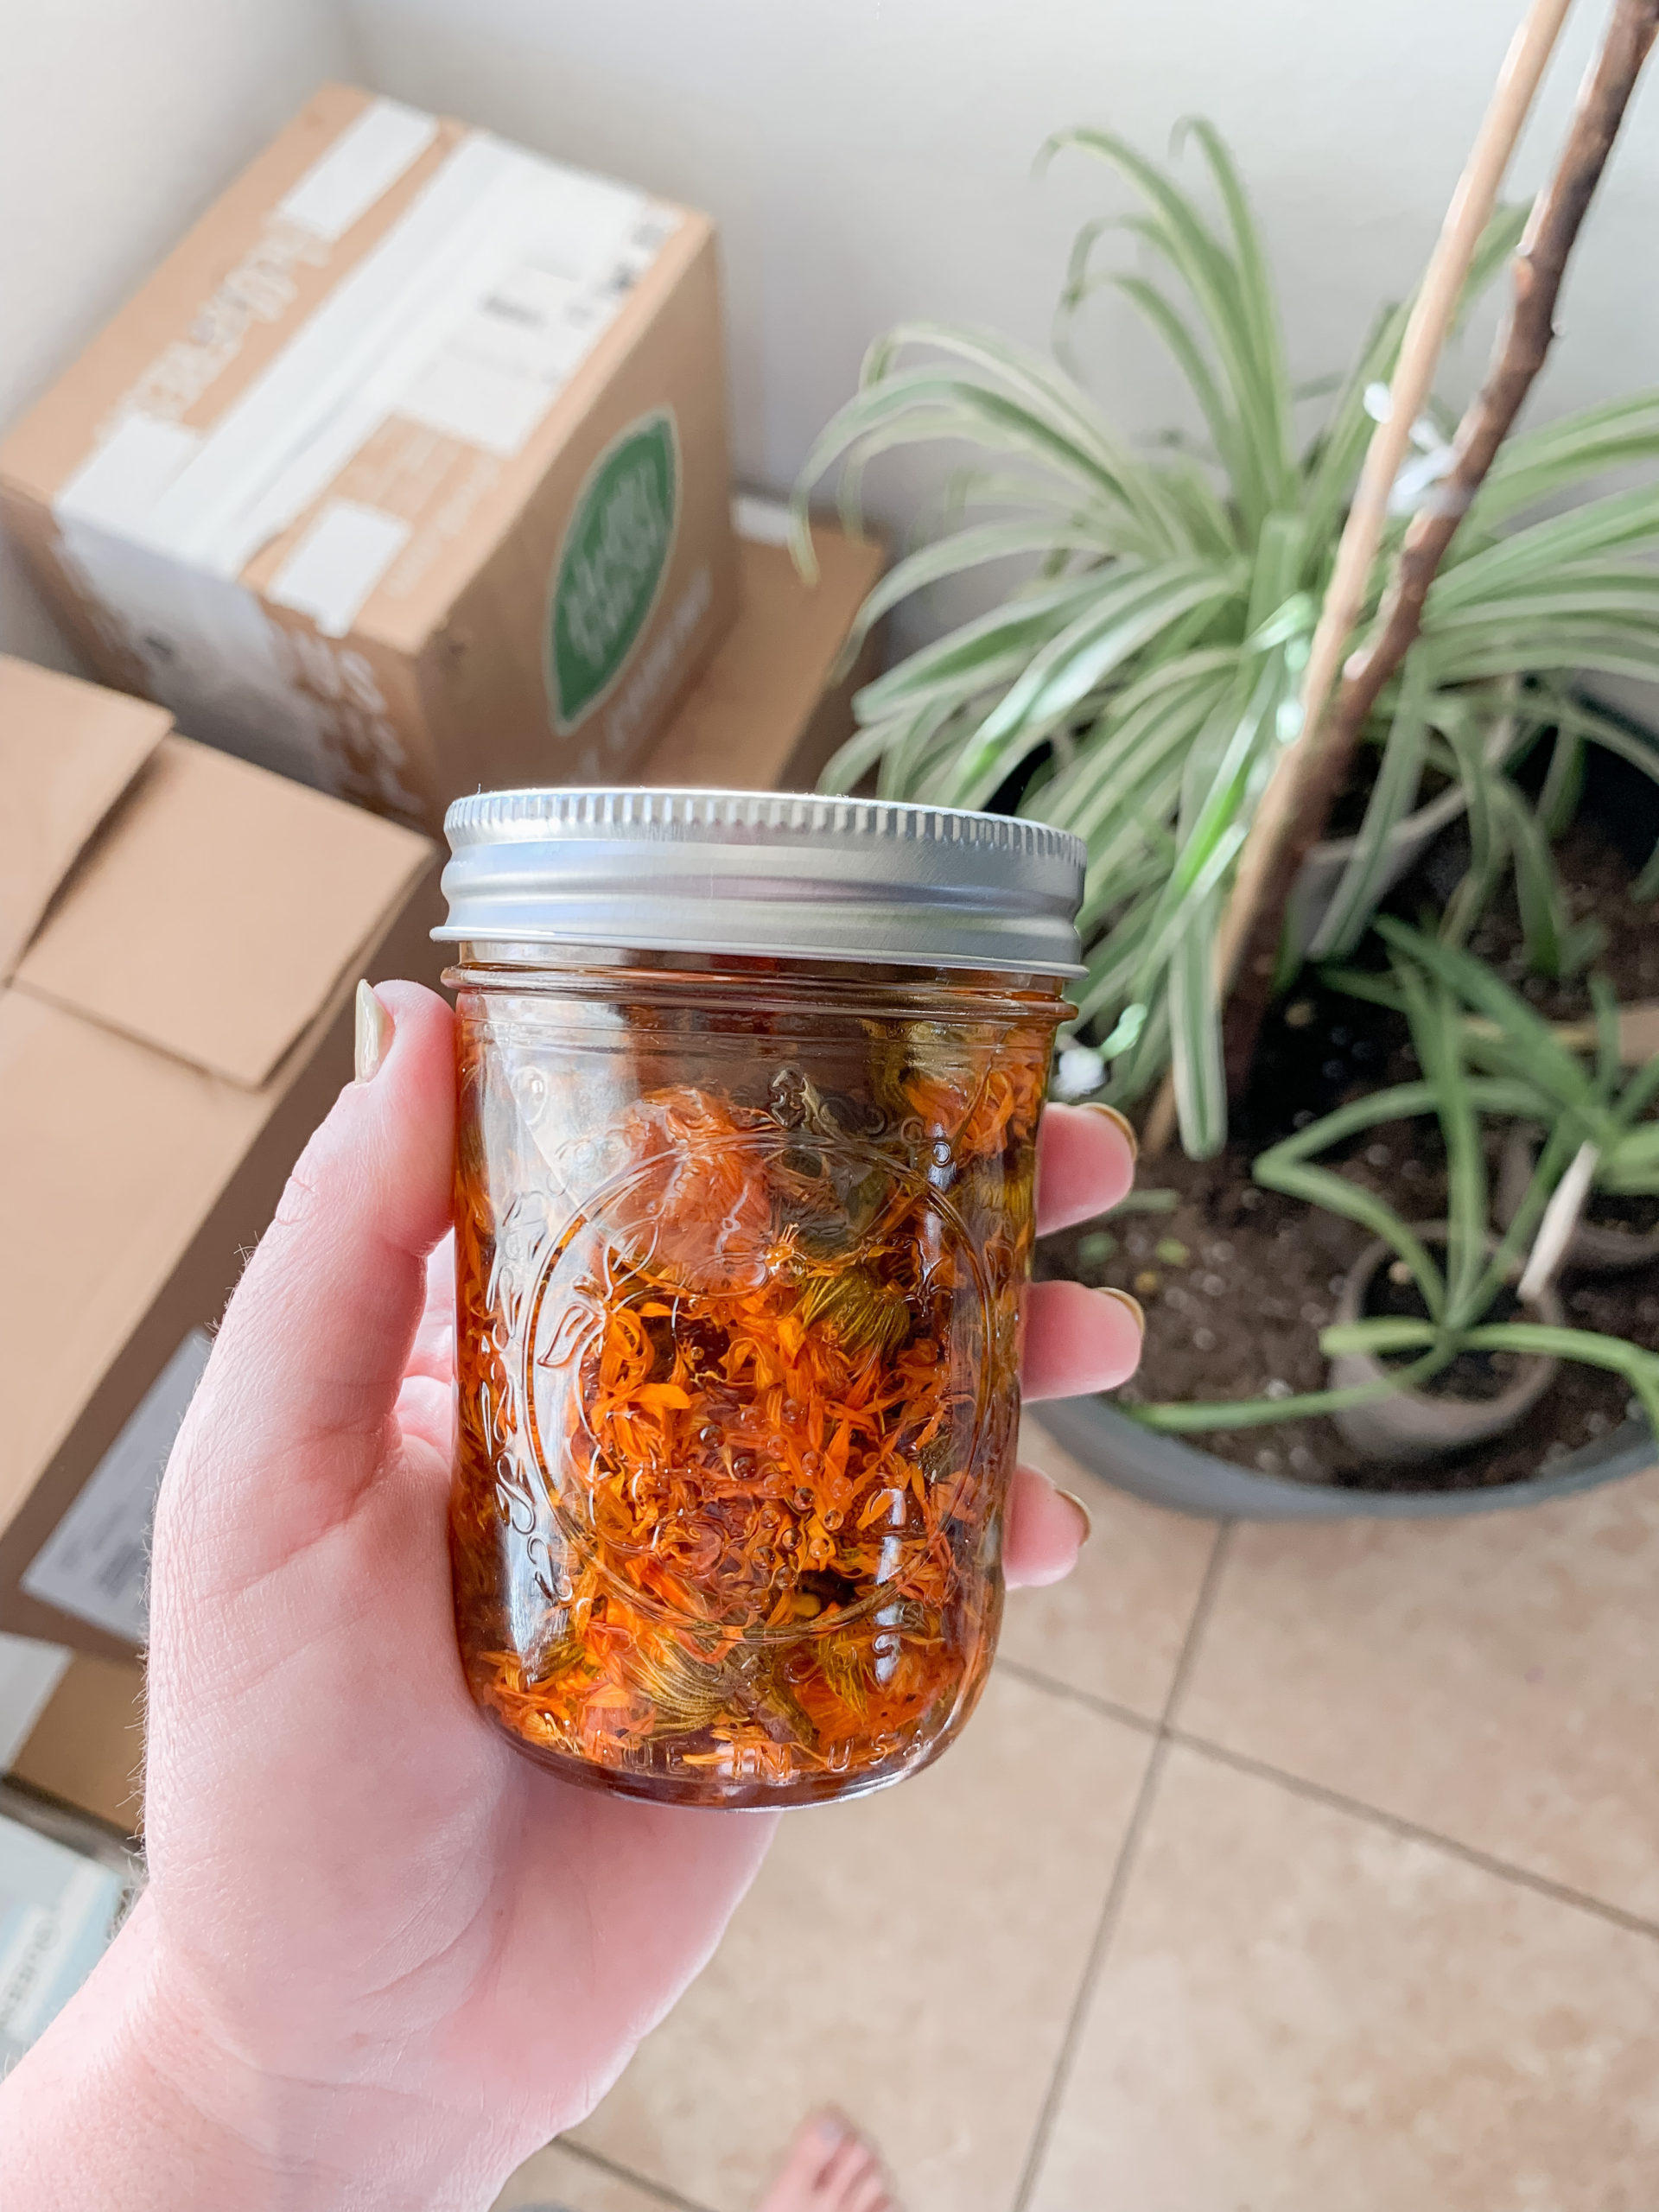
CALENDULA INFUSED OIL
- 1 half pint (8 oz) jar of dried calendula flowers (*Note: you want to use the whole flower)
- 1/3 cup olive oil
- 1/3 cup coconut oil
- 1/3 cup sweet almond oil or vitamin E oil
- Pinch just under the head of the flower/bloom and place the flowers head down on a drying rack or counter top. Allow them to completely dry at room temperature or on low within a dehydrator. Be sure your flowers are completely dry before storing them together or they will mold.
- Fill 1 half pint (8 0z) jar with calendula flowers. Cover them with olive, coconut(melted), and sweet almond or vitamin E oil.
- Store calendula infused oil in a pantry or dark place for 2-4 weeks.
- Strain the flowers.
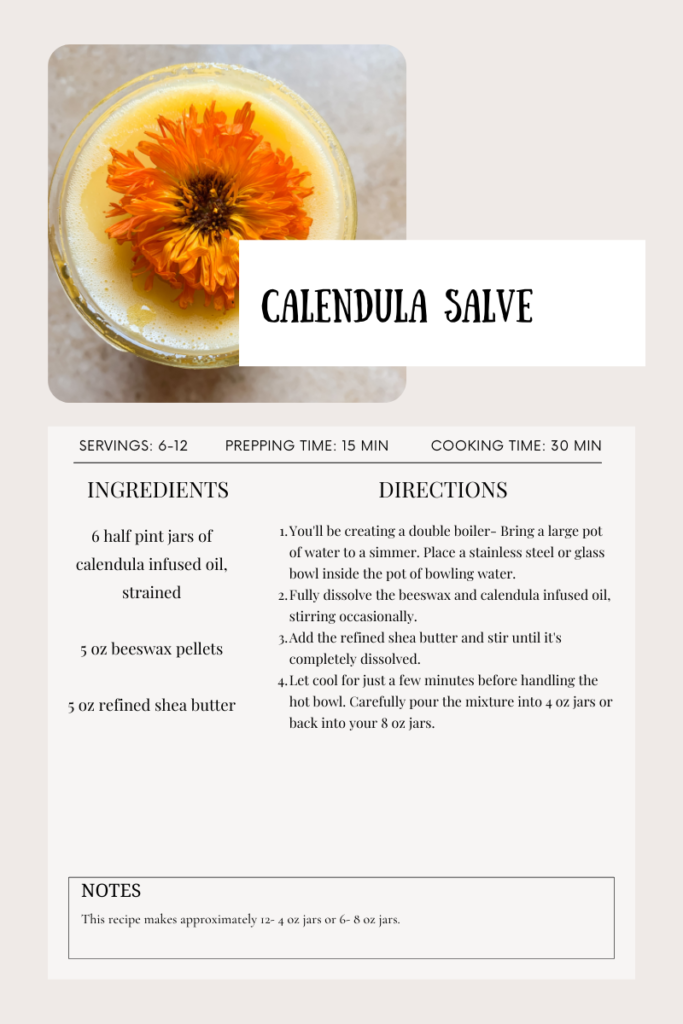
CALENDULA SALVE
- 6 half pint jars of calendula infused oil, strained
- 5 oz beeswax pellets
- 5 oz refined shea butter
- You’ll be creating a double boiler- Bring a large pot of water to a simmer. Place a stainless steel or glass bowl inside the pot of bowling water.
- Fully dissolve the beeswax and calendula infused oil, stirring occasionally.
- Add the refined shea butter and stir until it’s completely dissolved.
- Let cool for just a few minutes before handling the hot bowl. Carefully pour the mixture into 4 oz jars or back into your 8 oz jars. This recipe makes approximately 12- 4 oz jars or 6- 8 oz jars.