Category: Gardening

  • How to Preserve and Use Dried Flowers

    How to Preserve and Use Dried Flowers

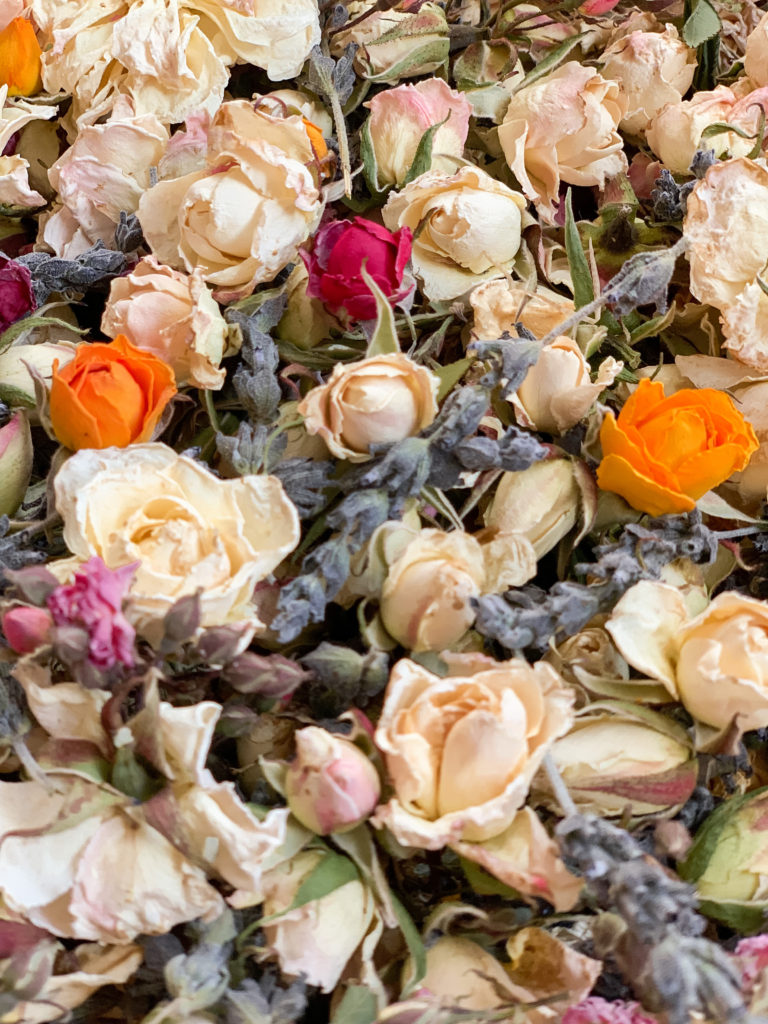
    Today I’m sharing how to preserve your spring blooms and enjoy them all year long! Create colorful flower confetti or sprinkles. Infuse honey and oils, add to syrups, teas, or salads. Think outside the box and harvest seed pods for wild & fun bouquets!

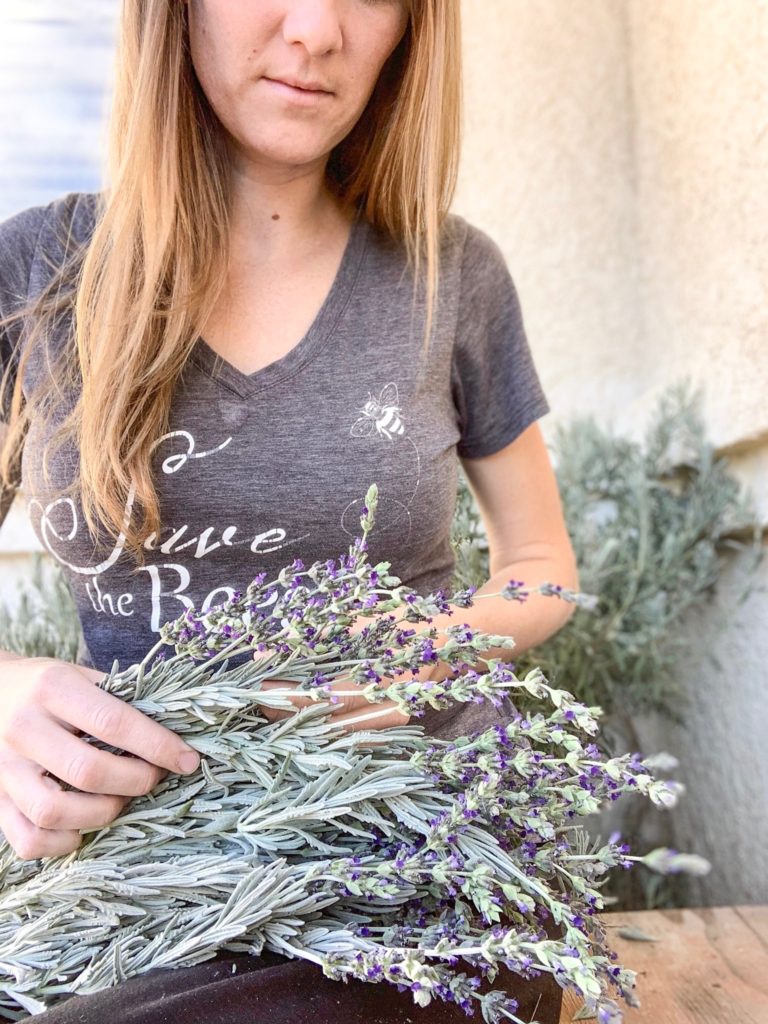
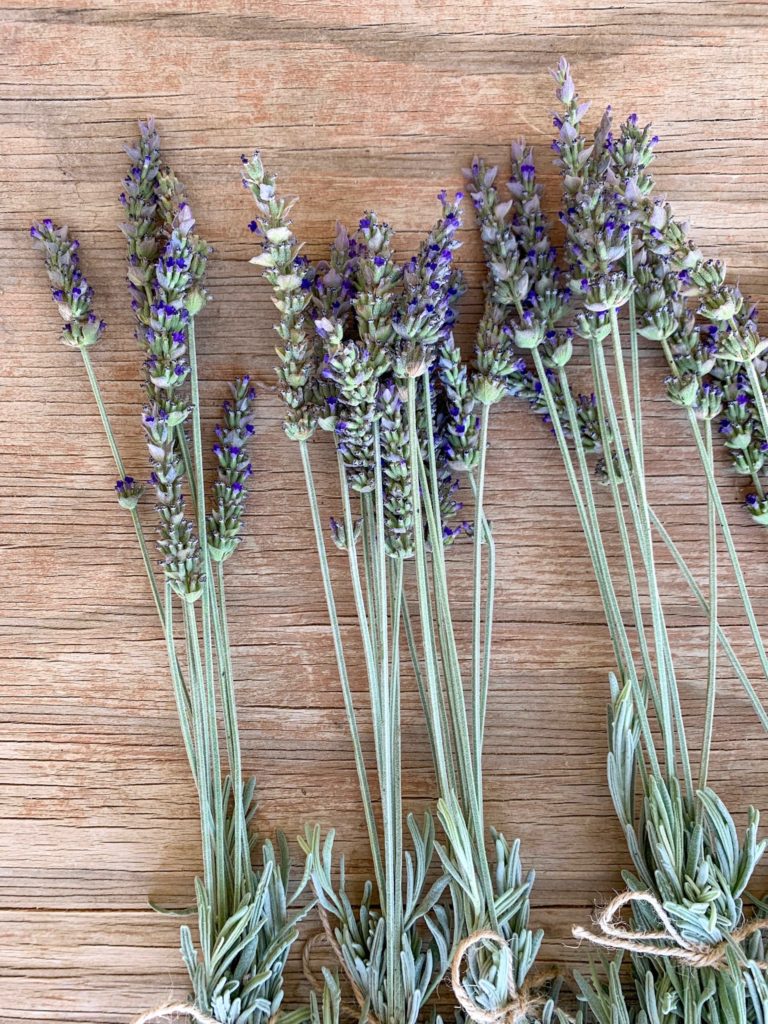
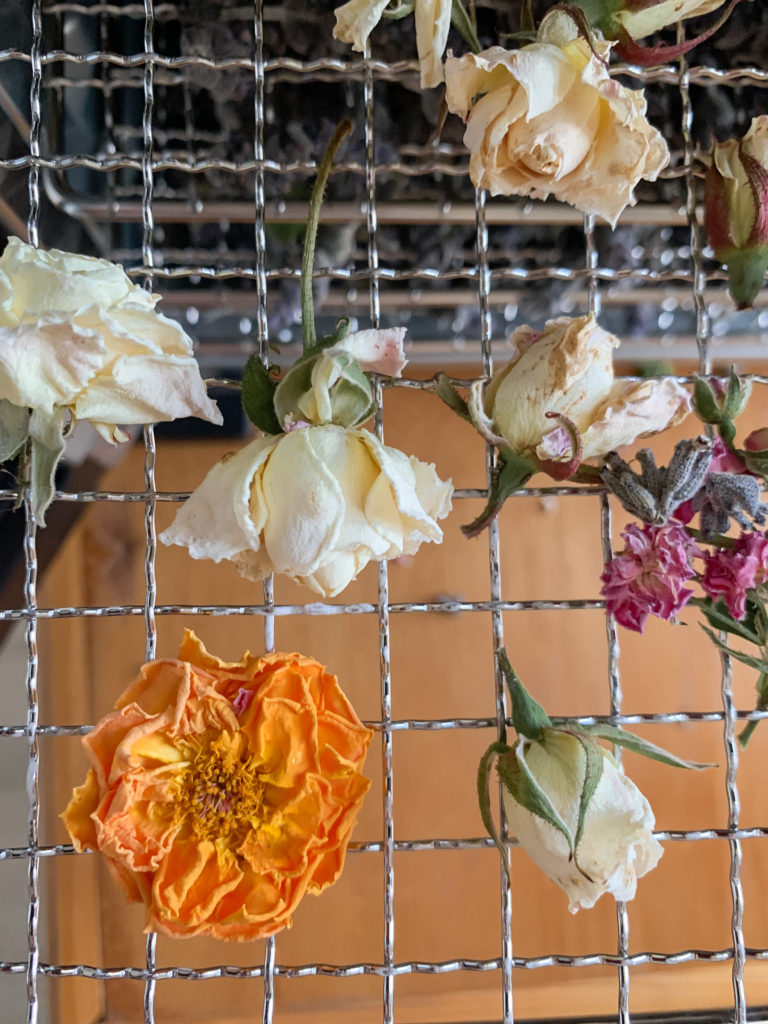
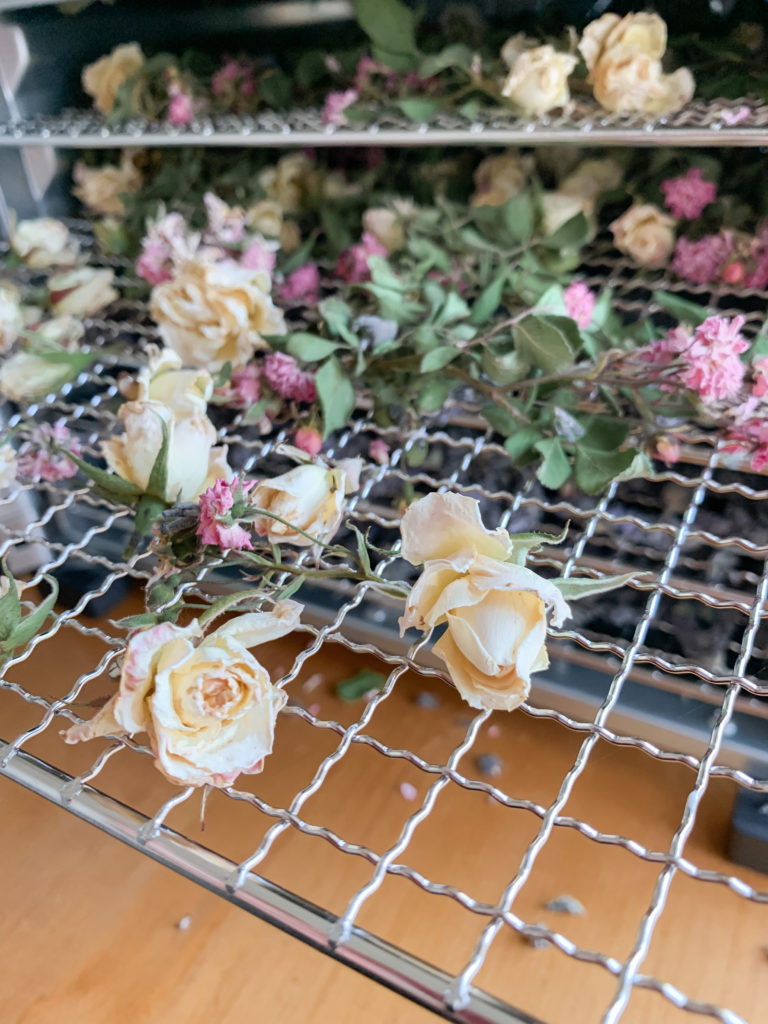
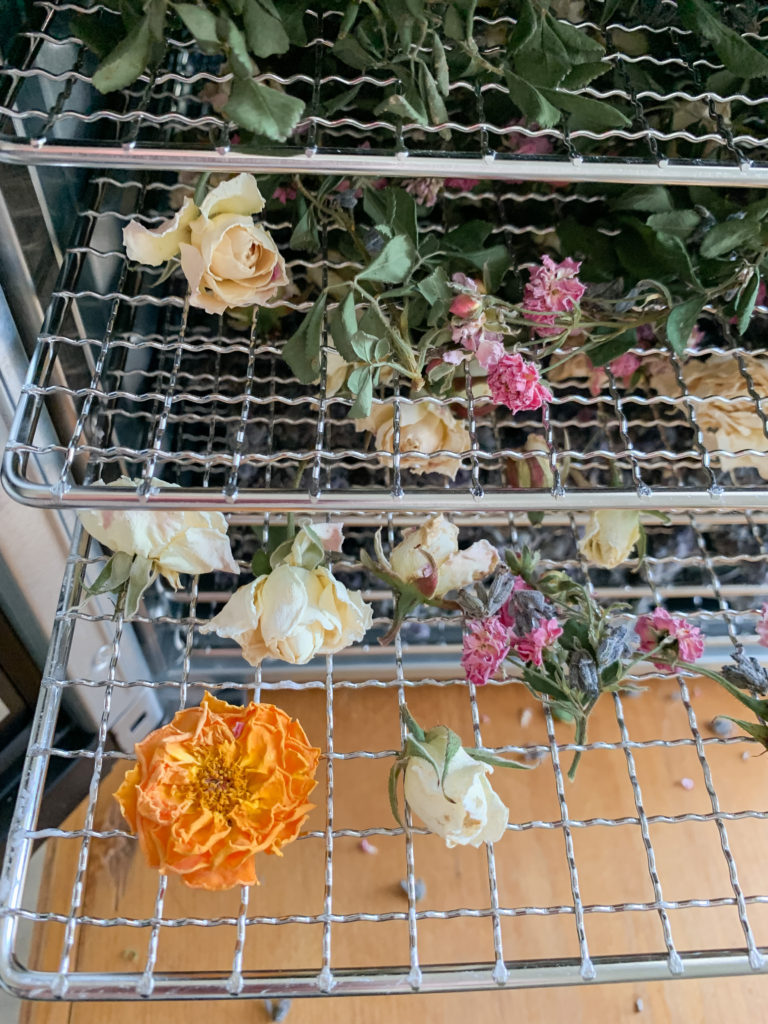
    As my garden began to expand and my love for growing flowers increased, I found myself using my dehydrator more and more. It started with drying herb and vegetables, but quickly moved onto drying and preserving flowers. You can hang dry flowers, like lavender and roses, but sticky flowers like calendula- I prefer to dry in the dehydrator.

    As spring approached and our moving date draws closer, I began drying as many blooms as I could. This year I wasn’t focusing my time on planting seeds or hardening off seedlings, but I found myself still gravitating to the garden. I discovered that harvesting isn’t just for the summer months, spring offers an abundance as well.

    By harvesting your flowers continuously, you not only get to use those blooms to create with, but you also encourage the plant to produce more blooms. This creates new growth and provides continual blooms, by deadheading flowers regularly. Deadheading transfers the plant’s energy from seed production to bloom creation. This also helps make your flowering plants look nicer, as dead flowers turn brown and drop all their petals.

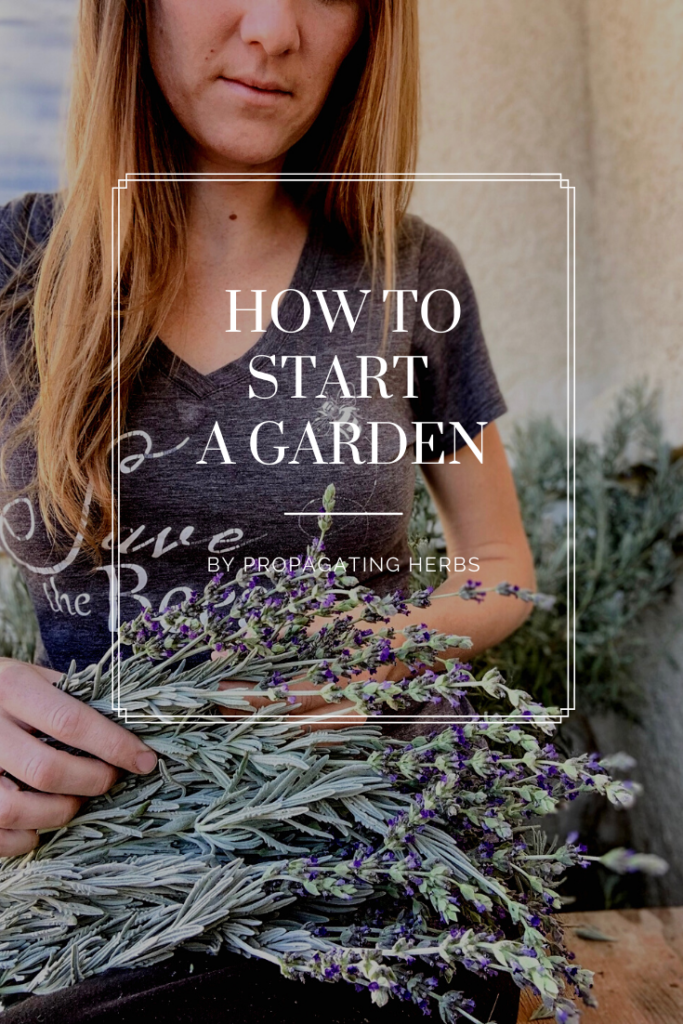
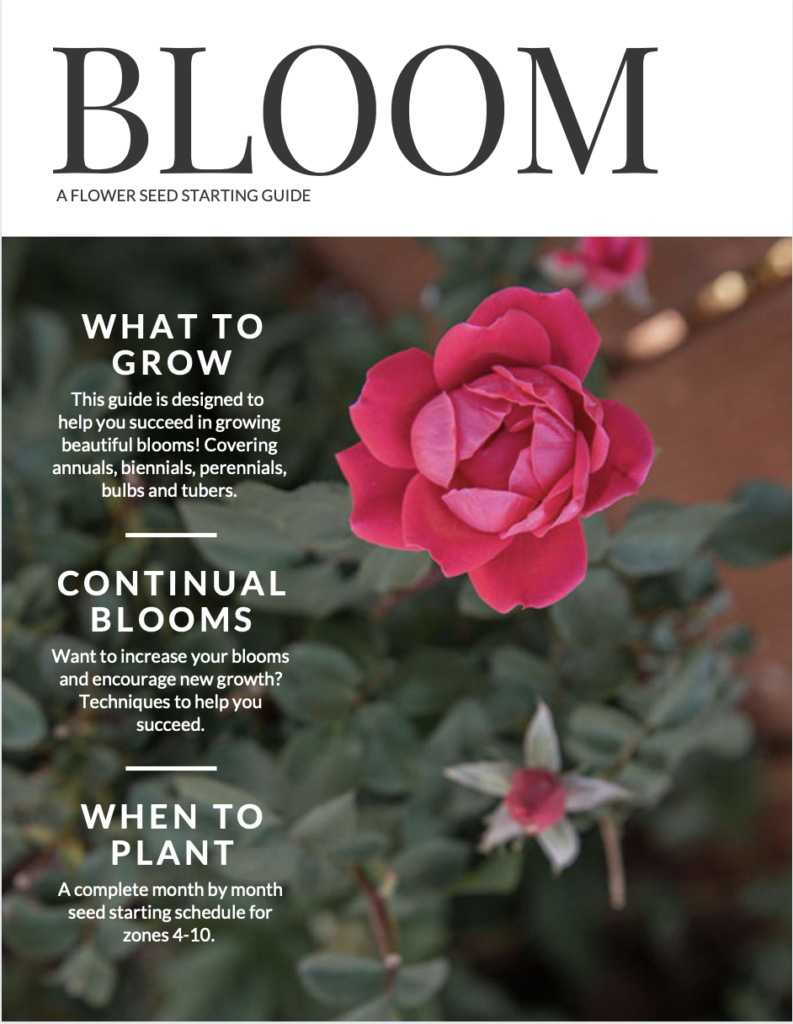
    Check out my flower guide, BLOOM – A Flower Seed Starting Guide, HERE!

    There are so many uses for fresh & dried flowers:

    • Calendula- Salve, sprinkles, infused oil
    • Rose- Rose water
    • Lavender- Syrups, scented sachets
    • Chamomile- Tea, infused honey
    • Lilacs- Syrups
    • Borage- Edible details, on cream cheese or fruit trays.
    • Nasturium- Salad
    • Marigold- Salad
    • Dandelion- Tea, infused oil
    • Sunflower- Salad

    How to make a colorful flower confetti mix:

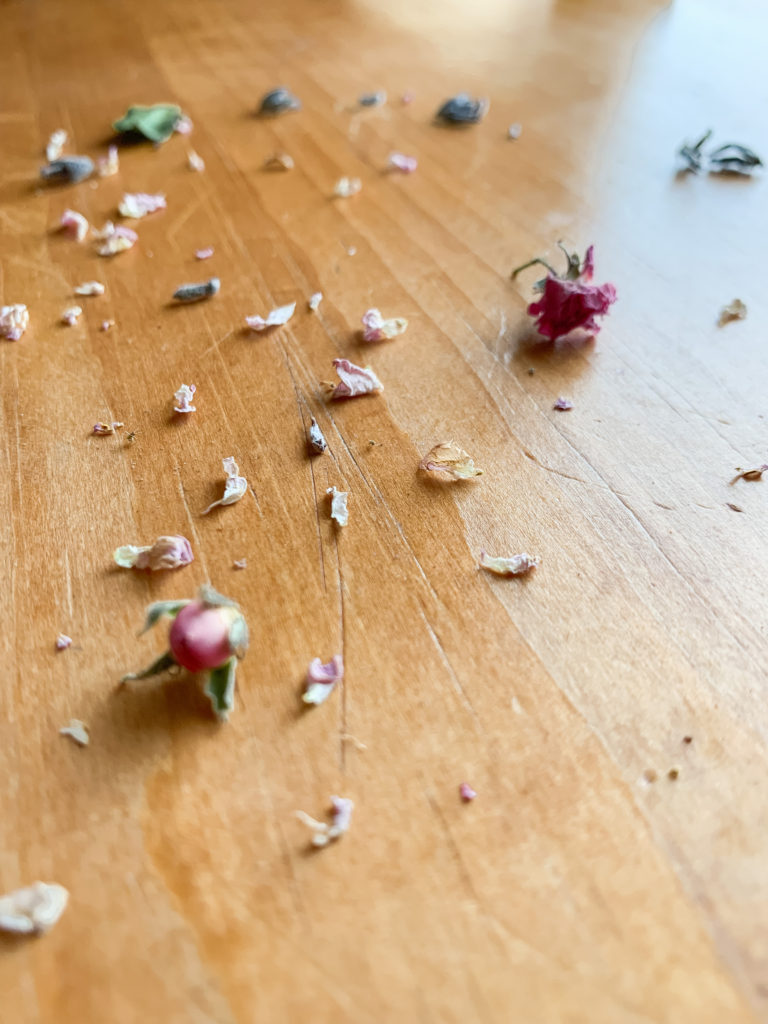
    This might seem obvious, but plant different colors and shades of flowers. This doesn’t mean that you need every shade of rose or lilac bush. For example, I have 2 varieties of purple lilacs and 1 white lilac. I have a white rose bush, a red and also a yellow rose. Between those 6 bushes, I have a great variety of colors. In the spring, I’m able to harvest those blooms and store them as I wait for my summer blooms to come in- marigolds, calendula, sunflowers, lavender, and so on. I like to harvest full flowers and pedals, to create texture, this also gives life and beauty to your confetti mix.

    Bouquets

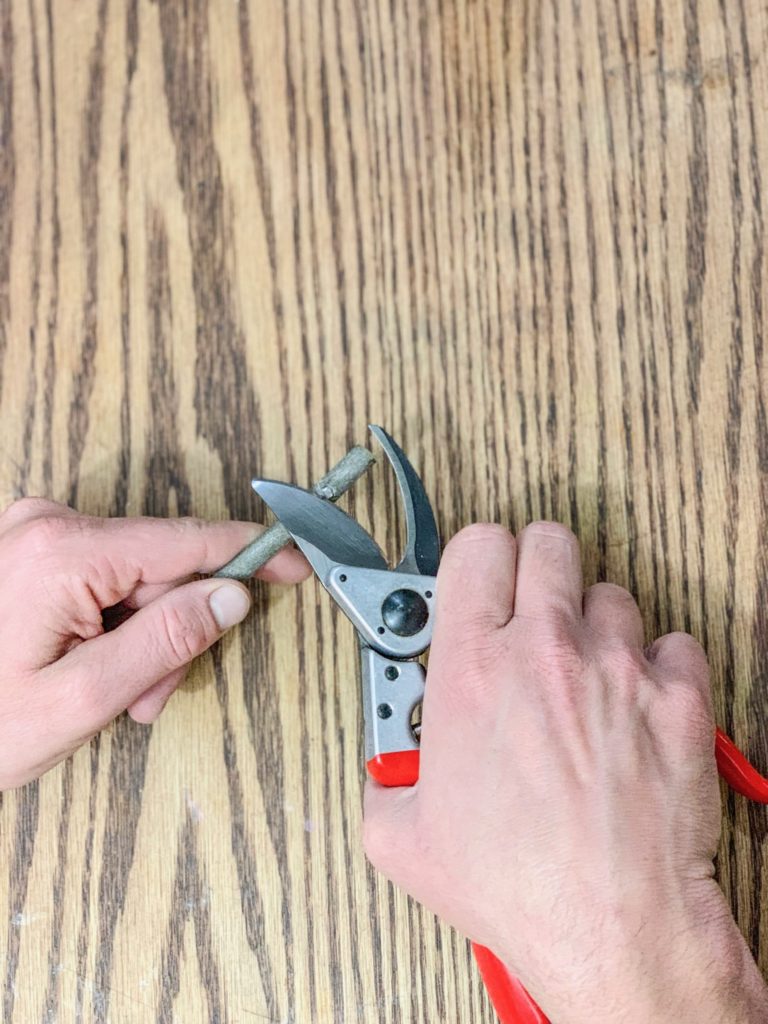
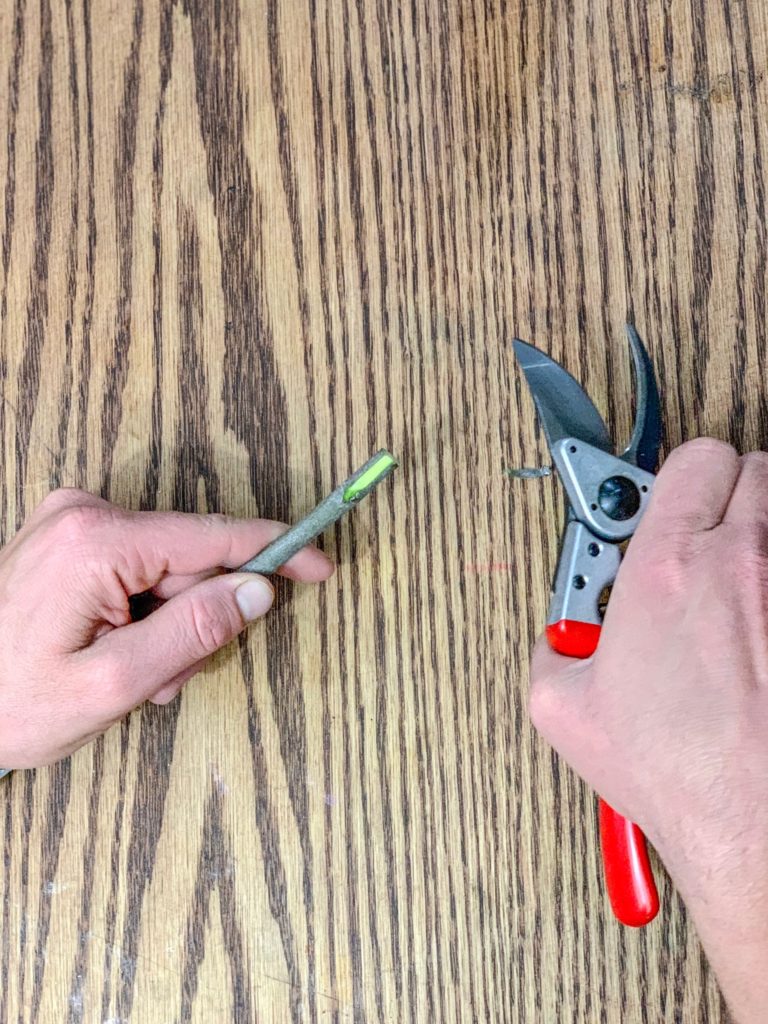
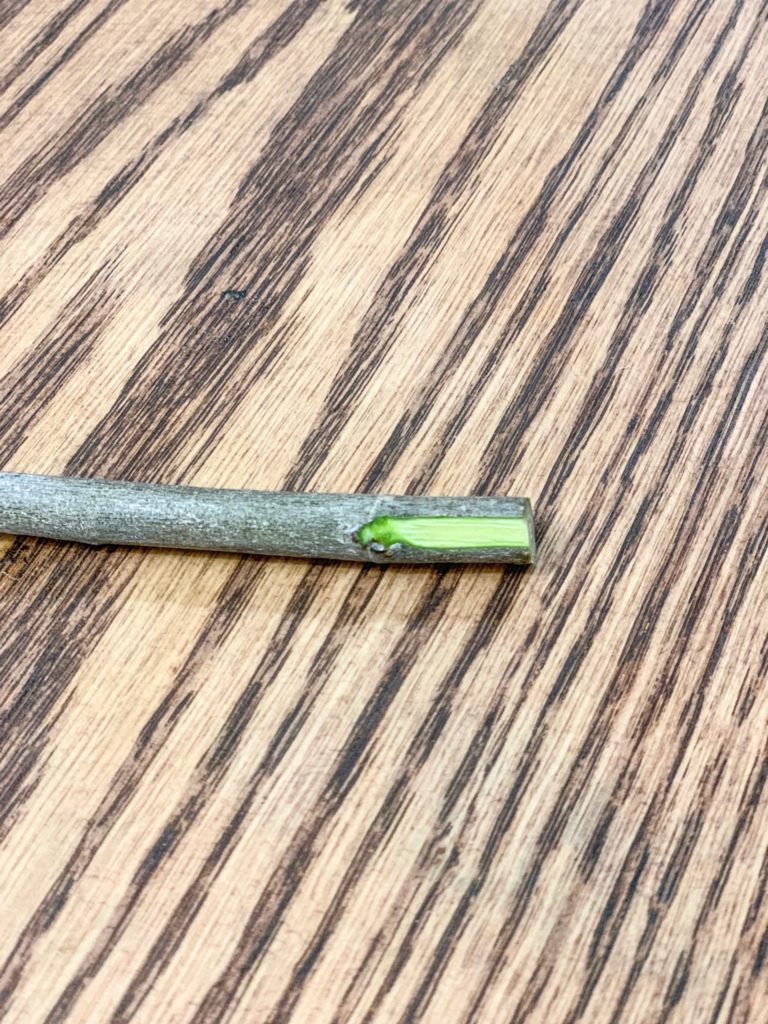
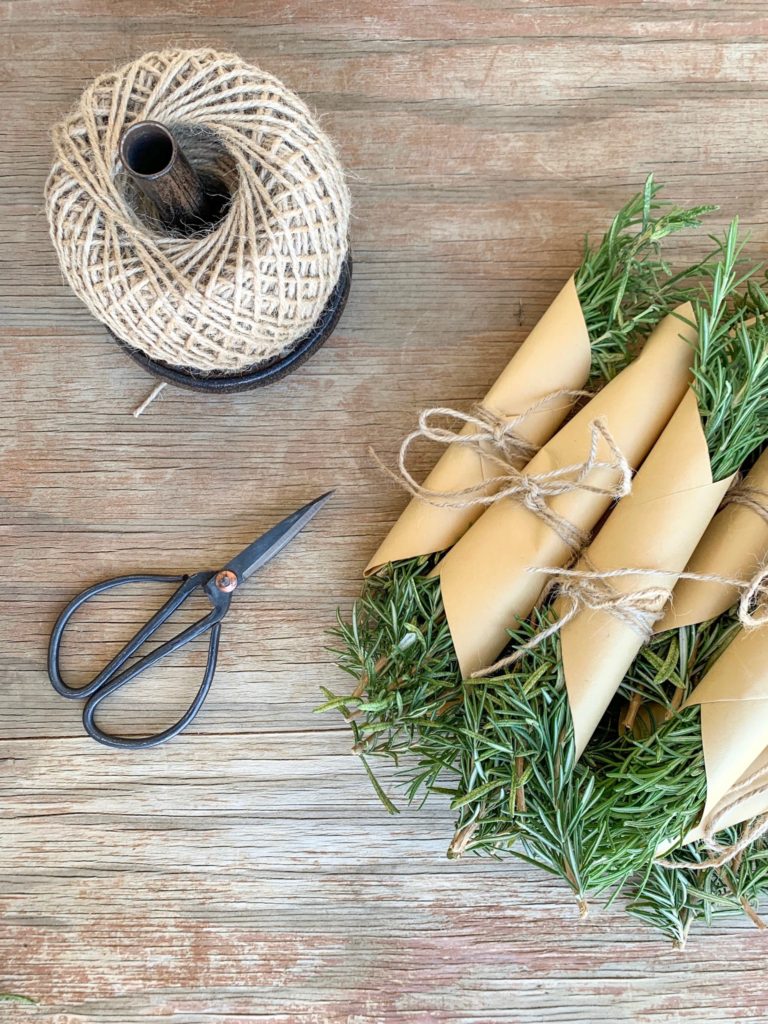
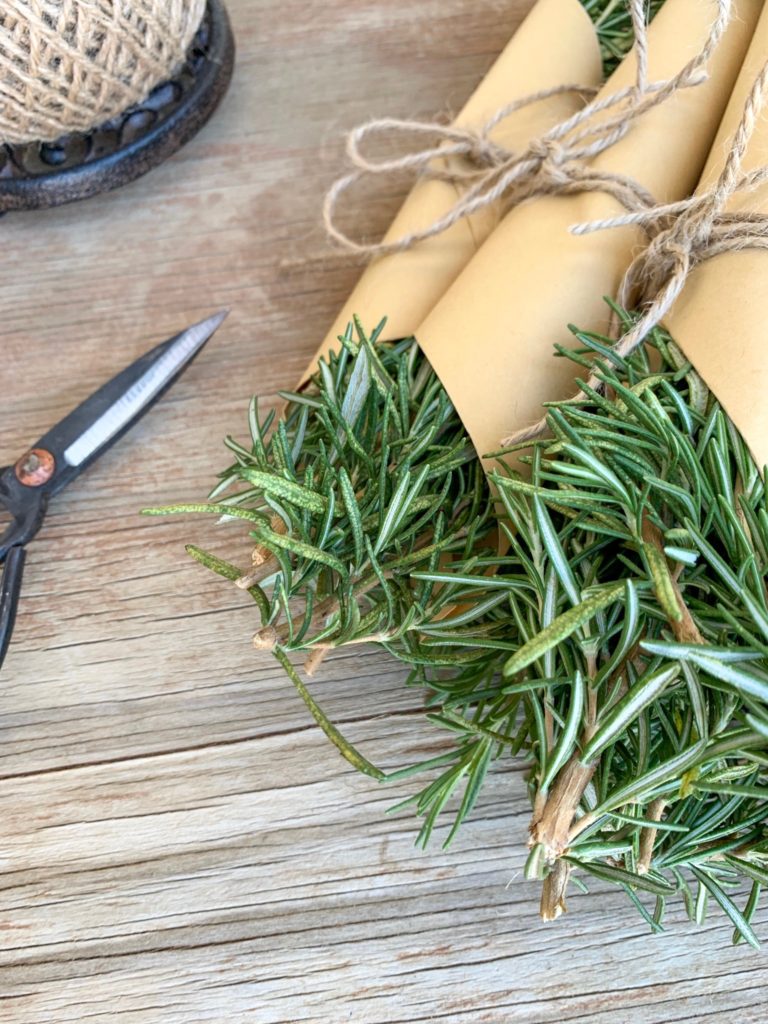
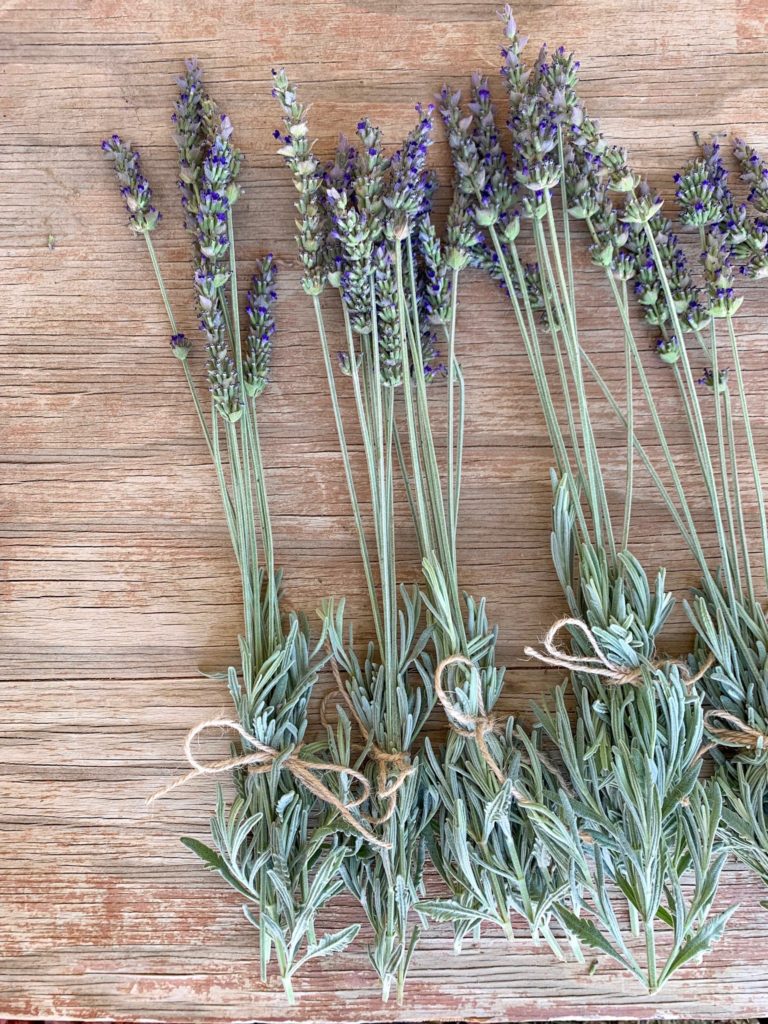
    Dried flower bouquets are one of my favorite gifts to give, because they last forever. Flowers like Lavender have beautiful long stems, making it easy to harvest and dry. I almost always send friends and family home, after visiting, with a little lavender bouquet. When your harvesting flowers to dry for a bouquet, keep in mind that you’ll want long stems and hang them upside down or lay them flat on a counter top. You’ll want to use strong, long stem flowers, but don’t be afraid to get creative, use what you have and forage for the rest! I have collected eucalyptus in parking lots with friends, walked to neighboring empty lots and harvested desert blooms. Consider using dill or carrot flowers, chive stems and blooms, radish flowers, and even seed pods- poppy, dill, onion, to create an interesting & fun bouquet.

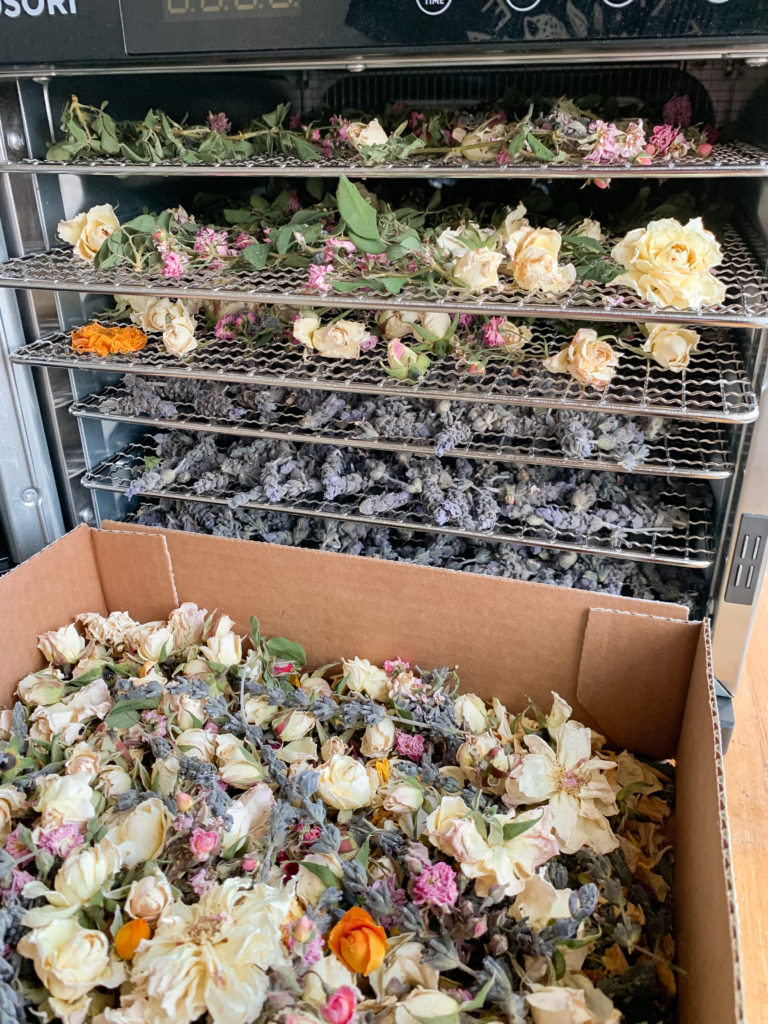
    Dehydrator Instructions:

    1. Harvest flowers.
    2. Place evenly on drying rack.
    3. Set your dehydrator for 16 hours at 100 degrees, or overnight.
    4. I like to store my flowers in a cardboard box or brown paper bag to prevent moisture or mold growth. If you are confident the whole flower is completely dry, you may store them in glass jars. I typically will only store my flowers in glass jars, if I am infusing them- oils or honey.

    I’d love to hear from you, what flowers will you be preserving this year?

    And how do you plan on using them?

  • Homestead Living Summer 2021  Garden Edition

    Homestead Living Summer 2021 Garden Edition

    Snag your FREE EBOOK with 14 carefully curated categories! Packed full, with over 100 pages of gardening advice, tips & tricks, and also delicious recipes to help you enjoy + preserve all that the garden has to offer!

    Hey There Homesteader!

    Are you a beginner gardener who desires to grow your own food? Maybe you’ve tried gardening in the past and it didn’t go as planned? Or you could be a seasoned gardener looking to learn more about attracting pollinators? No matter what stage of gardener you are, I have a treat for you!! I’ve teamed up with 9 talented women, who came together to share their knowledge & homestead living skills. Presenting you with our third edition of the Homestead Living FREE e-book! 

    You can download your free ebook here: 

    1. Attracting Pollinators by @smanderstrom
    2. Composting For Beginners by @theduvallhomestead
    3. Natural Insect Spray by @theeverydayfarmhouse
    4. Trouble-Shooting The Veggie Garden by @shesrootedhome
    5. Propagation by @downacowtrail
    6. Raised Garden Beds by @theeverydayfarmhouse
    7. Seed Tips by @seedandtrellis
    8. Trellis Tips @seedandtrellis
    9. Design A Pollinator Garden by @southeasterlyfarms
    10. Small Scale Gardening by @jacqualinechamberlain
    11. Food Preservation by @mikayla_beth
    12. Kale Flower Pasta by @theduvallhomestead
    13. Pickled Onions by @jacqualinechamberlain
    14. Quick Pickle Recipe by @sevenmasonhomestead

    In this volume, I share how to trouble-shoot the vegetable garden, by answering you’re frequently asked questions. This e-book is packed full, with over 100 pages of gardening advice, tips & tricks, and also delicious recipes to help you enjoy + preserve all that the garden has to offer!

    You can download your FREE copy of our

    …MISSED OUR FIRST

    A Beginners Guide To Homestead Living
    1. Dehydrating @shesrootedhome
    2. Sourdough @theduvallhomestead
    3. Canning Basics @smanderstrom
    4. Chevre @mikayla_beth
    5. Hand Salve @harvesthillfarms
    6. The Milk Cow @theeverydayfarmhouse
    7. Beekeeping @shesrootedhome
    8. Dry Incubation @southeasterlyfarms
    9. Brooding Chicks @happy.dirt.life
    10. Land Buying Basics @goodsteading
    11. Grass Fed Beef @downacowtrail
    12. Garden Trug @downacowtrail

    & SECOND EDITION? 

    A Beginners Guide To Homestead Living Vol. 2

    1. Pastured Meat Chickens @theeverydayfarmhouse
    2. Calf (Milk) Sharing @downacowtrail
    3. Gardening Guide @shesrootedhome
    4. Manure Fertilizer Tea @southeasterlyfarms
    5. Nigerian Dwarf Goats @mikayla_beth
    6. Goat Milk Soap @mikayla_beth
    7. Fruit Trees @shesrootedhome
    8. Clearing Land @smanderstrom
    9. Homemade Dish Soap @harvesthillfarms
    10. Laundry Soap @harvesthillfarms
    11. Natural House Cleaners @harvesthillfarms
    12. Self Care & Beauty @emilyjoyundone
    13. Farmhouse Recipes @theduvallhomestead

    What are you most excited to dive into?

    TAG A FRIEND YOU THINK WOULD FIND THIS INFORMATION HELPFUL!

  • IV Organics All Purpose Fertilizer

    IV Organics All Purpose Fertilizer

    Why do you need to fertilize plants? Learn more about IV Organics all purpose fertilizer and how to grow healthy plants.

    Why do you need to fertilize plants?

    Plants are very similar to humans. If you want them to grow and be healthy they need food just like we do. Plants don’t just consume anything they desire, they have very specific needs. Much like humans who require 3 macro nutrients which are fats, carbohydrates, and protein. Plants also require 3 macro nutrients which are nitrogen, phosphorus, and potassium.

    Sure if you have decent soil most plants can scratch up some nutrients from the soil but if you want them to thrive and produce the best tasting fruits and vegetables, you need to feed them a high quality fertilizer. I recommend using IV organics all purpose fertilizer.

    When do plants need to be fertilized?

    It’s a good idea to feed your plants as soon as possible. I like to fertilize my soil at the time of planting that way as soon as the plants need the nutrients they can easily absorb it. I usually try to fertilize my plants once every 30 days during the growing season to make sure they are thriving.

    What do you use as fertilizer?

    There are many different fertilizers available out there but I prefer only organic fertilizer. The benefits of organic fertilizer over synthetic is that it not only feeds your plants the nutrients they need, but also builds the health of the soil. Having healthy soil is crucial to the health of your plants. You’ll want to feed the microbes and all the critters in the soil, so they’ll help break down and deliver the nutrients for your plants to uptake. It’s truly a symbiotic relationship between the soil, microbes and your plants.

    What makes IV Organics fertilizer so special?

    I prefer IV Organic all purpose fertilizer because it is organic and contains more than just the macro nutrients. It also contains the secondary nutrients most other fertilize skimp on. IV Organics offers 2 blends of fertilizer, a super blend and premium blend. The premium blend offers lower levels of nutrients and the super blend offers higher levels of nutrients depending on your needs.

    How to apply fertilizer to your plants?

    You’ll want to check the packaging of your fertilizer for instructions before using. If you are using IV Organics all purpose fertilizer, on the back there is a list of a few different ways you can use this all purpose fertilizer.

    • New & young (Under 2) fruit & nut trees, ornamental trees, roses & shrubs.
    • Established (3 years & older) fruit & nut trees, ornamental trees, roses & shrubs.
    • Vegetables & annuals.
    • Potted plants.
    • Foliar feed/nutritional spray.
    • Compost tea.

    I recommend writing down the days you fertilized your plants on a calendar. It’s easy to forget.

    PIN IT FOR LATER!!!

  • How To Start A Garden By Propagating Tree Cuttings

    How To Start A Garden By Propagating Tree Cuttings

    Propagate tree cuttings and get started growing your own food.

    A great way to start growing your own food and receive continual harvests, year after year, is to invest in fruit trees. Investing in multiple trees can become quite expensive, very quickly. If you don’t mind waiting, propagating tree cuttings could be the route to go.

    So far we have had success rooting fig tree cuttings. Many we received from IV Organics or rooted from our own fig trees, that we planted last year. Most of the information shared in this blog post was learned from Charles Malki’s Youtube Channel.

    This post contains affiliate links, which means I make a small commission at no extra cost to you. 

    Supplies

    Instructions

    1. Drill a few small holes at the bottom of your plastic cup.
    2. Mix 50/50 pearlite and vermiculite and add it to your plastic cup. Filling it up 75% of the way.
    3. Make a cut on the bottom edge of the cutting, right at the node.
    4. Dip in rooting hormone.
    5. Insert your tree cutting in the middle of your cup, approximately half way down. Place in your seed tray or saucer.
    6. Water from the bottom. Try to always have 1/4′ of water in your seed tray or saucer.
    7. Optional: Place a heating pad underneath the seed tray.

    Up Potting

    Once your roots are established, taking over the bottom of your plastic cup, you’ll want to up pot it into a larger container.

    Supplies

    Instructions

    1. Mix your pearlite, vermiculite, peat moss/coco coir, citrus potting mix.
    2. Place your soil mixture in your pot and gently transfer your fig/tree cutting into the pot.

    Fertilize

    Once the cutting has a few sets of leaves you may fertilize every 7-14 days.

    PIN FOR LATER!!!

  • How To Start A Garden By Propagating Herbs

    How To Start A Garden By Propagating Herbs

    Propagating herbs is easy and one of the fastest ways to get your garden started.

    Gardening for me started with my obsession of rooting herbs in water. I was amazed by the tiny roots that took off from simply sticking a cutting in water. Rosemary, basil and mint are all herbs that I have had instant success rooting in water.

    I would ask the gardener in your life if they have a rosemary or basil plant you can have a cutting from, to get started. Most stores carry small potted basil plants for cooking. Consider purchasing one the next time you grocery shop and propagate it for friends, family or even neighbors.

    Propagating Herbs In Water

    Step 1: Take a cutting from a mother plant by cutting approximately 5 – 7′ stems off. Try not to cut into any woody pieces as this will take longer to root. Make sure to avoid stems with flowers, or remove the flowers from the stem before propagating.

    Step 2: Remove any lower leaves that may sit in the water. The roots will grow from where the leaves were.

    Step 3: Fill a glass mason jar with water and place your cuttings in the water. Place your cutting jar in a window sill for proper sunlight.

    Step 4: Clean out the jar of the old water and add clean water every 3 – 5 days. This will allow the roots to get fresh oxygen.

    Step 5: After your cuttings have rooted and are taking over the jar, plant your cutting. You may use a pot and a bag of potting mix or plant them into the ground. Don’t forget to water them weekly.

    Step 6: When your cutting has turned into a large flourishing plant, don’t forget to take a few cuttings and share.

    This post contains affiliate links, which means I make a small commission at no extra cost to you. 

    Propagating Herbs With A Rooting Hormone.

    I’ve had the best success propagating lavender with a rooting hormone. We use Take Root.

    Step 1: Take a cutting from a mother plant by cutting approximately 5 – 7′ stems off. Try not to cut into any woody pieces as this will take longer to root. Make sure to avoid stems with flowers, or remove the flowers from the stem before propagating.

    Step 2: Remove approximately 2 – 3′ of the lower leaves. The roots will grow from where the leaves were.

    Step 3: Prepare a pot with potting mix and set aside.

    Step 4: Dip the end/bottom of your cutting with removed leaves, inside your rooting hormone. I have used both liquid and powder rooting hormones and I personally prefer the powder. I feel like it doesn’t wash away as quickly with waterings. I can also give it a thicker coat of the hormone, then with a liquid one.

    Step 5: Place your cuttings with the rooting hormone inside your prepared pot.

    Step 6: Water your cuttings 1 – 2 times a week.

    Step 7: Once your cuttings have grown and roots are established, you may transplant each of them into different pots or directly into the ground.

    PIN IT FOR LATER!!!