Category: Patterns

  • Artisan Crochet Christmas Tree Ornament

    Artisan Crochet Christmas Tree Ornament

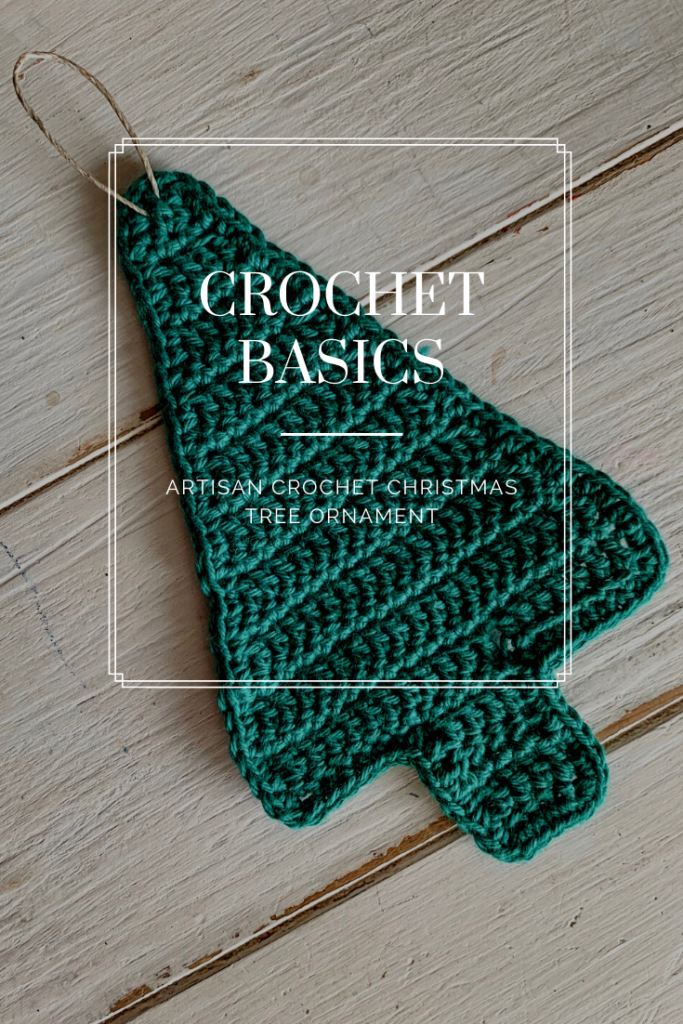
    This simple artisan crochet Christmas tree ornament is a perfect addition to your wrapping. Don’t forget to add a little fresh pine or rosemary.

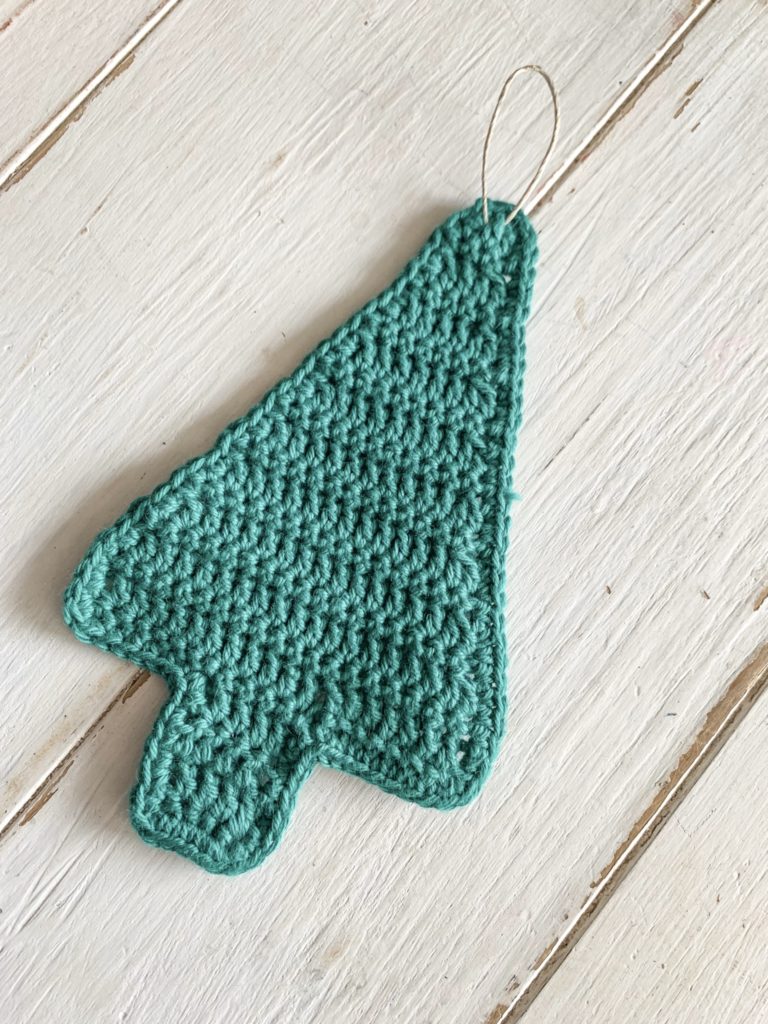
    I love that this crochet Christmas tree is made in one piece, so there’s minimal ends to sew in. This ornament works up fairly quickly and is a perfect filler to any gift. Simply include it in all gift baskets or add as a topper to your wrapped gifts.

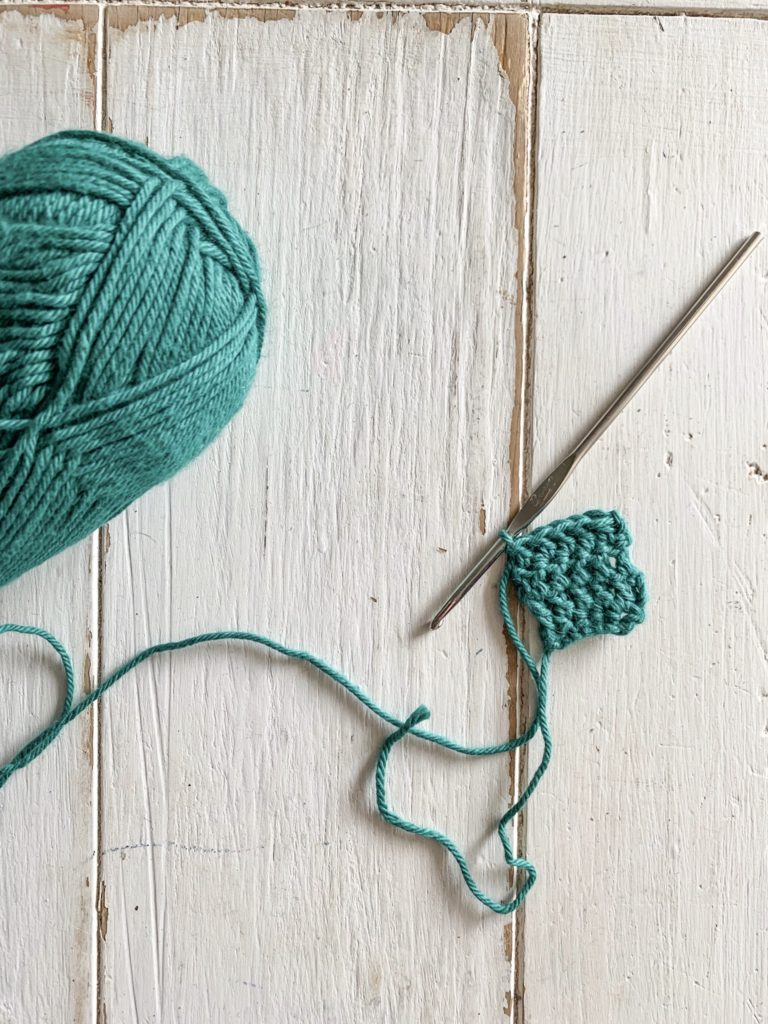
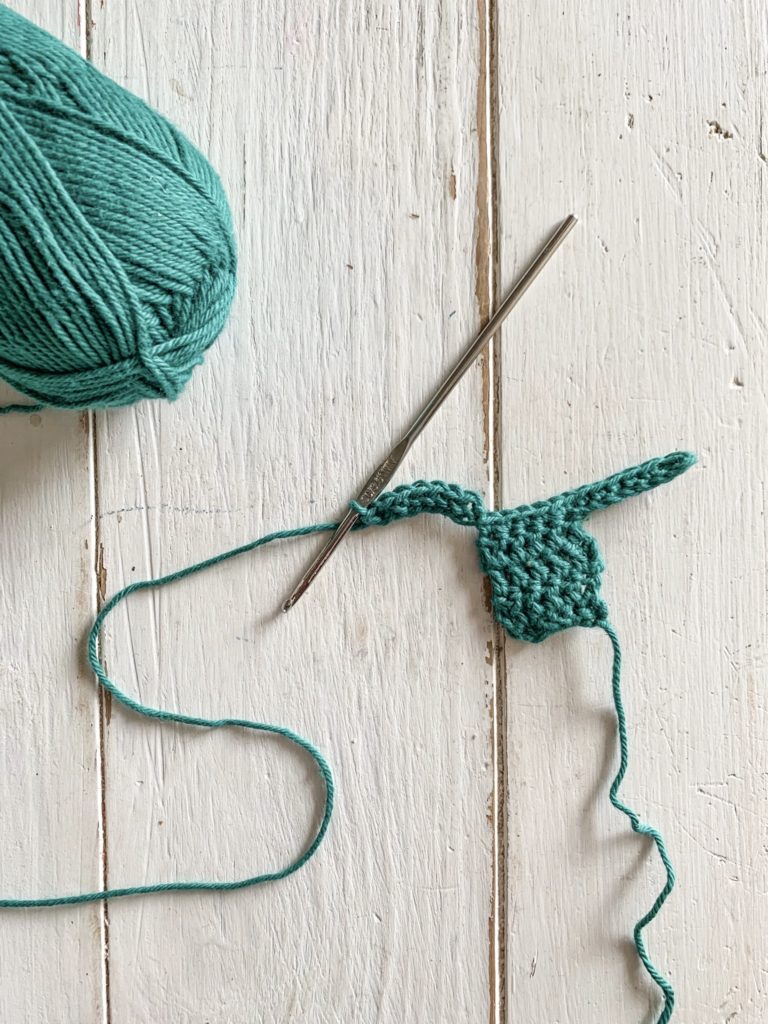
    You may adjust this pattern if you are unfamiliar with a foundation crochet stitch. Although with a quick youtube search I am confident you won’t go back to chains.

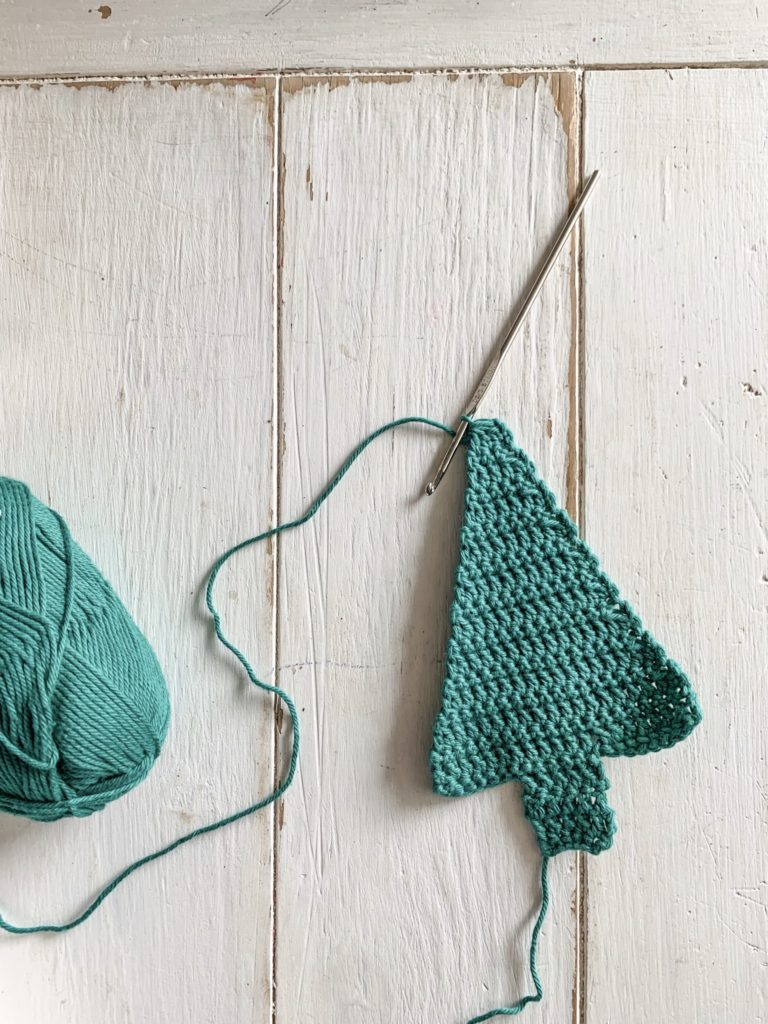
    This pattern is worked up of foundation chains, chains, single and double crochets. Finished off with a boarder to add structure and elegance. If you want to get really fancy or are looking for ways your children can participate, add bulbs.

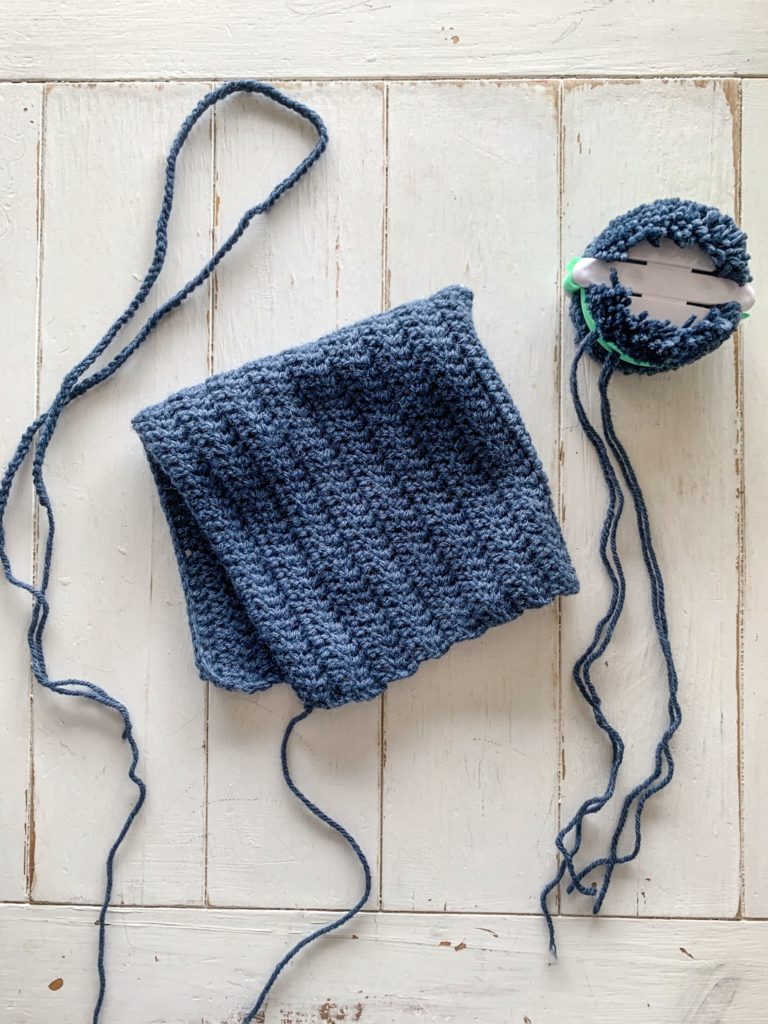
    Grab some embroidery thread and hand stitch colorful bulbs to the tree. Find a small pom pom marker and let the kiddos get to work. After they have made a few pom poms, bring the ties to the back. Let them tie and clip the strings.

    DOWNLOAD THE PATTERN HERE!

    PIN IT FOR LATER!!!

  • Simple Crochet Bonnet For Beginners

    Simple Crochet Bonnet For Beginners

    Learn how to crochet a simple child’s bonnet, perfect for beginners.

    After creating my Crochet Basics- A Beginners Guide To Crocheting course I was inspired to create more simple crochet patterns for my crochet beginner friends. The best part about creating beginner patterns is watching my daughter work through them. If she can crochet these pieces at 7 yrs old, then I know you can!

    To create a bonnet you are basically crocheting a rectangle and folding it in half. The number of chains you begin your bonnet with, will depend on the age of the child that you’re making it for. For example a newborn baby bonnet will have less chains than a one year olds bonnet. If it’s possible measure the baby’s head as you go to insure that the bonnet will fit.

    The stitches needed to create this simple crochet child’s bonnet include chains and double crochets. You could make this bonnet using single crochets, but keep in mind it will take you longer to finish and you’ll have to increase the amount of rows.

    Closing up the bonnet is very simple. You may fold it in half and either slip stitch or single crochet down the fold piece. Don’t worry if that seems too complicated, grab a yarn needle and close up the back by hand sewing the two pieces together.

    Creating the ties is very simple, you will create a long chain and weave it through the first row of the bonnet. I added a pom pom to the back corner of this child’s bonnet for a little extra cuteness but this is totally optional.

    ***NOTE: I used a size H or 5.0MM hook and wool/yarn that I already had on hand for this pattern.

    DOWNLOAD THE PATTERN HERE!

    PIN IT FOR LATER!!!

    NOTE: My children don’t care to have the drawstring around their face. They complain of not being able to see, as the drawstring creates a small circle around their face. Instead I turn the bonnet upside down. This brings the drawstring around the back of the head, tying at the chin.

  • Crochet Mini Pumpkin Pattern

    Crochet Mini Pumpkin Pattern

    A quick and easy crochet mini pumpkin pattern.

    A few years ago I came across a crochet pumpkin pattern that I made for family and friends. Over the last few years those friends have asked me to make more, but I couldn’t seem to find the pattern. I decided I would just go for it and start crocheting a few small pumpkins, creating my own pattern.

    I had also just came up with a new ribbing stitch I thought would be fun to use for the pumpkin and I absolutely love how they turned out. Here is the new stitch I used to create the ribbing effect, The Corkscrew Stitch.

    You can quickly make this pumpkin and many more to decorate your home or make handmade sweet little pumpkin gifts for fall. The second option is usually my favorite. Fall feels like the perfect time to spoil a friend.

    This pattern is super simple. You basically make a rectangle flat panel. Crochet along one side, seam up the two ends and crochet along the other side. After that you close up one side, stuff and close up the other side. All that’s left is creating the sections of the pumpkin.

    I personally love how cute these pumpkins turned out with dried tree branches as the stem. You could also use cinnamon sticks, a thick piece of twine or crochet a cord.

    DOWNLOAD THE PATTERN HERE!

    PIN IT FOR LATER!!!