I decided one night I wanted to crochet a pilgrim hat for my baby turkeys to dress them up and add a little fun to my Instagram page. When I got started I quickly started testing the best way to form the hat and ultimately came up with this new stitch technique, I call the back loop fold.
It’s pretty much a half double crochet hdc but in the back loop only. Something else you will notice about this stitch, is how I come in from behind the back loop. Instead of the usual front of the stitch.
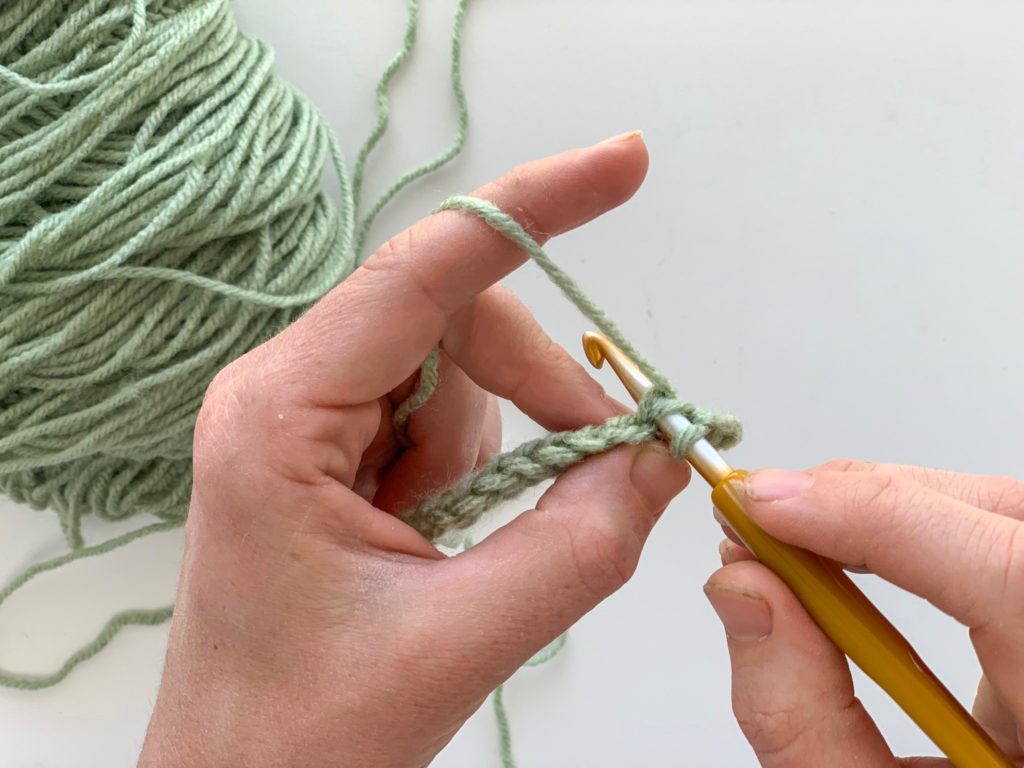
To get started you’ll need yarn and a crochet hook
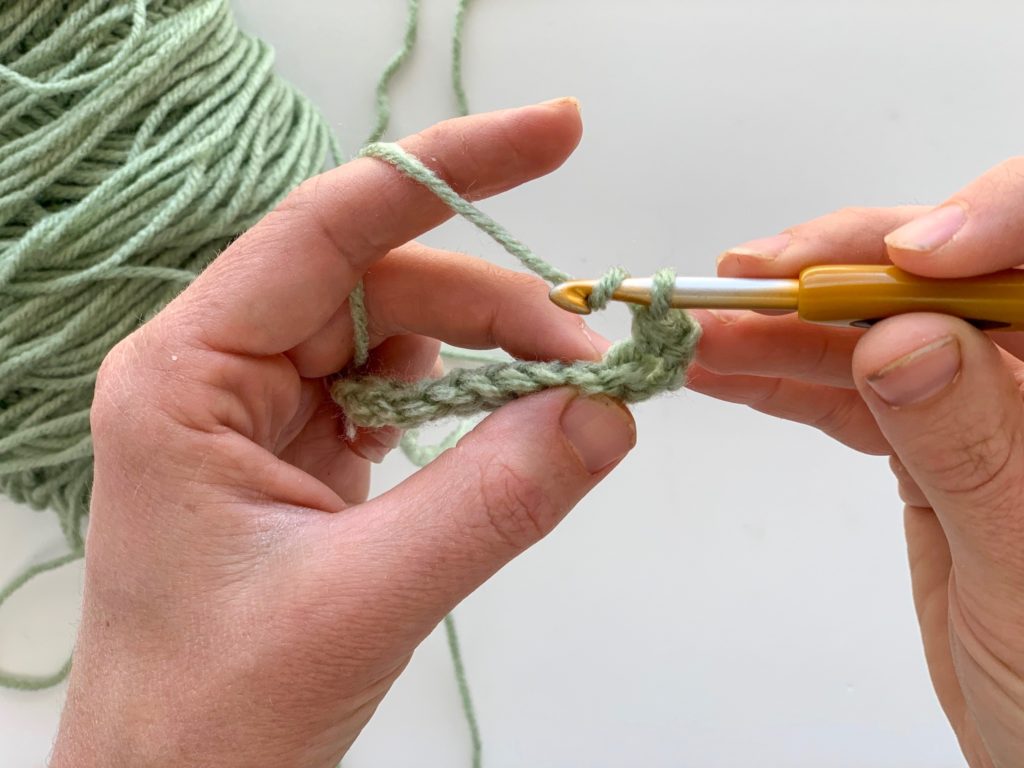
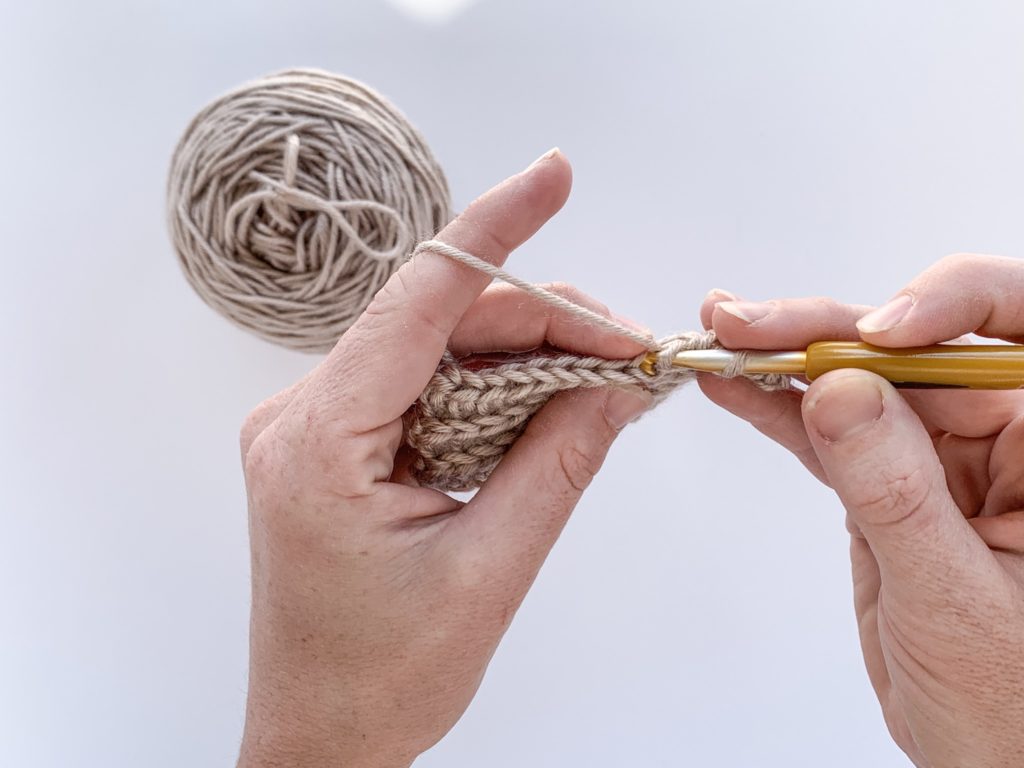
Wrap your yarn around the hook.
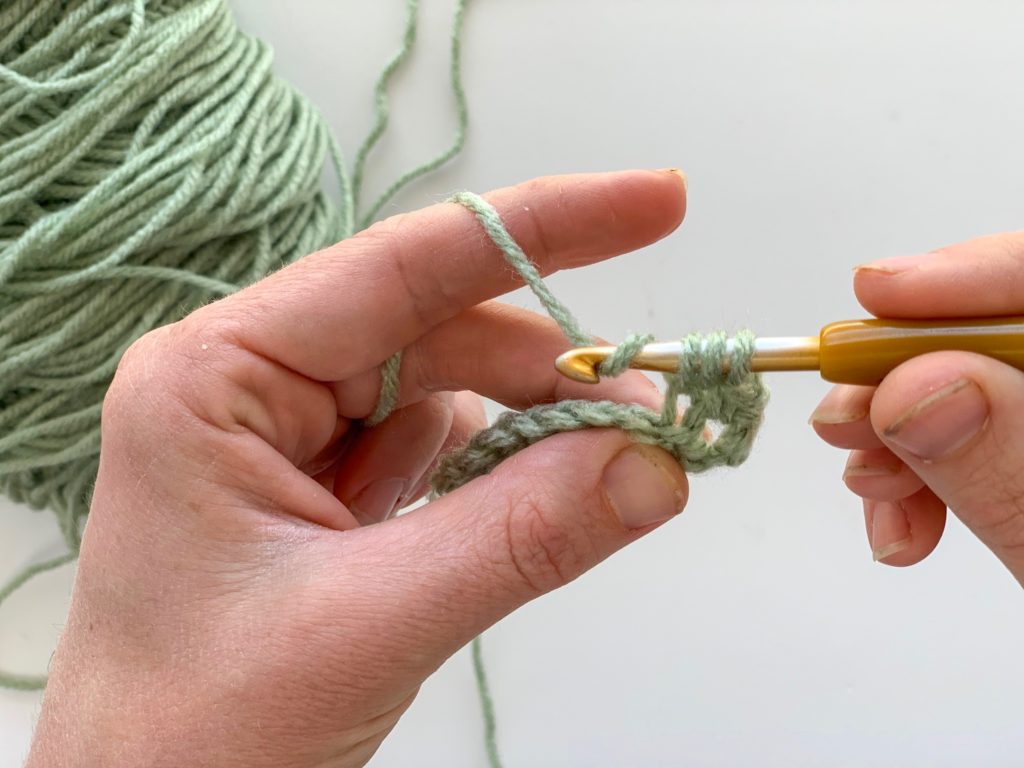
Insert your hook from behind the back loop, towards yourself.
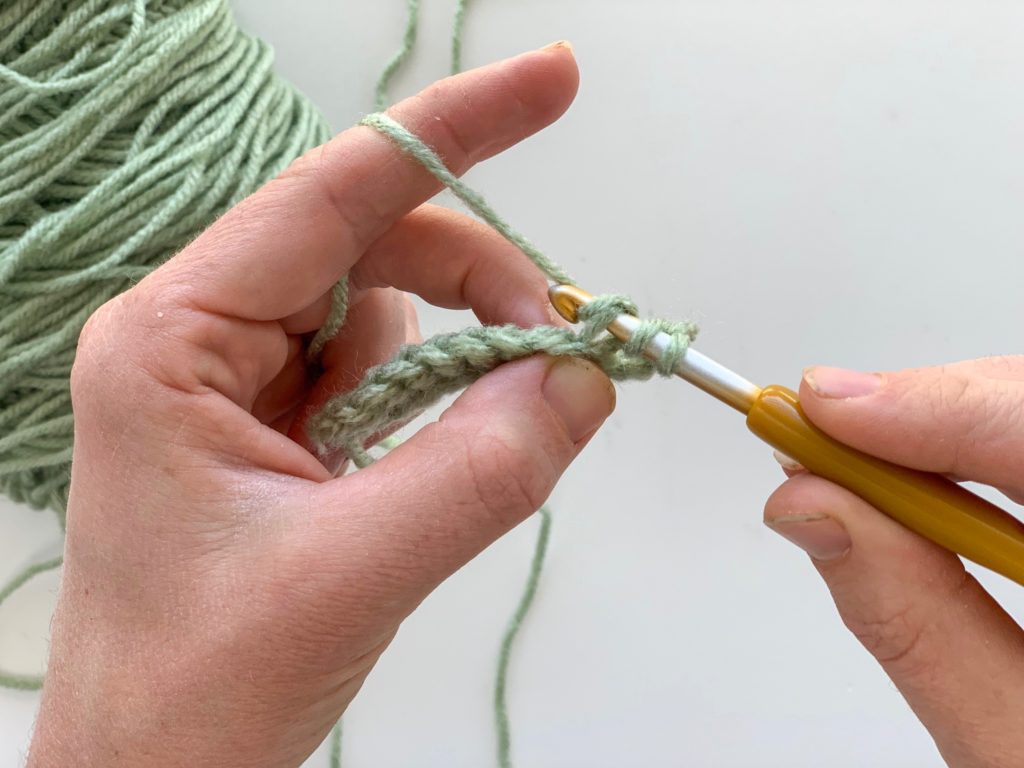
Wrap the yarn around your hook and pull through the back loop only.
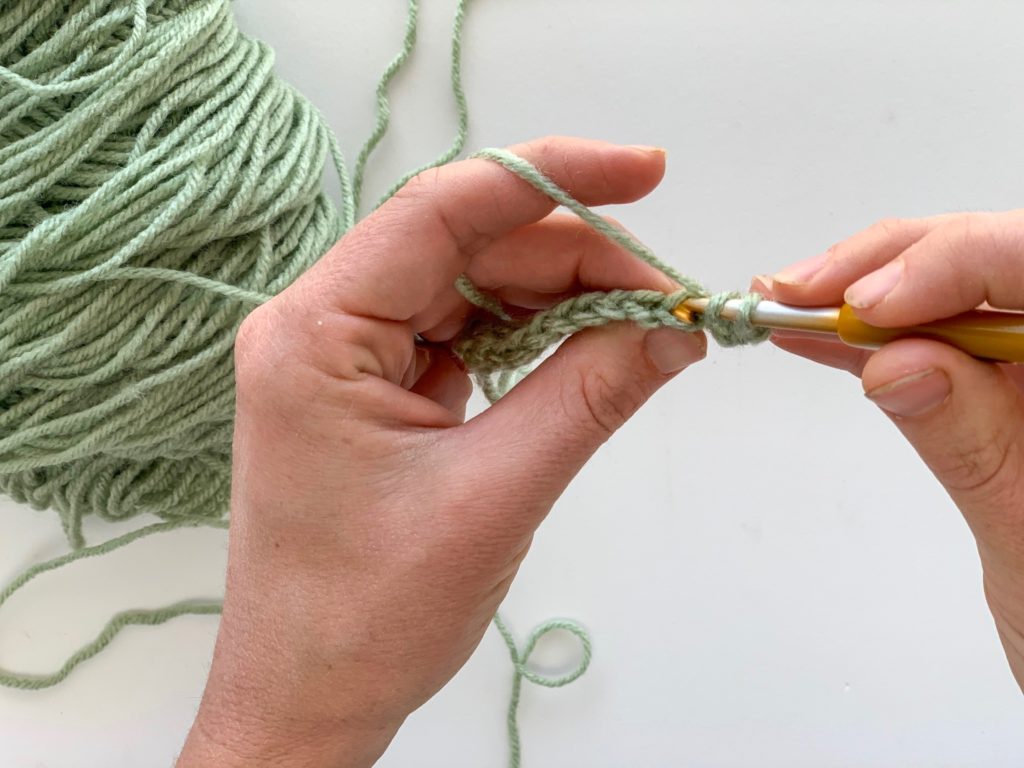
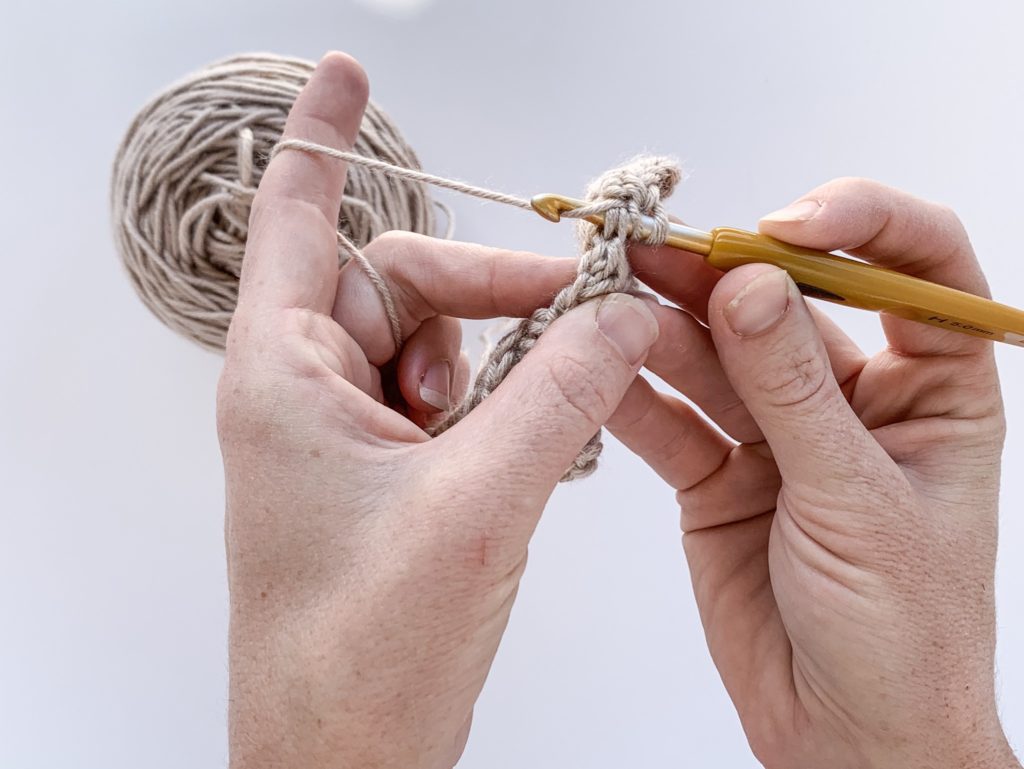
You should have 3 loops on your hook.
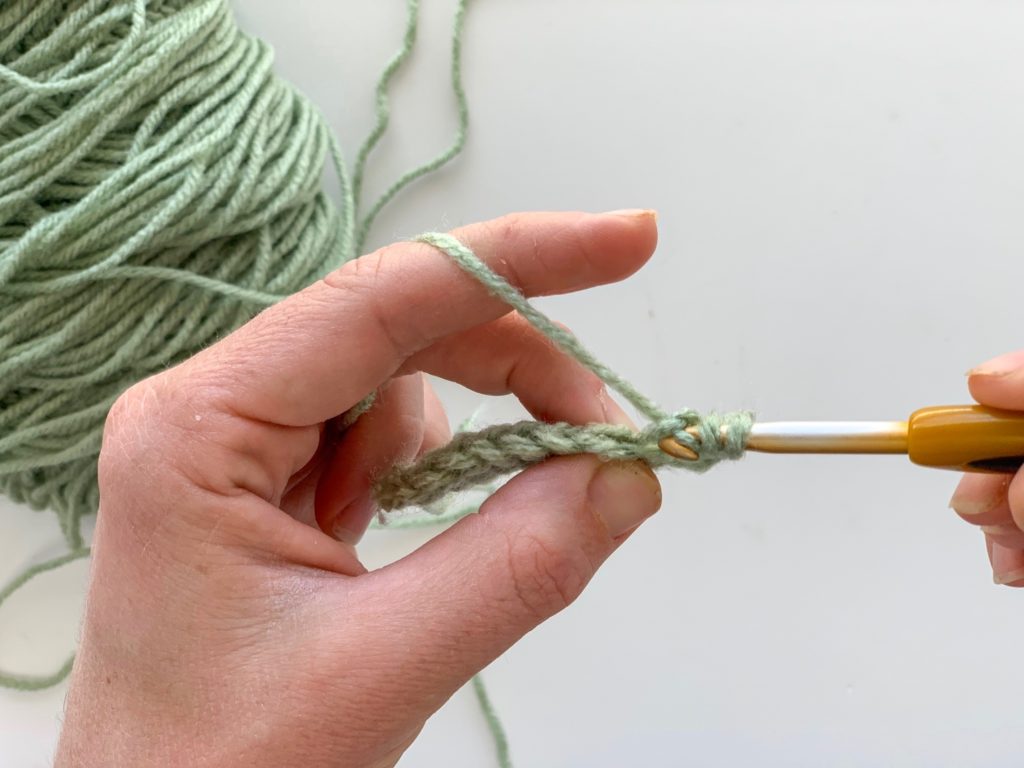
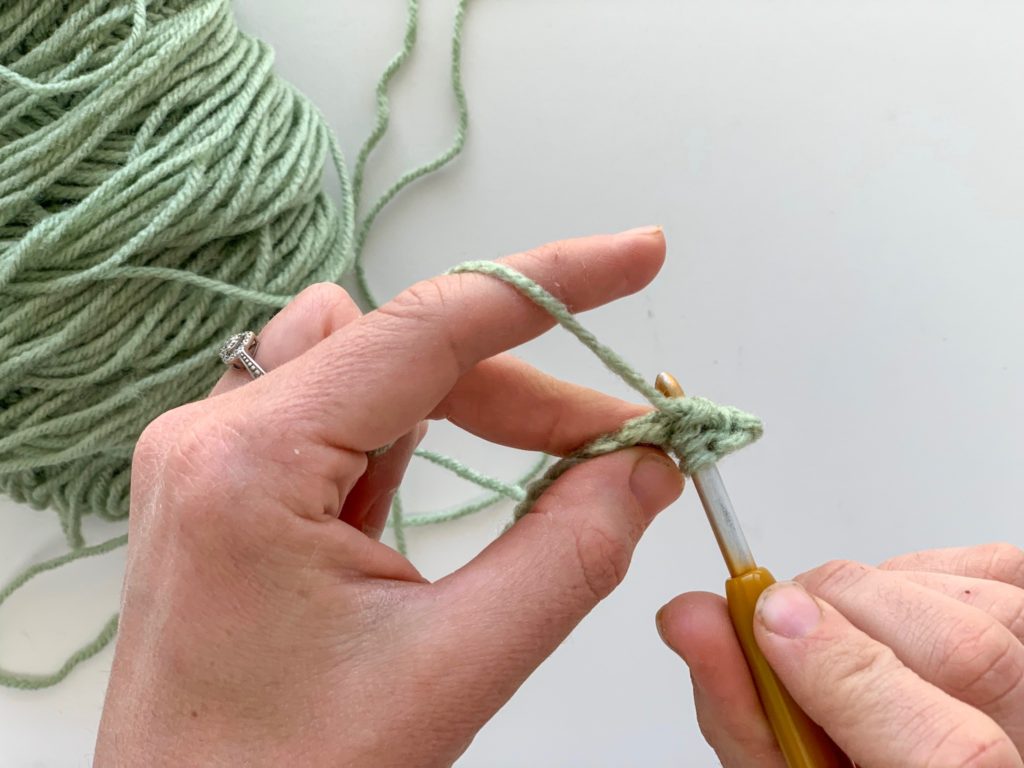
Pull through all 3 loops, like you would for a half double crochet hdc.
Repeat.
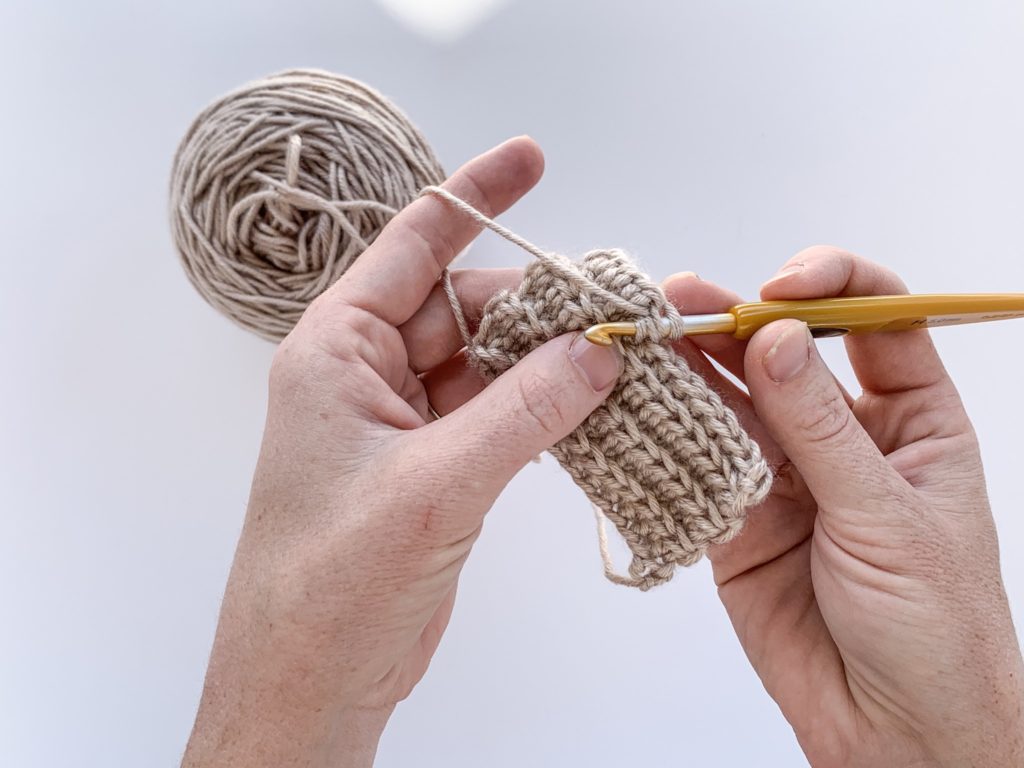
This stitch helps you create an edge or fold to your work. Making it ideal for hats, purses, baskets and more. Share in the comments below how you are implementing this new stitch technique.
I decided one night I wanted to crochet a pilgrim hat for my baby turkeys to dress them up and add a little fun to my Instagram page. When I got started I quickly started testing the best way to form the hat and ultimately came up with this new stitch technique, I call the front loop fold.
It’s pretty much a half double crochet hdc but in the front loop only. Something else you will notice about this stitch, is how I come in from behind the front loop. Instead of the usual front of the stitch.
TO GET STARTED YOU’LL NEED YARN AND A CROCHET HOOK
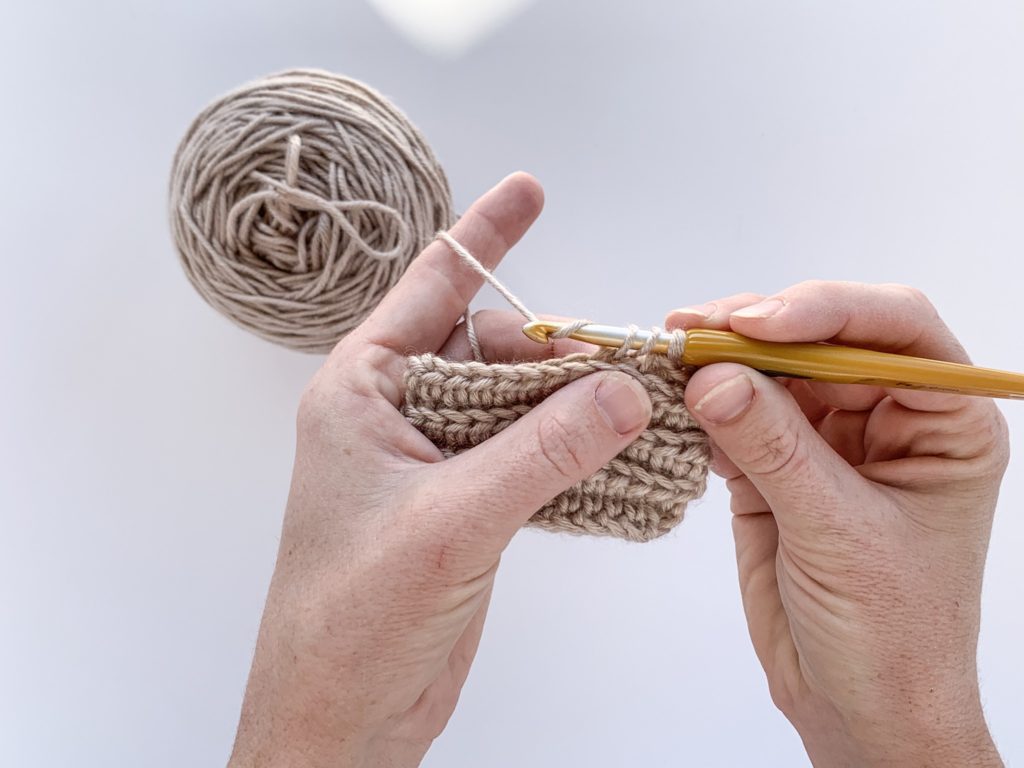
Wrap your yarn around the hook.
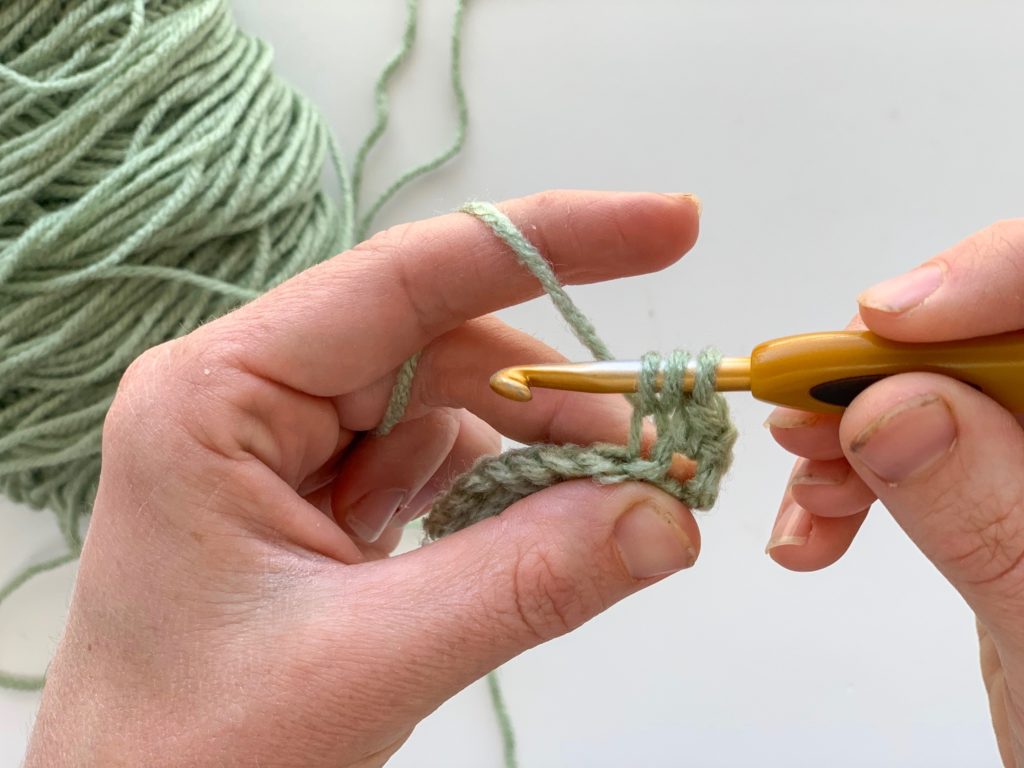
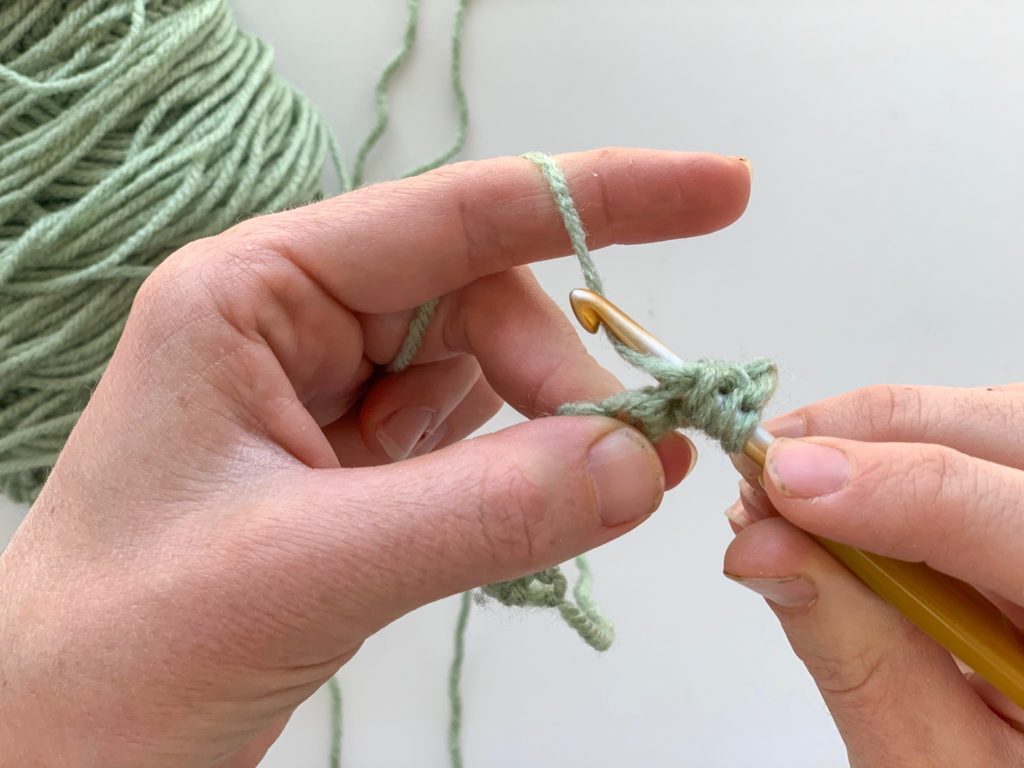
Insert your hook from behind the front loop, towards yourself.
Wrap the yarn around your hook and pull through the back loop only.
You should have 3 loops on your hook.
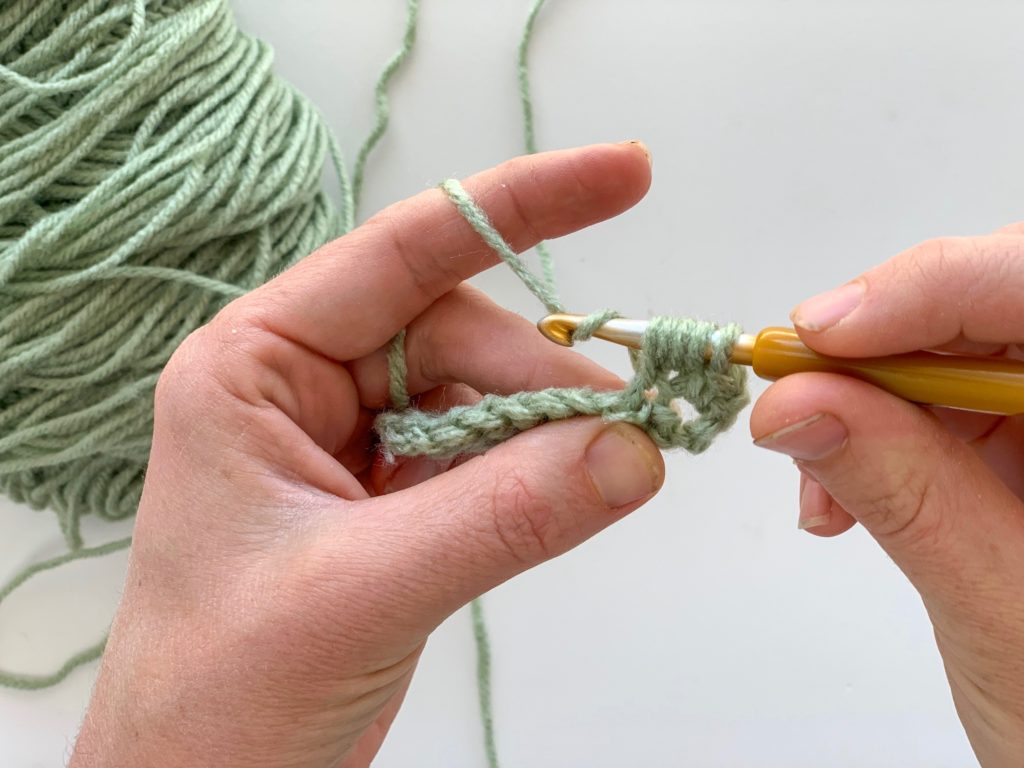
Pull through all 3 loops, like you would for a half double crochet hdc.
Repeat.
This stitch helps you create an edge or fold to your work. Making it ideal for hats, purses, baskets and more. Share in the comments below how you are implementing this new stitch technique.
New stitch technique: The back loop bobble stitch.
This stitch has quickly become one of my favorites because of how it came to be. I was working on a slipper pattern to mimic the old knitted slippers my great grandma use to create for our family. I was having a hard time creating a crochet stitch that looked similar to her knitted one, that she used to join the slippers together. That was until I found this combination.
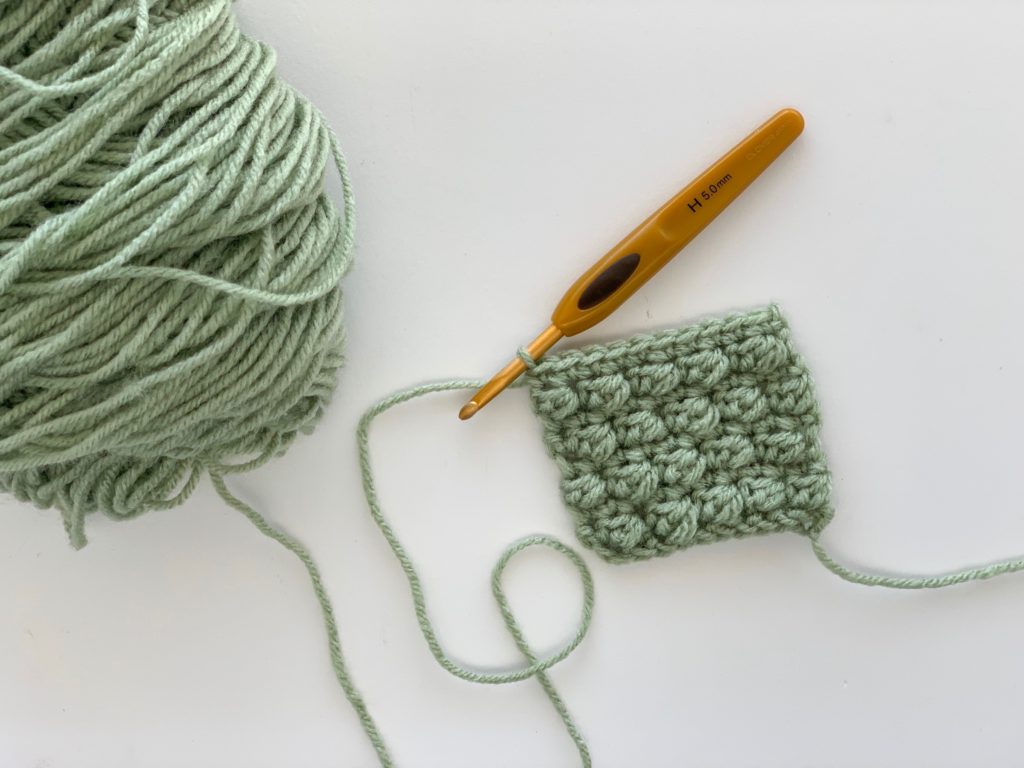
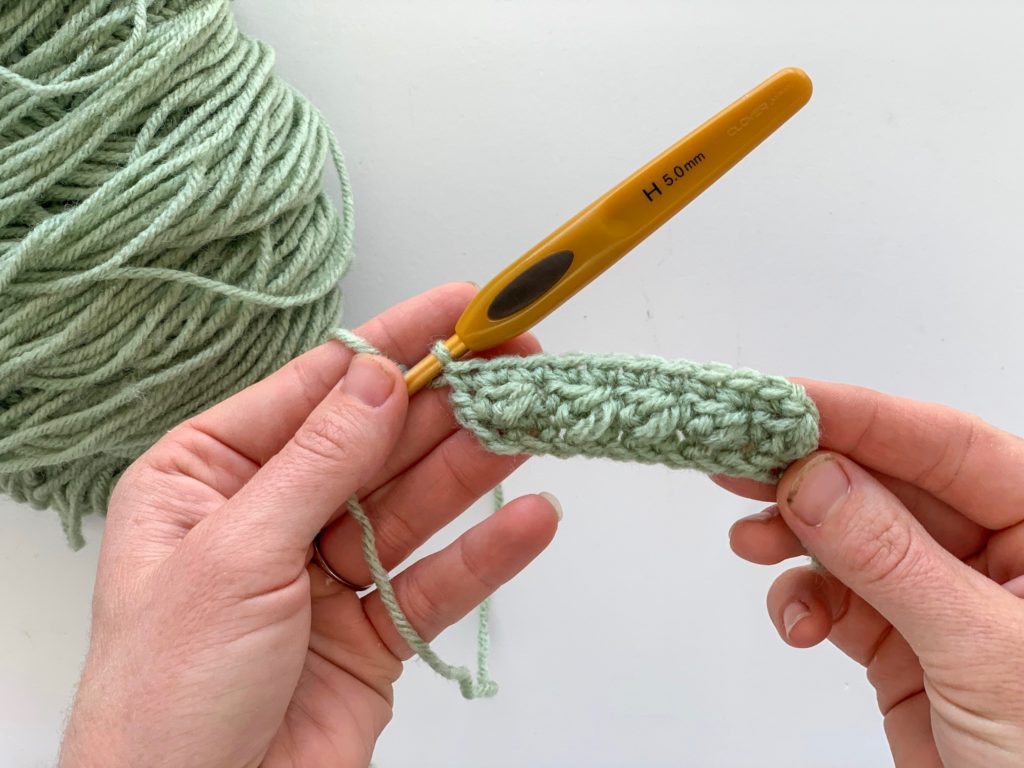
I loved it so much I decided to test it as a washcloth pattern. The best part is the texture it gives your crochet project. To get started you’ll need yarn and a crochet hook. Anything will do, I am using a size 5.0mm/H hook and Red Heart yarn. Attach your yarn to your crochet hook and chain(CH) 11. When counting your chains(CH) look for the V’s, each V is one chain.
Back Loop Bobble
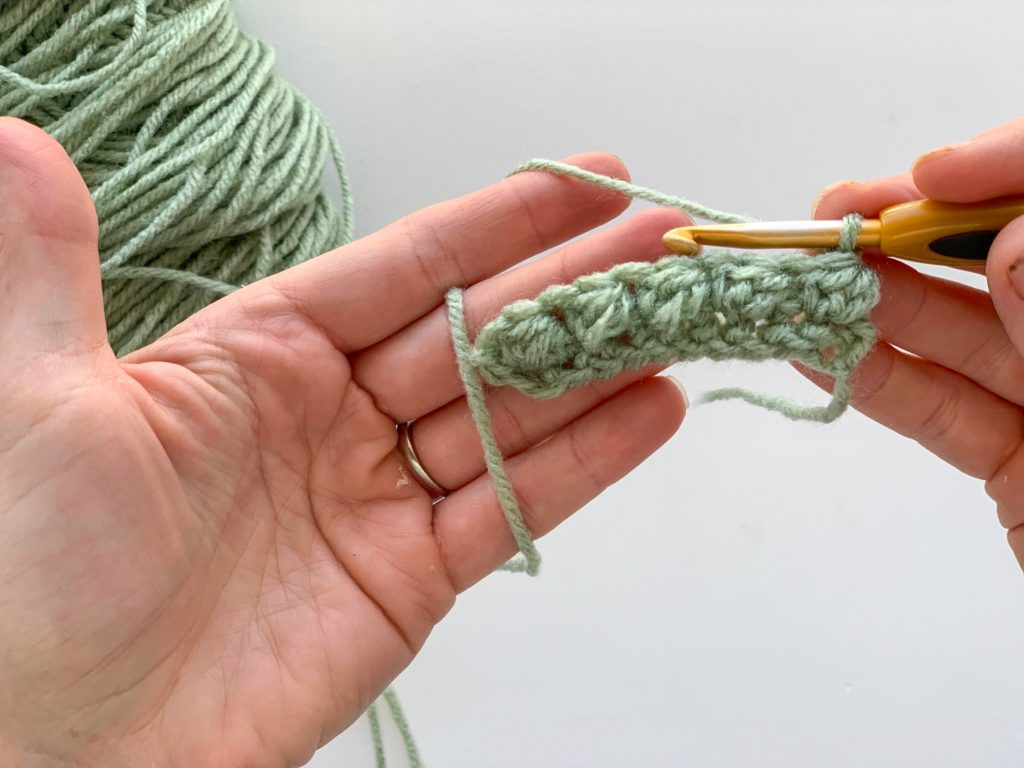
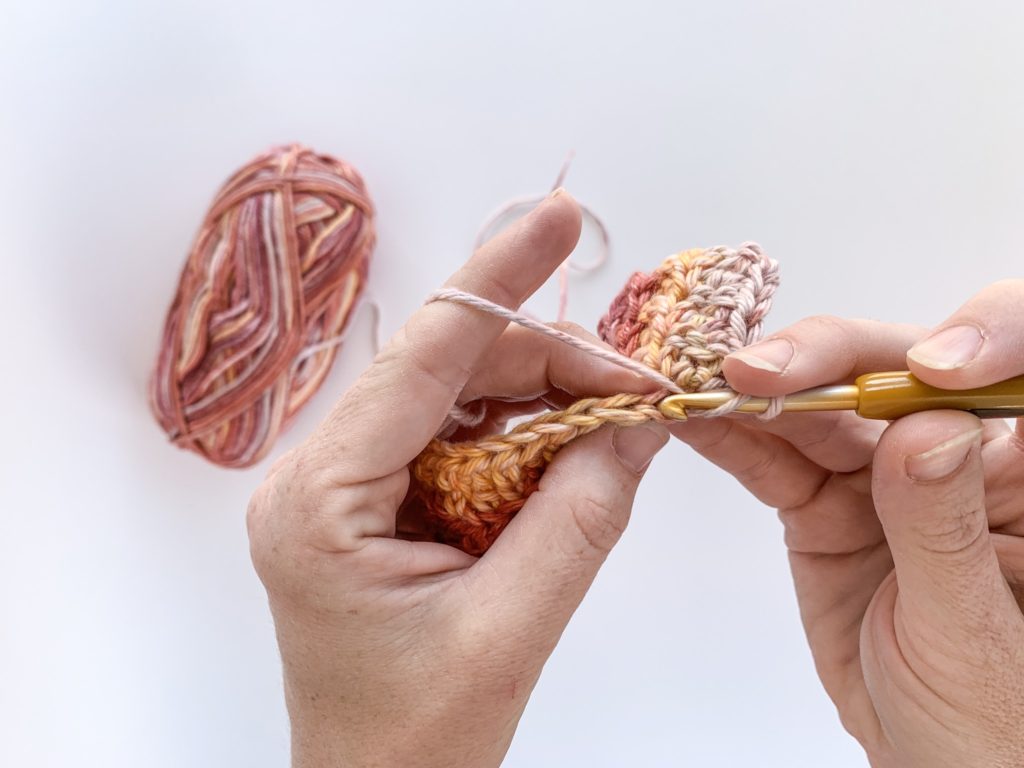
Single crochet (sc) in each chain (ch) for a total of 10 single crochets (sc). Chain (ch) 1 and turn your work. Single crochet (sc) in your first stitch.
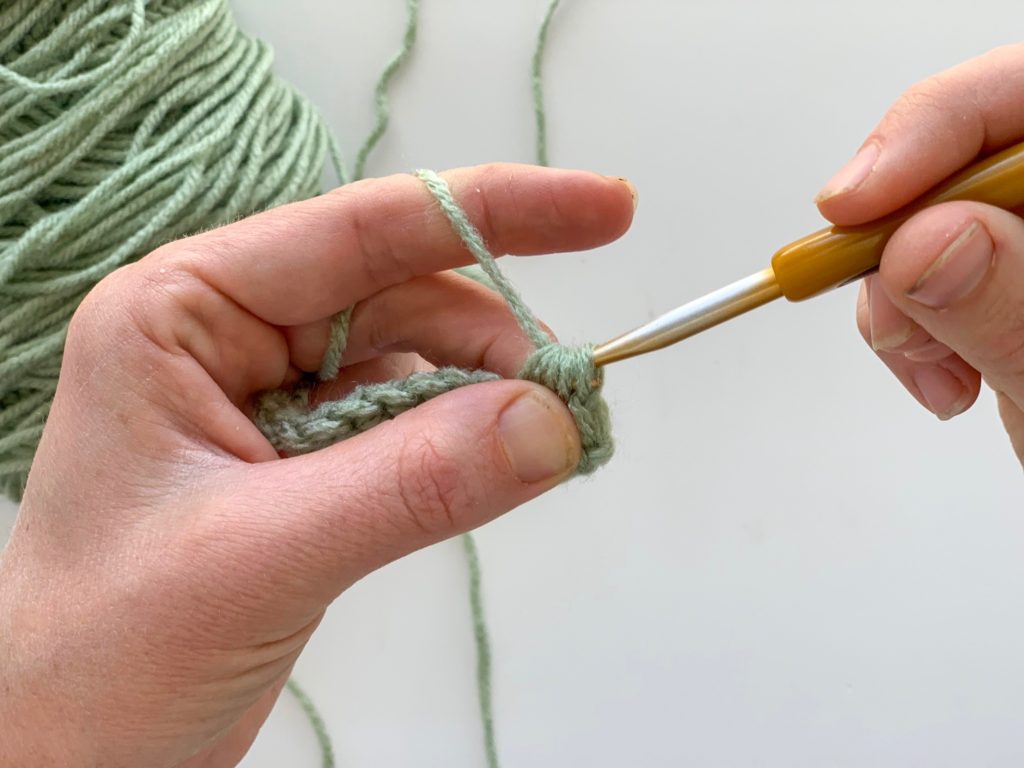
To create the back loop bobble, yarn over and insert your hook into the back loop only. When you are looking at the top of your work, you’ll see two strands making up the next crochet stitch. The one closest to you is called the front loop & the second loop, behind it, is called the back loop.
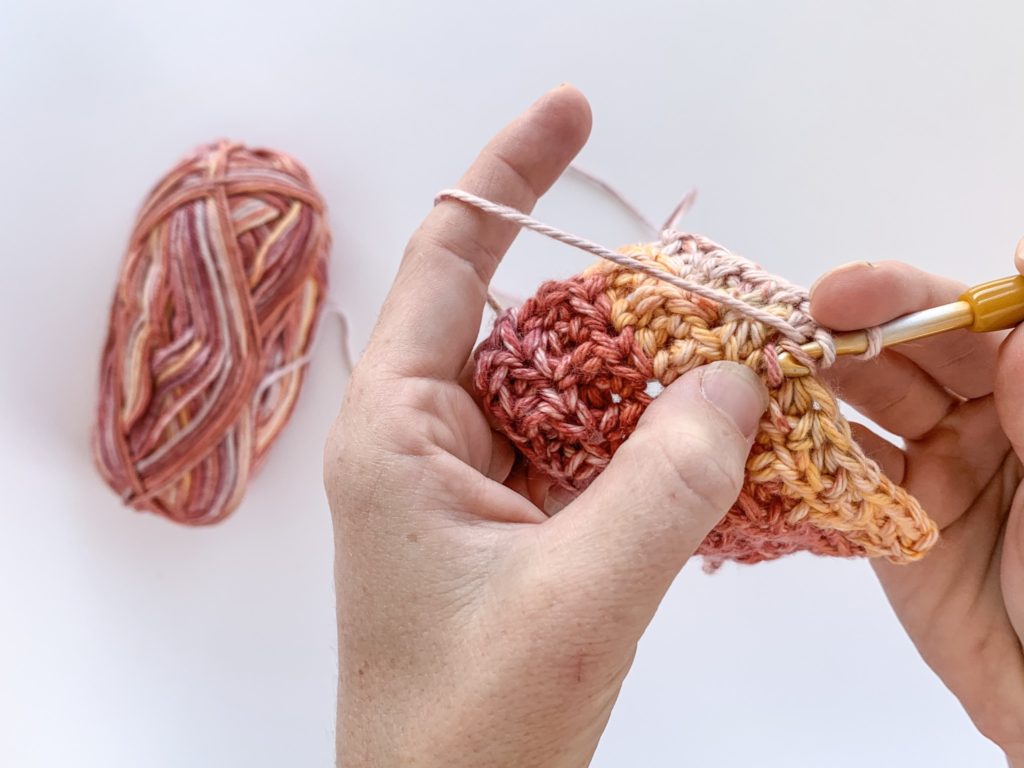
After you have yarned over and inserted your hook into the back loop, you are going to yarn over and draw up another loop. You should now have a total of 3 loops on your hook.
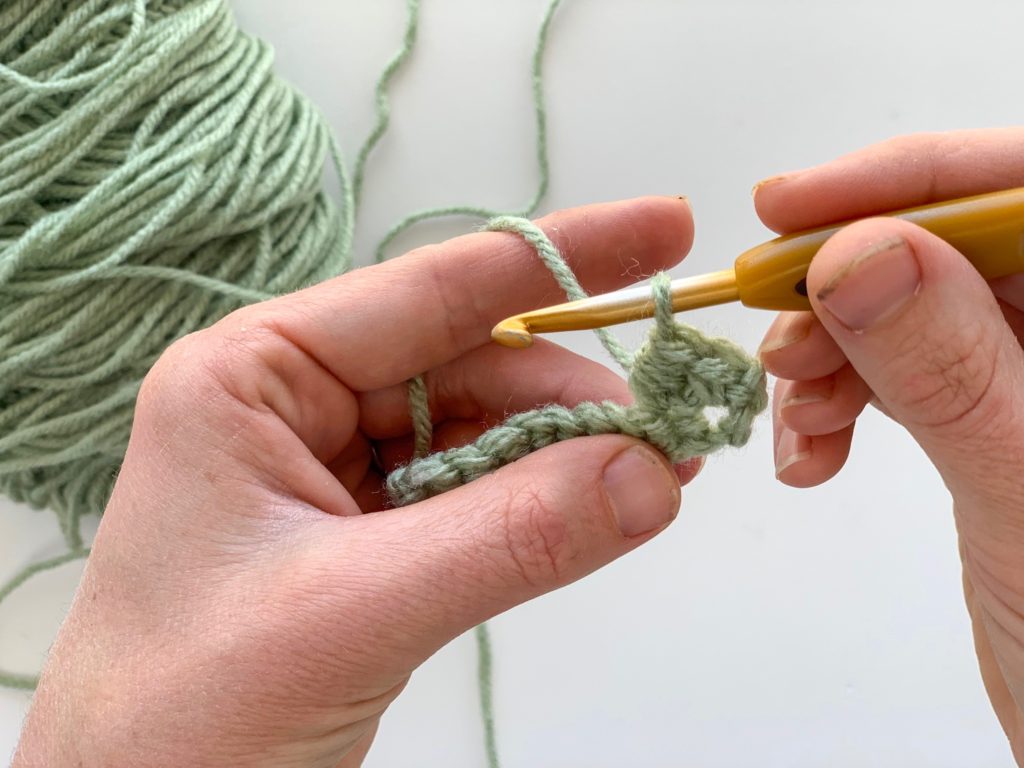
We’re not finished yet. Careful to continue working in the same stitch, yarn over and insert your hook into the whole stitch, front & back loop.
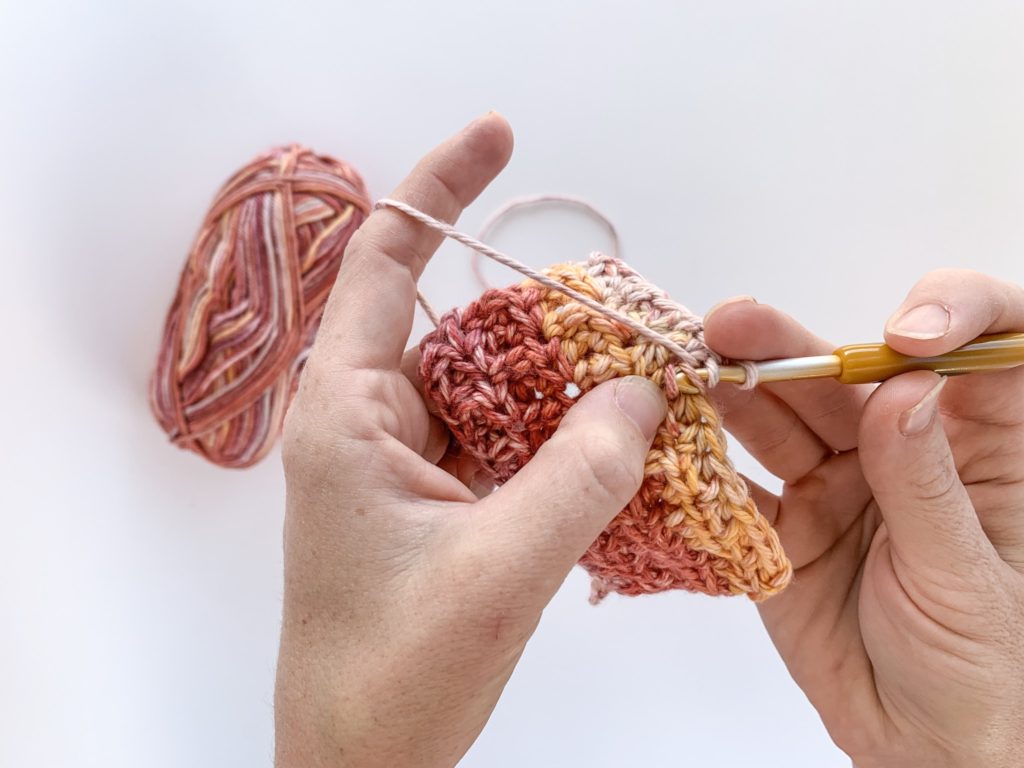
Yarn over and draw up another loop, for a total of 5 loops on your crochet hook. Yarn over and draw through all 5 loops on your hook.
Alternate between single crochets (sc) and the back loop bobble until the end of your row. Chain 1 to begin a new row. Single crochet (sc) across.
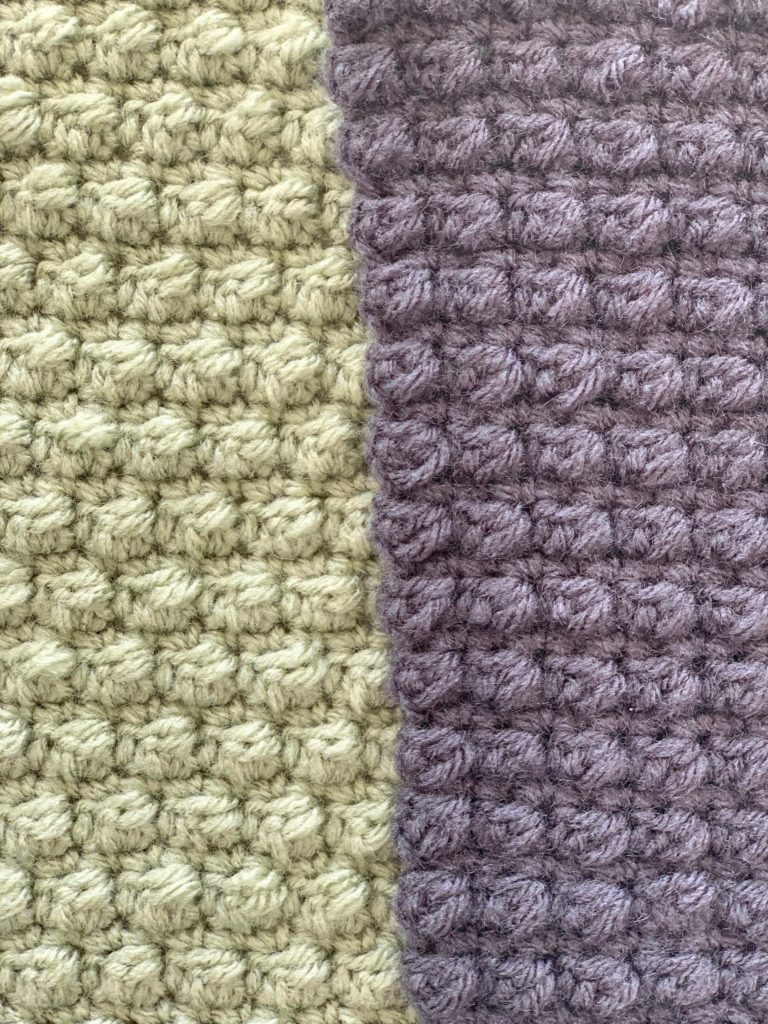
You can get creative with this stitch by lining up all of your bobbles into a row or you can stager them. To line up each row make sure you start each bobble row the same. If you started with a single crochet (sc) and then a back loop bobble, make sure to do that for each row. Pictured below as the dark grey.
If you want to stager the rows, alternate between starting your work with a single crochet (sc) and a back loop bobble. This is my personal preference. Pictured below as the green.
Remember that each row after alternating between a single crochet (sc) and back loop bobble, you’ll want to single crochet across. This creates a very textured side, as well as a simple and smooth backing.
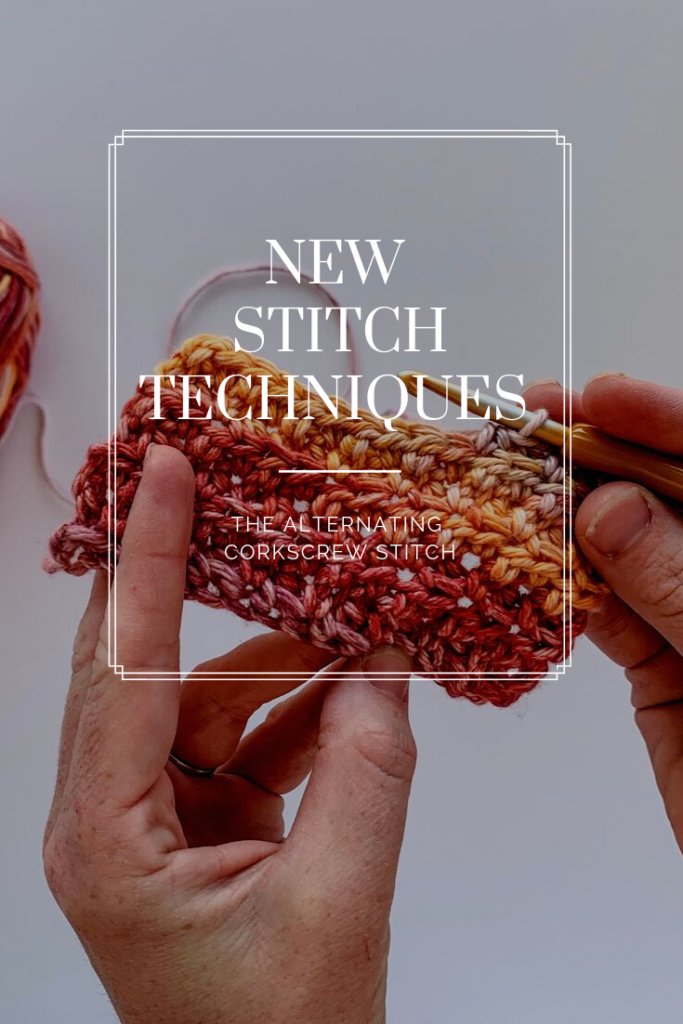
Crochet basics- new stitch techniques, featuring the alternating corkscrew stitch.
I found myself so frustrated with back loop only stitches..
I found myself so frustrated with back loop only stitches when I was working on a pattern that had ribbing. I would tell close crochet friends how one day I would find a stitch that worked through more than one loop and still created a beautiful ribbing effect.
I think what bothers me the most about this stitch, is how it stretches out the yarn by pulling on the back loop. Tugging on the back loop only creates a lift on that loop and bunching up the rest of the stitch. I needed something with a little more structure but wanted to keep the ribbing texture.
I decided to test out a series of different stitches..
I decided to test out a series of different stitches until I came up with a few different ribbing textures I knew I’d use for future projects. This one being my favorite for sweater ribbing, the Alternating Corkscrew Stitch, ACS.
The Alternating Corkscrew Stitch (ACS)
Start by chaining however many stitches you need for your ribbing.
Half double crochet (hdc) across to create your first row. Chain and turn. Here is where you will start creating the ribbing effect by creating the alternating corkscrew stitch.
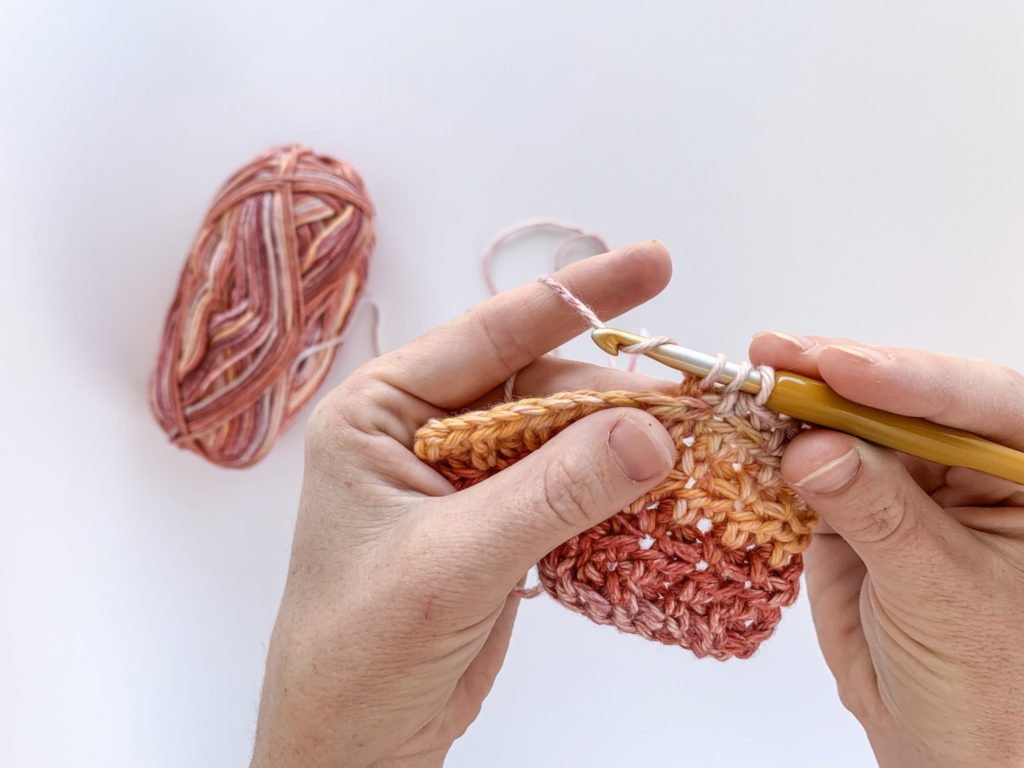
Yarn over and insert your hook through the back & third loop.
Yarn over and draw through both loops(back & third).
With three loops on your hook yarn over and pull through all three, like a half double crochet.
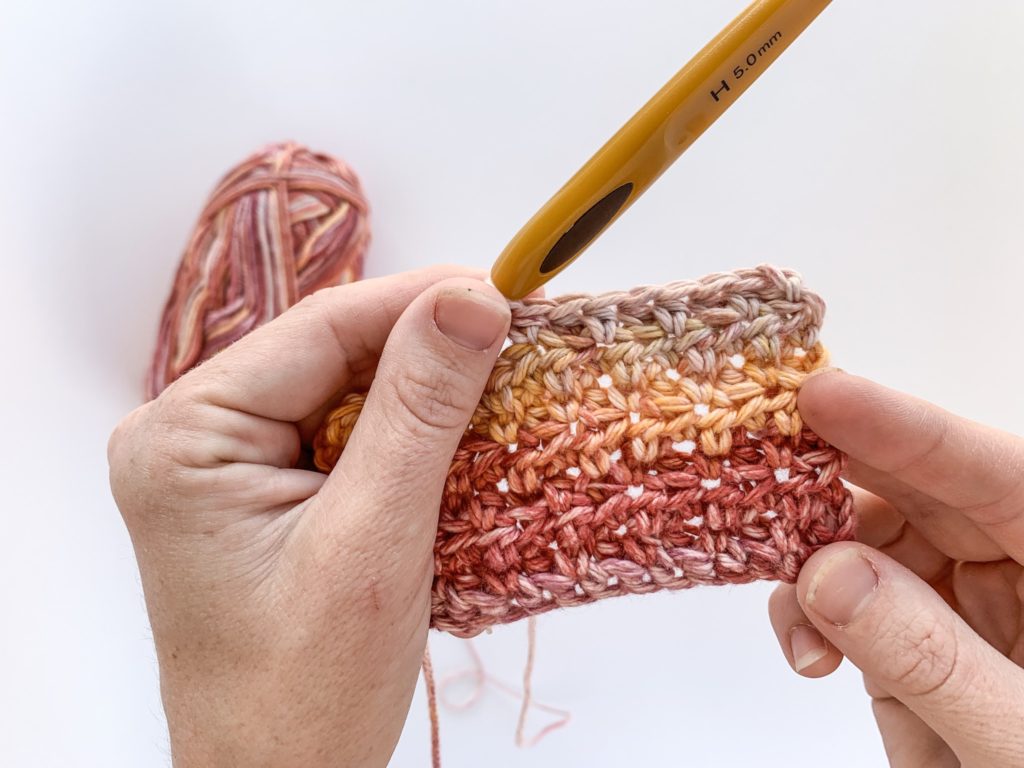
In the next stitch, half double crochet. Repeat alternating between the corkscrew stitch and a half double crochet.
*I like to start the row with an alternating corkscrew stitch and end each row with a half double crochet.
PIN IT FOR LATER!!
P.s: If you’ve tried all of my alternatives to the back loop only stitch, leave a comment below and share your favorite stitch with me!
Crochet basics new stitch techniques, featuring the corkscrew stitch (CS).
I found myself so frustrated with back loop only stitches..
I found myself so frustrated with back loop only stitches when I was working on a pattern that had ribbing. I would tell close crochet friends how one day I would find a stitch that worked through more than one loop and still created a beautiful ribbing effect.
I think what bothers me the most about this stitch, is how it stretches out the yarn by pulling on the back loop. Tugging on the back loop only creates a lift on that loop and bunching up the rest of the stitch. I needed something with a little more structure but wanted to keep the ribbing texture.
I decided to test out a series of different stitches..
I decided to test out a series of different stitches until I came up with a few different ribbing textures I knew I’d use for future projects. This one being my favorite, the corkscrew stitch. I love the idea of this stitch for all ribbing projects.
The Corkscrew Stitch
Start by chaining however many stitches you need for your ribbing.
Half double crochet (hdc) across to create your first row. Chain and turn. Here is where you will start creating the ribbing effect by creating the corkscrew stitch (CS).
Yarn over and insert your hook into the back and third loop.
Yarn over again and draw up a loop.
With three loops on your hook, yarn over and draw through all three, like a half double crochet.
Repeat until you reach desired ribbing length.
*If you have tried all of my back loop only alternatives, comment below with your favorite stitch.
PIN IT FOR LATER!!
What projects are you using the corkscrew stitch for?