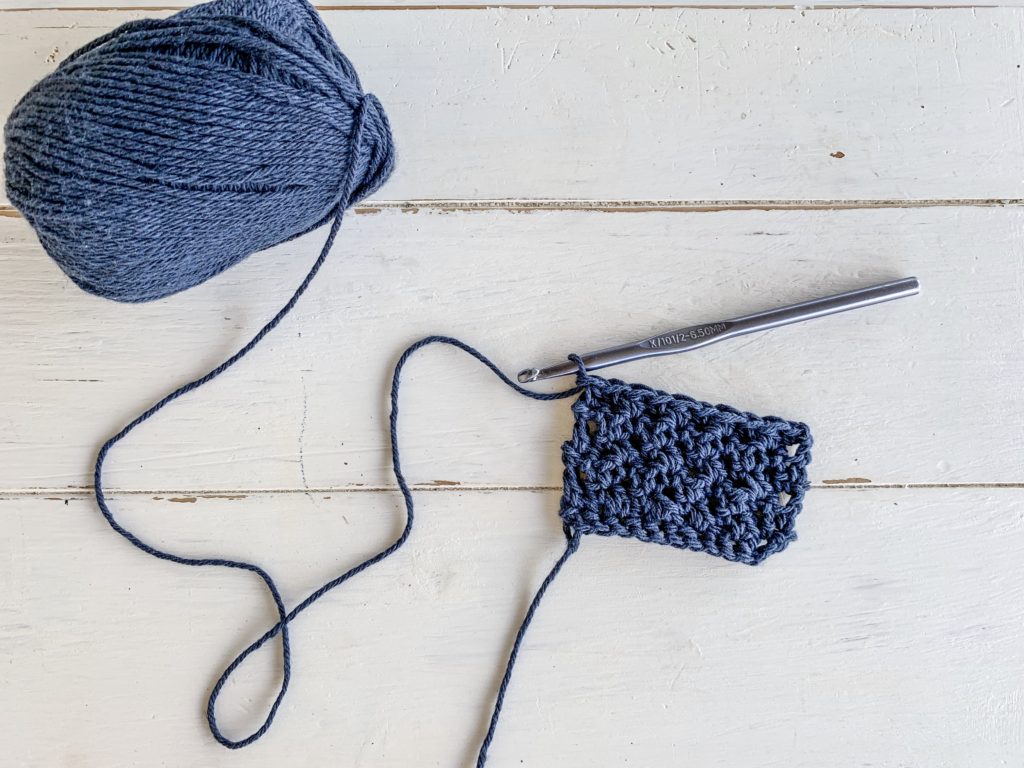
Today I am talking about the most common compliant and frustration for crochet beginners. Learn how to successfully crochet.
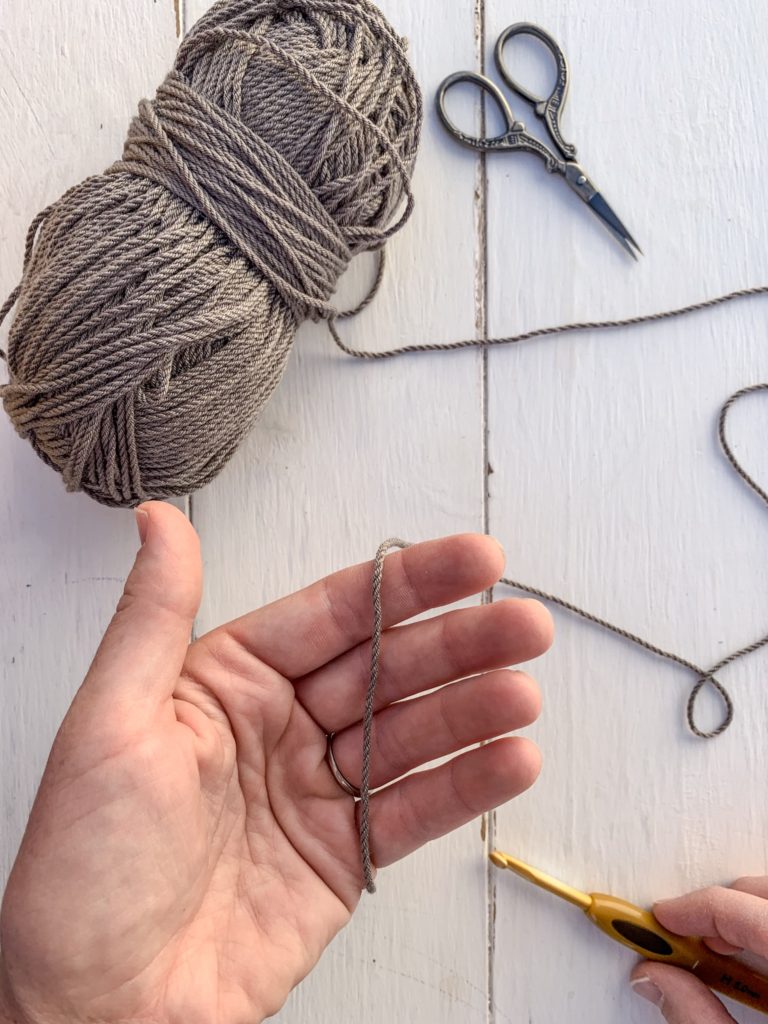
Now that you have all your supplies let’s first talk a little bit about the problem I find most people have when learning how to crochet. The most common complaint is how the yarn and hook feels in their hands. At first its very awkward and that’s because you’ve never done it before. Try and relax. The more tense you are the tighter your stitches will becoming, making it very difficult to crochet.
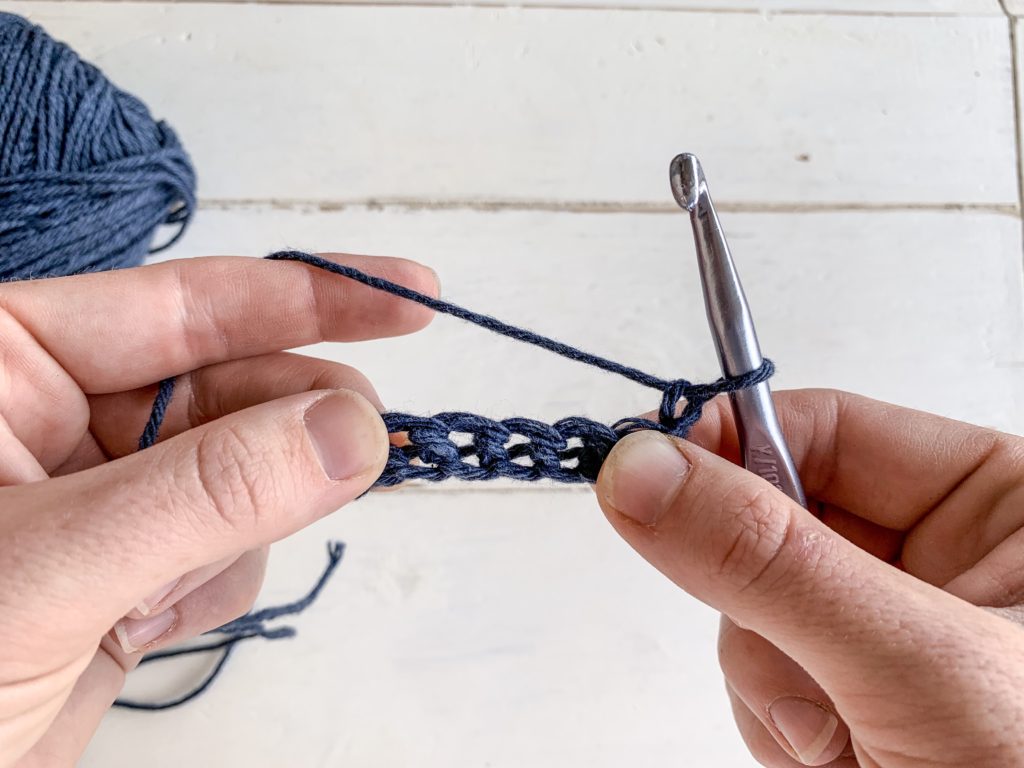
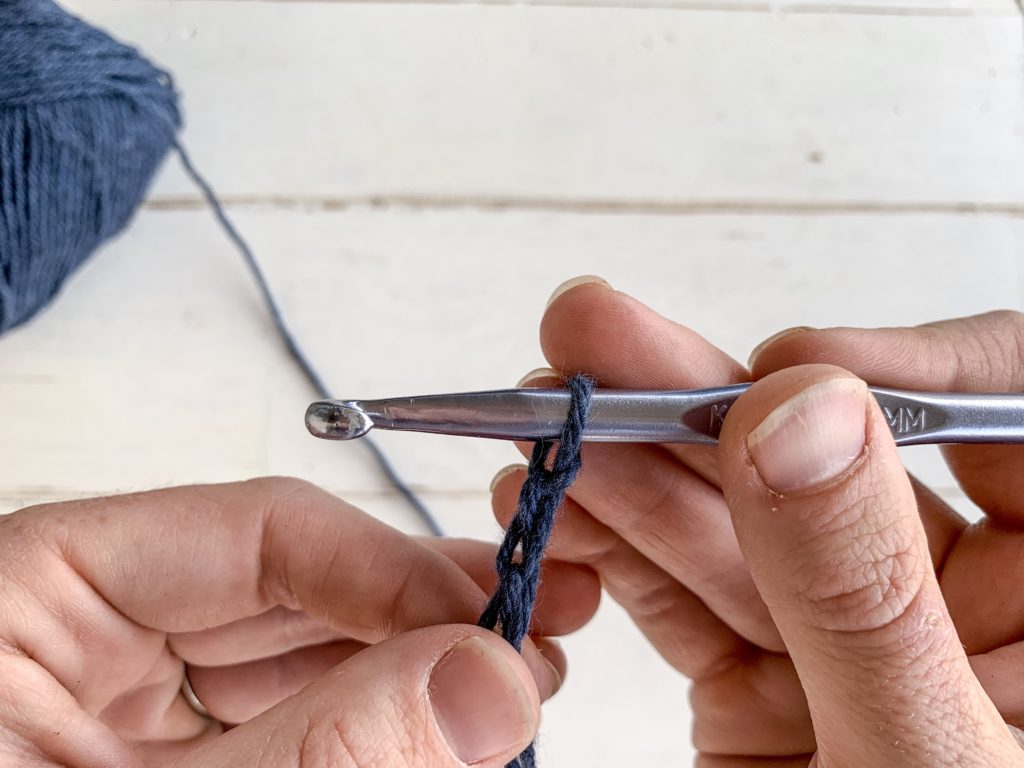
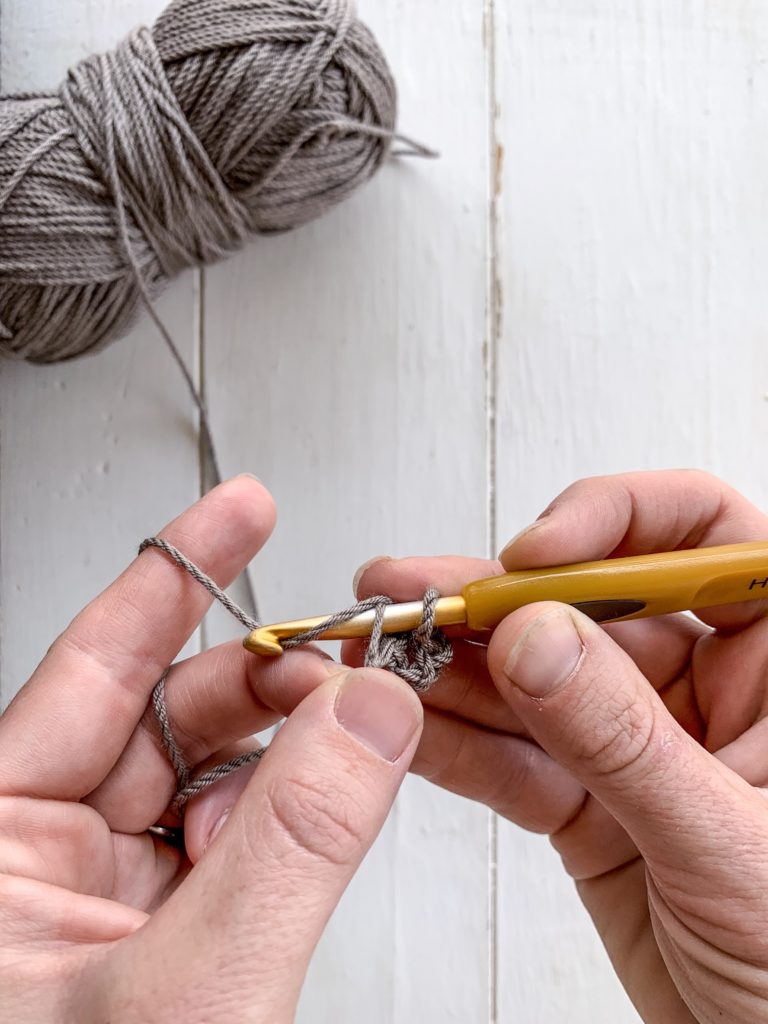
This may seem unimportant and will take some concentration but I want you to focus on finding a comfortable hold on your yarn and hook. Don’t focus on the stitches so much! I know that seems opposite, but if you really want to learn to crochet and find it enjoyable you have to get comfortable.
To start we are going to practice the most basic stitch, chains. Essentially that’s what you are doing, interlocking loops of yarn into a chain. Head over to the next post in my series “A Beginners Guide To Crocheting,” How To Create A Slip Knot for the next step.
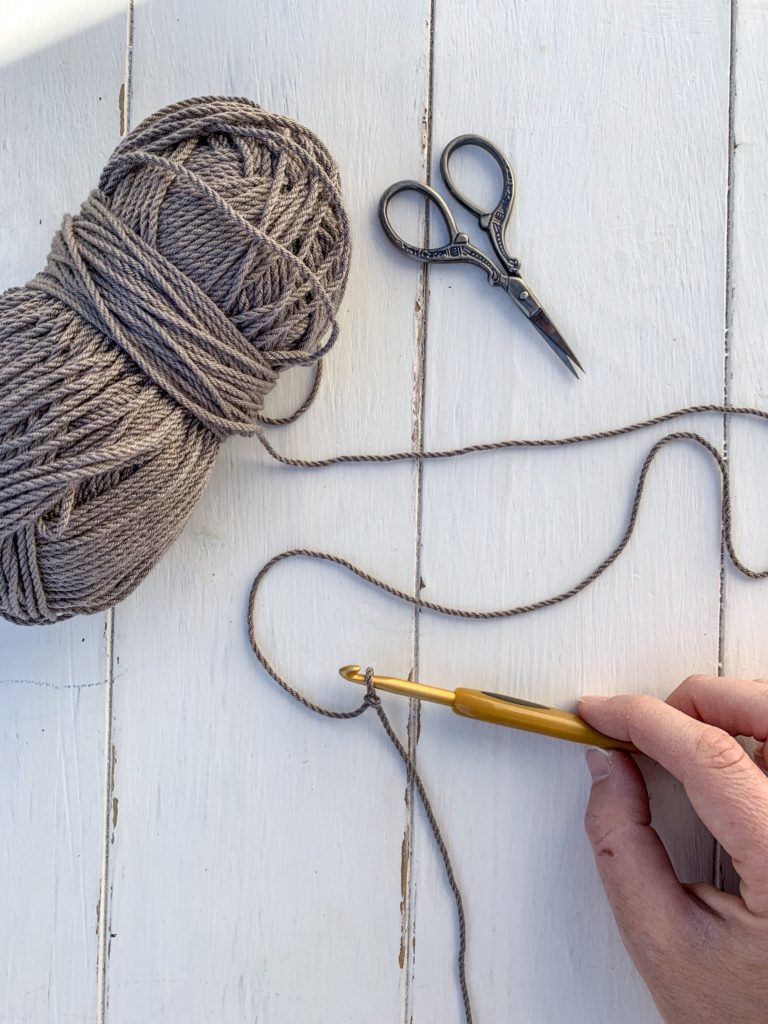
Yarn– I Love This Cotton or Lion Brand are my go to’s
Scissors
Yarn needle
You can find these supplies at your local craft store; including Joann’s, Micheals, Hobby Lobby, and Walmart. As well as online, hello there Amazon.
Friend, I could not be more excited that you are here!!! You’ve got this! Together we are going to dig in and do the work. I’ll take you step by step and teach you how to get started crocheting. In fact, I’ve set up a whole series just for you, “A Beginners Guide To Crocheting!”
How to create a straw bale garden with a step by step guide on conditioning straw bales before planting.
Straw Bale Gardening
Straw bale gardening is a great option if you you live in an area with poor soil quality or have a limited amount of gardening space. It can also be cheaper than adding raised beds. You will need to prepare the straw bales before planting into them so that they provide nutrients to your plants like soil does. This process is called conditioning. Conditioning the straw bales will take anywhere from 2-3 weeks.
The first thing you will want to do is calculate the costs and decide how big you want your garden. We conditioned 10 bales last year and lined them along our patio. The straw bales are meant to last 2 years, but keep in mind the conditioning process breaks down and composts the straw bale. It’s recommend that you place your straw bales against a fence or somewhere with extra support to keep them from leaning or falling over.
This post contains affiliate links, which means I make a small commission at no extra cost to you.
What you’ll need:
Straw Bale(s). We bought ours for $9 each at our local feed store and had them delivered. Make sure to buy straw bales and not hay bales. Hay contains seeds and you may get grass or other weeds coming up.
Step 1: Place your straw bales with the cut side up. This is important because you want the nitrogen and fertilizer to soak down into the straw bales. To find the cut side stand your straw bale up and look for the side that looks like tiny straws throughout. One side of the straw bale will be folded over and the other side you should be able to see the straw holes, that’s the cut side.
Step 2: Soak the bales. I recommend soaking the bales 3 days prior to starting the conditioning process. During conditioning the straw bales can reach over 100-125 degrees and to prevent them from getting too hot and possibly burning, they need to be soaked regularly. Soaking a few days before conditioning helps them build up moisture. Tip: Check your straw bales daily with a kitchen or meat thermometer to watch the temperatures during conditioning.
Step 3: Conditioning the bales. Sprinkle anywhere from 1/2 cup to 1 cup of Jobes Organics Blood Meal or whatever high nitrogen fertilizer your using on top of your straw bale. Do this every other day for 10 days. Tip: For the first 3 days of conditioning you can use 1 cup of nitrogen and for the remaining 7 days cut back to 1/2 cup of nitrogen every other day.
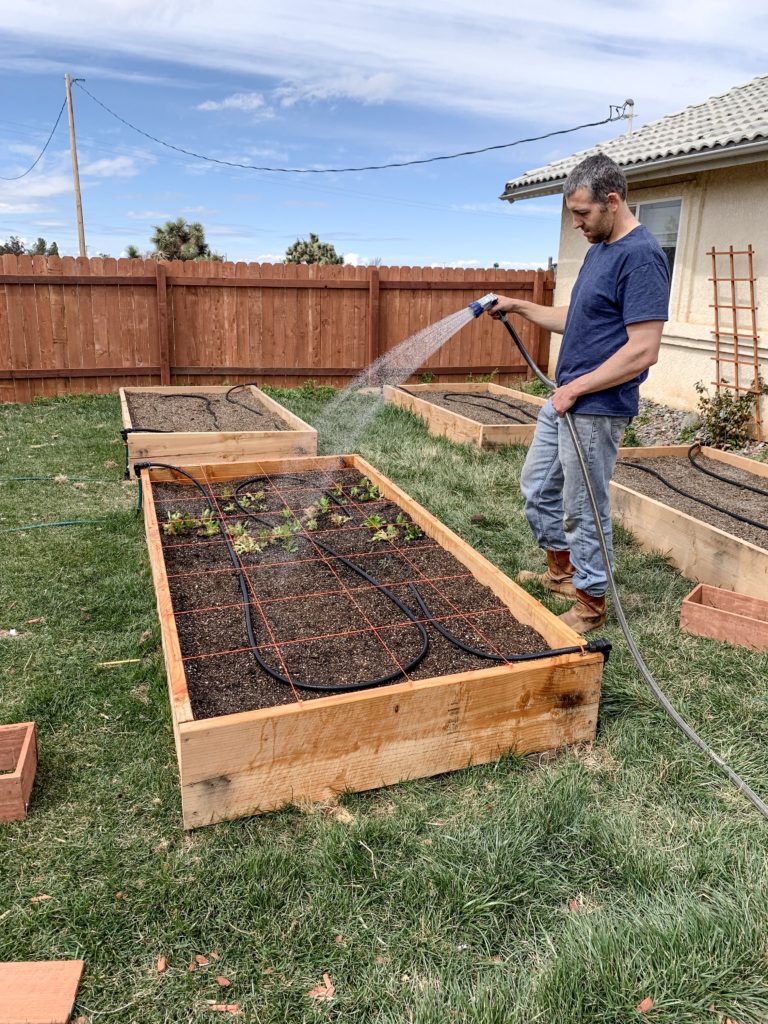
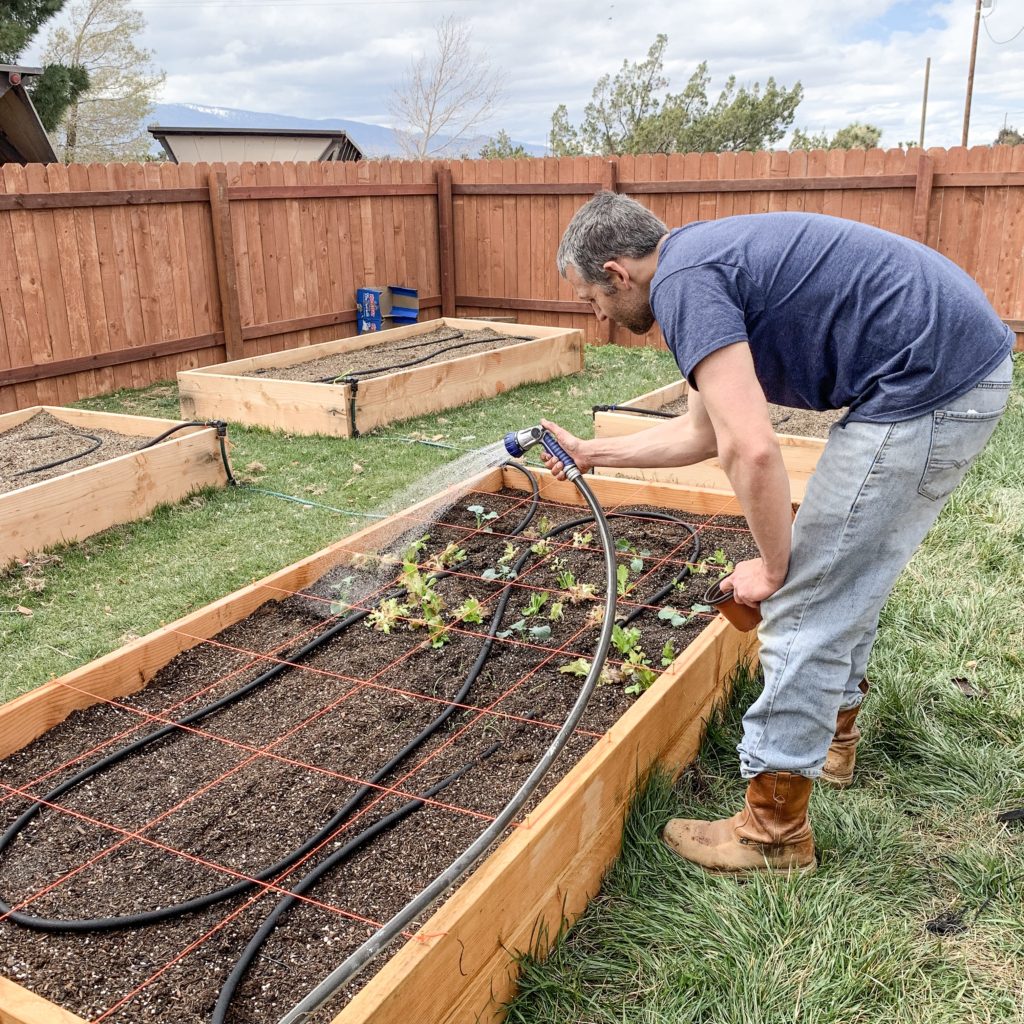
Step 4: Water! You’ll want to soak your straw bales 2-3 times daily. This not only helps cool your straw bales during conditioning but also helps the nitrogen and fertilizer move down into the straw bale.
Step 5: After day 10 you can stop with the nitrogen, Jobes Organics Blood Meal and start fertilizing with Jobes Organics Vegetable and Tomato Fertilizer. You’ll want to add a full cup of fertilizer to each straw bale for the next 4 days. Remember to continue watering 2-3 times daily. Tip: Mushrooms are a sign of healthy compost
Your straw bales are ready!
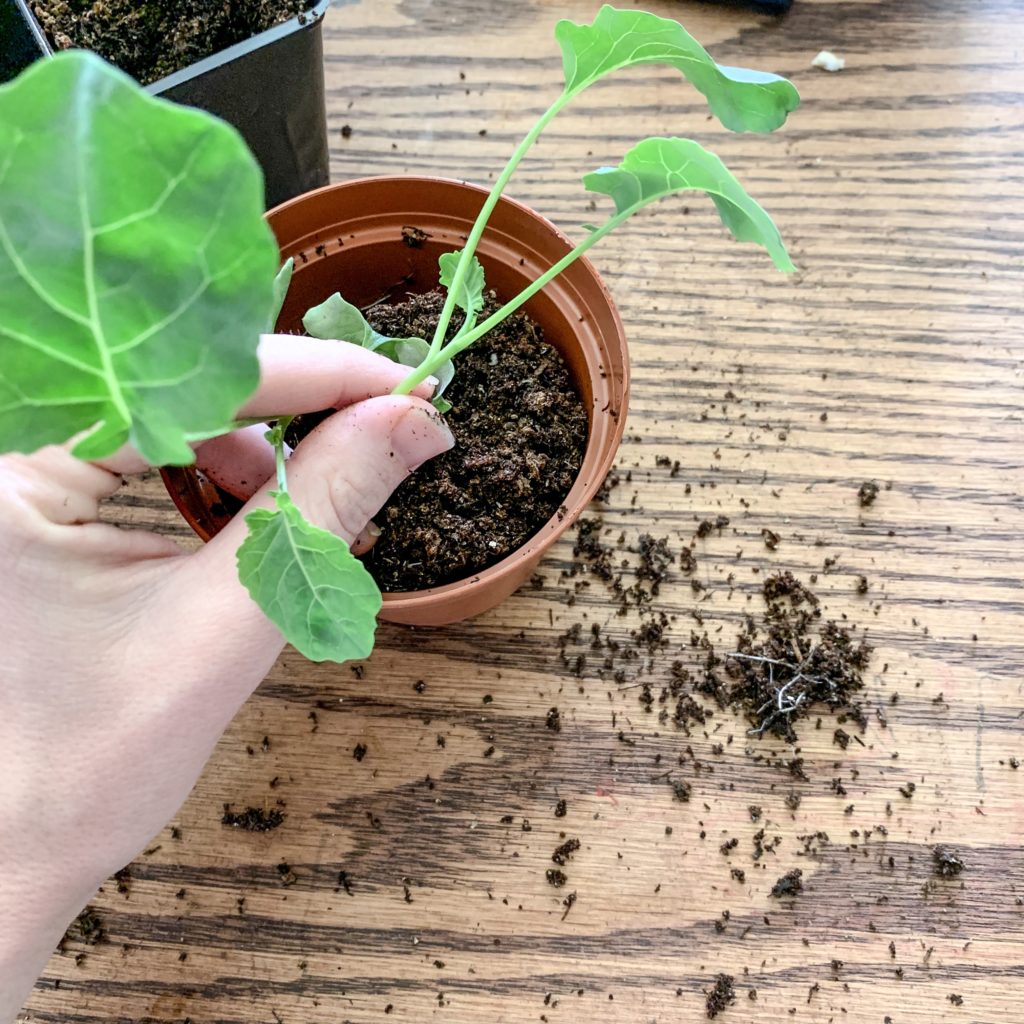
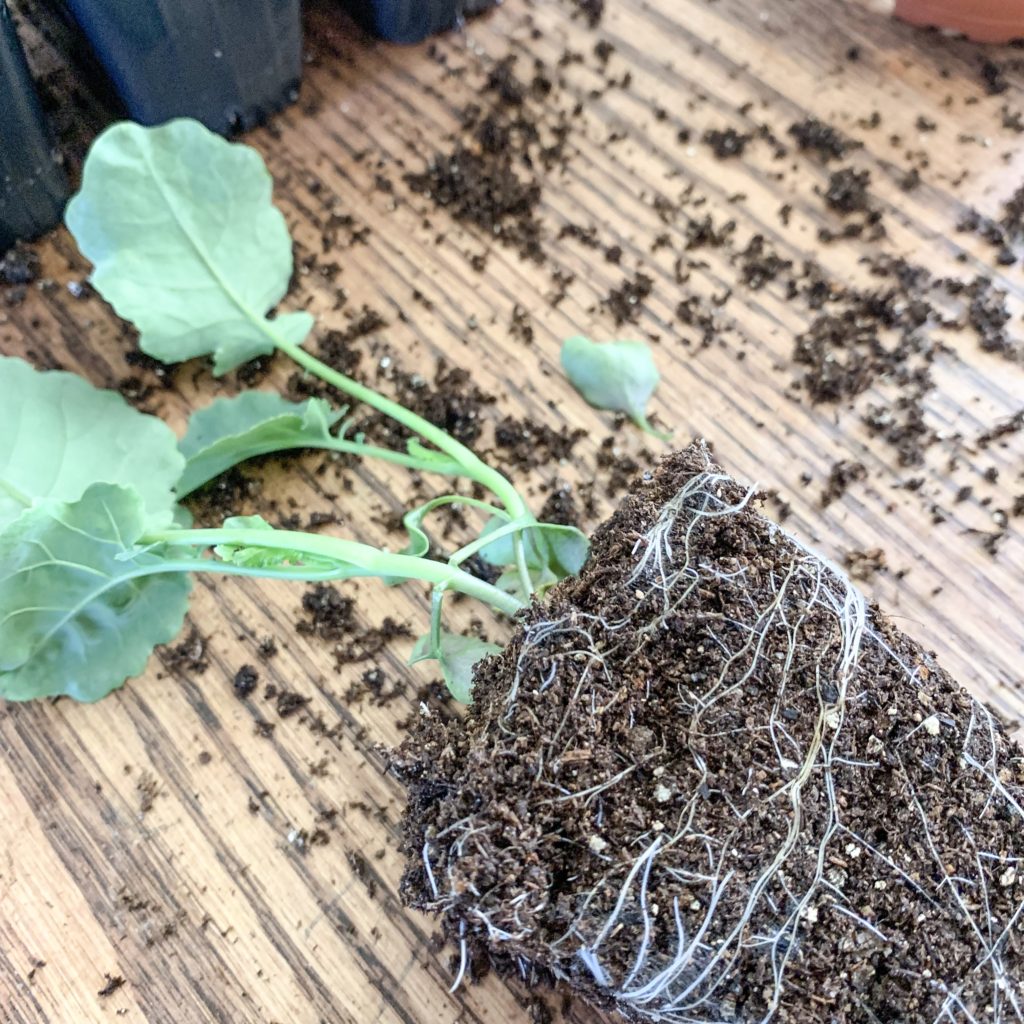
Whether you are direct sowing or transplanting, your straw bales are conditioned and ready. Happy planting friends!
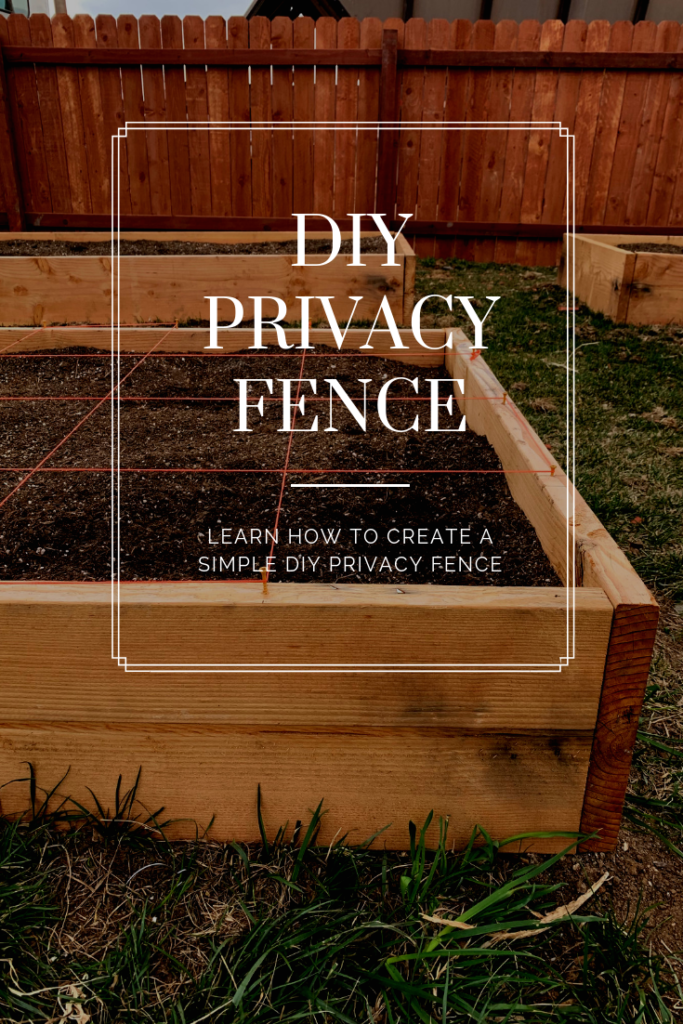
This simple privacy fence is an easy DIY project to add to your own front or backyard.
Step 1: Map it out.
This is the fun part for me. Talking with your spouse and throwing ideas out at each other. Listing the pros and cons, dreaming up your new project and getting excited. Whether your creating your privacy fence for your garden, like we did or to keep your little ones from roaming the whole yard, this fence is a simple build. We decided to build ours off of our house, which cut back on supplies.
Step 2: Supply List
You’ll want to pay close attention to this step and triple check your work to avoid multiple trips back and forth to the hardware store. Plan to add a 4 x 4 post every 8 ft. Calculate how many 4 x 4’s you’ll need. (We used 12) You will want at least two 2 x 4 x 8’s between each 4 x 4 post. (That totaled 22 for us) *TIP: Add a few 2 x 4 x 10’s just in case you dig the holes for the posts a little off. You can always take back any extra wood not used. Plan on using 1 and 1/2 bag of 50 LB fast-setting concrete to secure each post into the ground. (We used 18) Lastly the slats. Using your measurements divide the slat width into the length of the fence.
Step 3: Building
Mark out and then dig each of your posts. With help fill each hole with concrete and 4 x 4 posts. Let the post set over night. After your concrete has dried you can begin adding your 2 x 4 x 8’s. We had a few spots that measured a little short, so we cut a few 2 x 4 x 10’s to fit. Before adding the fencing posts, you’ll want to let them dry out to prevent large gaps and spacing between each board. I recommend waiting 4 days.
Step 4: The Gate
We kind of cheated on the gate. Since we aren’t the most handy couple and building a gate seemed like a lot of extra time watching youtube videos and scrolling Pinterest we decided to buy a gate kit from Lowes and called it good. Tip: Adding a pull string to the latch will make it easier for you and others to enter through the gate more easily.
My favorite part about creating this privacy fence is the space it gives me to garden. We have a very large yard and being able to dedicate this area to growing helps me not to become overwhelmed with the whole yard. What will you create your privacy fence for? A garden, animals, or simply for more privacy?
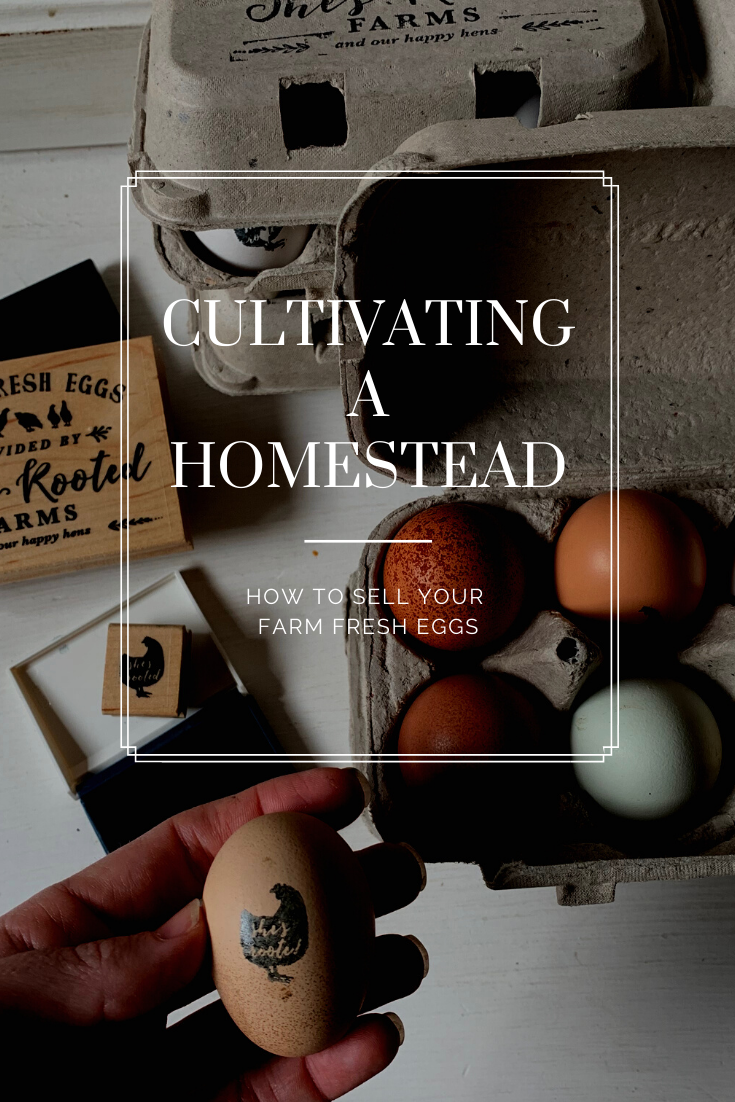
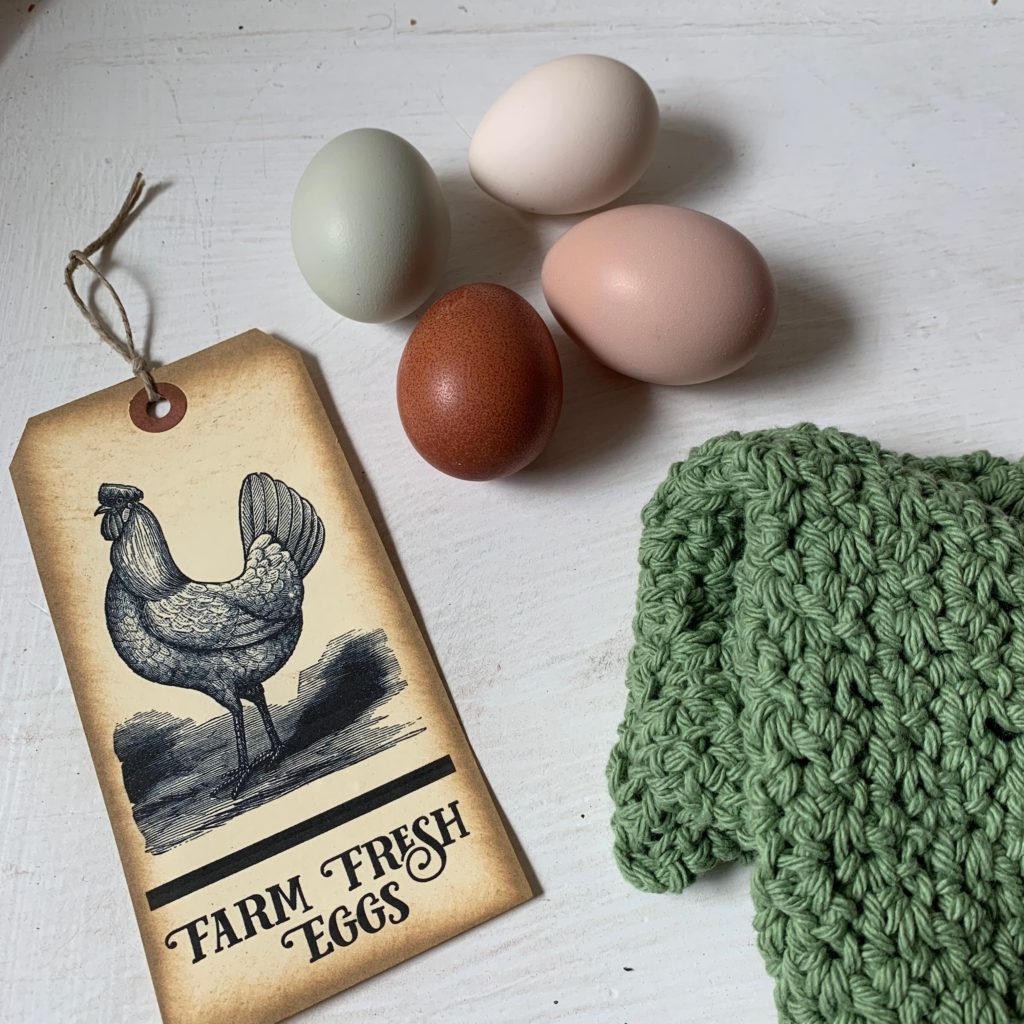
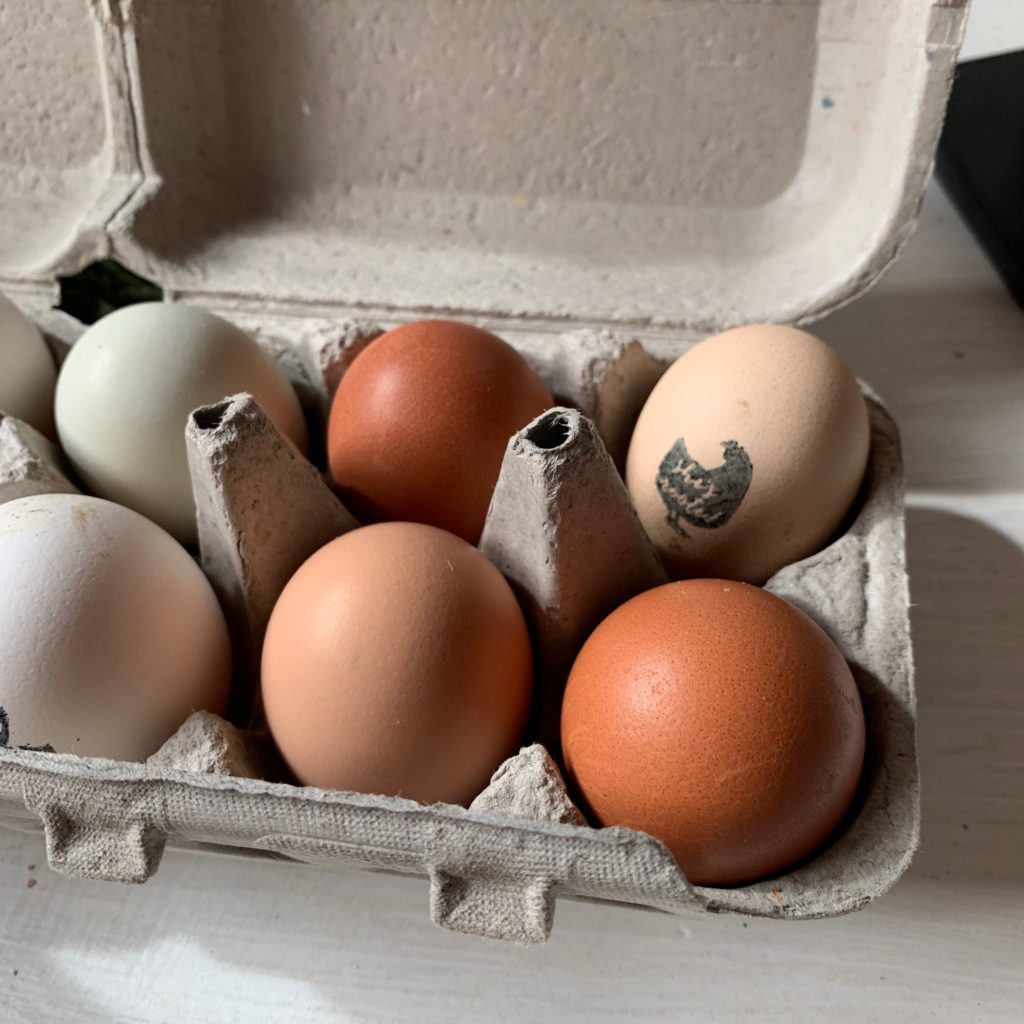
Having trouble selling your extra eggs? Today I’m sharing how to sell your farm fresh eggs and create a list of returning customers.
There are a number of ways you can sell your farm fresh eggs. Including regular eating eggs, hatching eggs or incubating them yourself to sell chicks. I have tried just about everything and became frustrated with how hard it is to make profit off our chickens.
This post contains affiliate links, which means I make a small commission at no extra cost to you.
Today I want to share one of the ways I’m able to fund our homestead by selling farm fresh eggs. I’ve tried selling a half or full dozen eggs at a time and found it hard to gain consistent buyers. When I had an extra few dozen I would ask around, but usually they already went to the store. We also live outside the city and people didn’t care to make the drive out just for eggs. I found myself offering to drop them off, but with 3 kiddos it wasn’t always worth it.
I thought about how nice it would be if we could just cover the cost of feed.
We feed our hens an organic feed and that quickly adds up with 19 hens plus a rooster. I became discouraged as I went into the feed store continually to pick up feed, beading and treats. I thought about how nice it would be if we could just cover the cost of feed. We may not be paying for eggs but our feed bill was adding up quickly.
For most it’s much easier to pick up a dozen or two at the store then purchase from a local farmer. There are those few who don’t mind going out of their way to get locally sourced farm fresh organic eggs. I just feel like they are often hard to find in your homesteading journey. At least in the beginning.
I think this could be the secret to making a profit off your extra eggs.
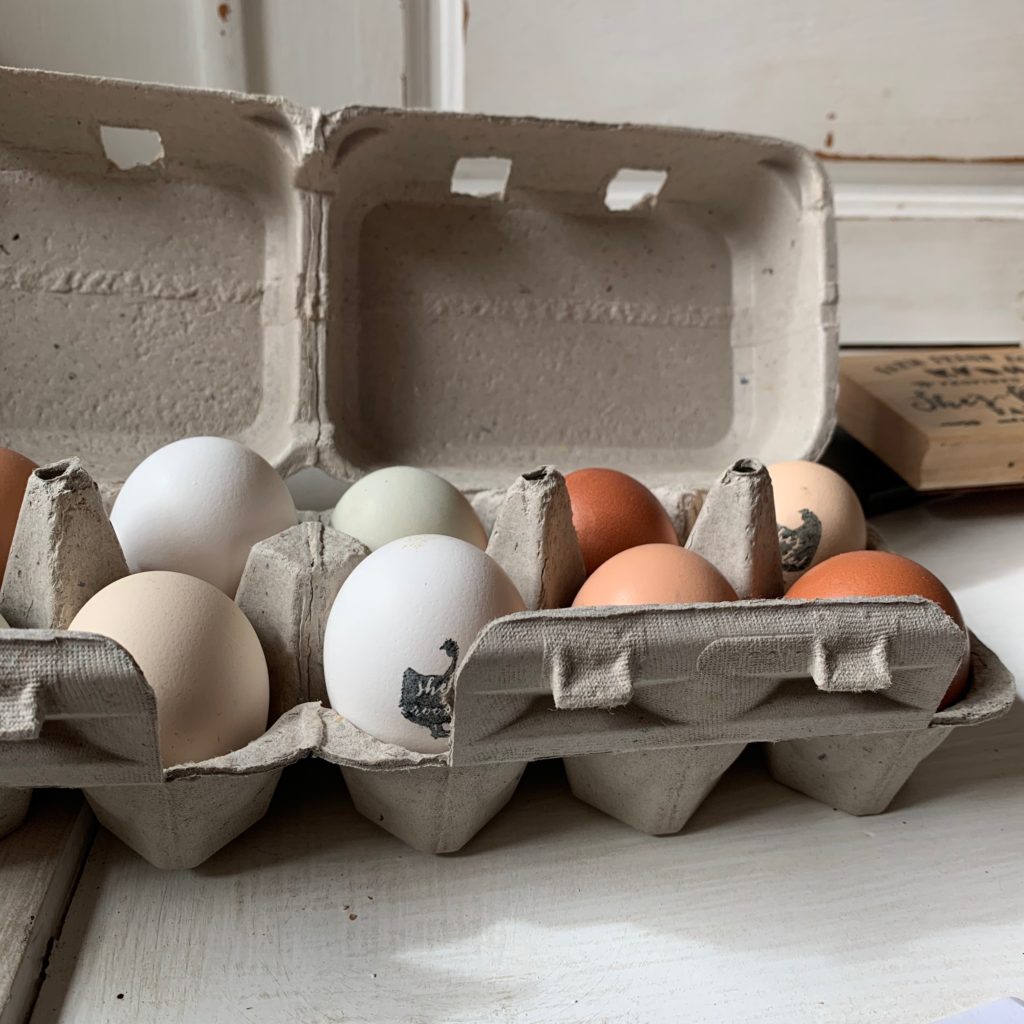
I decided to test another approach to selling our farm fresh eggs. I think this could be the secret to making a profit off your extra eggs. First is selling more than one dozen at a time. Considering the eggs you get from the store can be up to 3 months old. Where as you collect eggs daily. I’d say its safe to collect a few dozen before offering them to your customers.
Next consider where you want to spend your profit. I want to be able to feed my hens without having to take it out of our personal account. Most backyard chicken farmers live in an area with a lot of greenery. Their chickens are able to forage, allowing them to feed their flock for little or no costs. We on the other live in the desert so that’s a lot harder for us to do. I’d much rather the money we spend on organic feed go towards building up another aspect of our homesteading life.
Most family and friends that buy your eggs aren’t buying them because they are better for them.
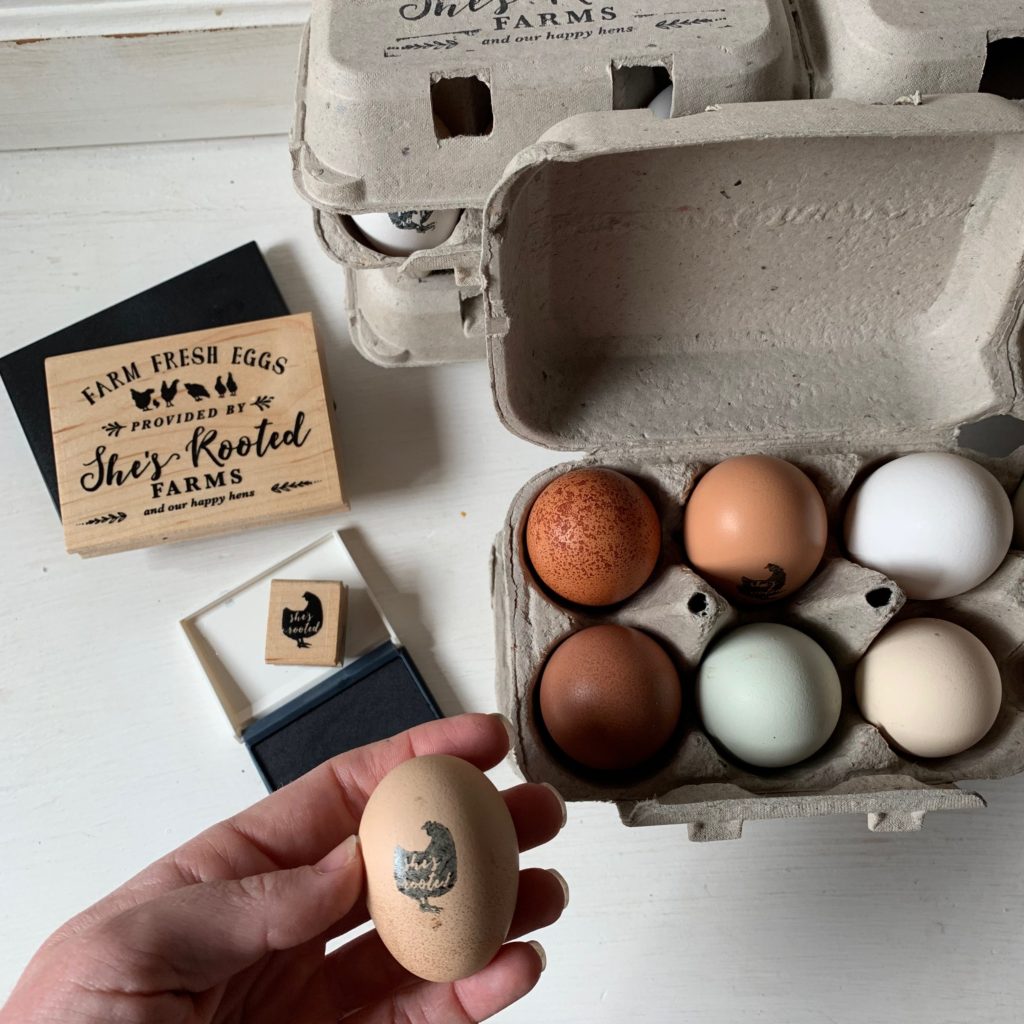
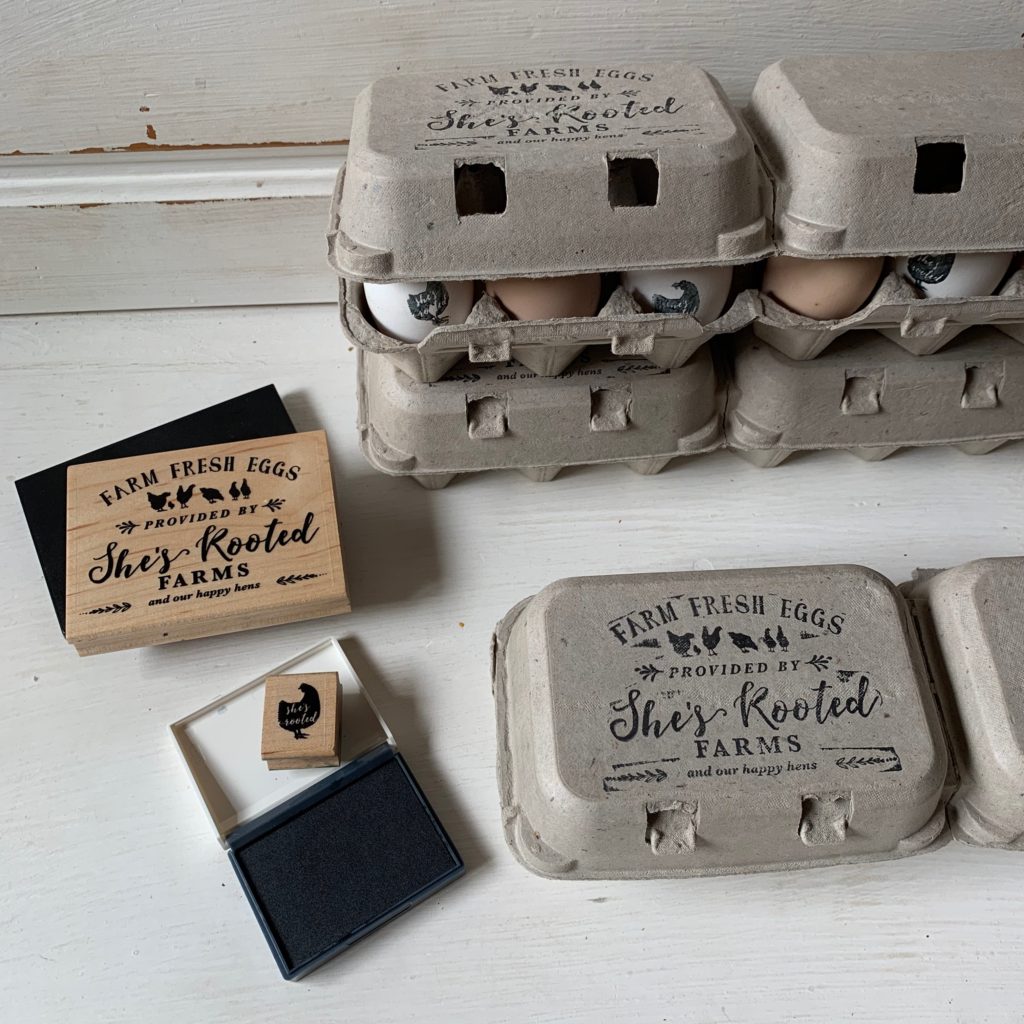
Now that I know I’d like to cover the costs of feed I can market my eggs around that idea. Most family and friends that buy your eggs aren’t buying them because they are better for them. Rather that they are supporting YOU and what your doing for your family. I decided to test this theory out. I asked if they’d be interested in getting organic farm fresh eggs in return for a Tractor Supply gift card, to help us pay for our costs of feed.
They also care a great deal about connivance.
As much as people love to buy food that’s local, fresh and nourishing to their bodies. Ultimately they care more about supporting you and what your doing for your family! They also care a great deal about convenience. Driving back and forth each week for a dozen eggs doesn’t seem worth the extra effort. Especially when most of us already have full of schedules.
I offered my close friends and family 6 dozen eggs in return for a $25 Tractor Supply gift card. Then I briefly shared how we would love to be able to cover some of the costs of our organic feed. I now have a list of customers waiting for our hens to lay 6 dozen eggs. You could offer 3 dozen or even 10 dozen. Depending on how big or small your flock is and how much they are laying.
Sharing your why helps make it easier for them to support you.
Family and friends are often the first to support you in whatever it is your working on. For us its growing our homestead and small farm. Sharing your why helps make it easier for them to support you. Although don’t forget to save some eggs for your own family! That’s why you got chickens in the first place.
If you found this post helpful, I’d love for you to share it on your Pinterest feed and with your backyard farming friends!