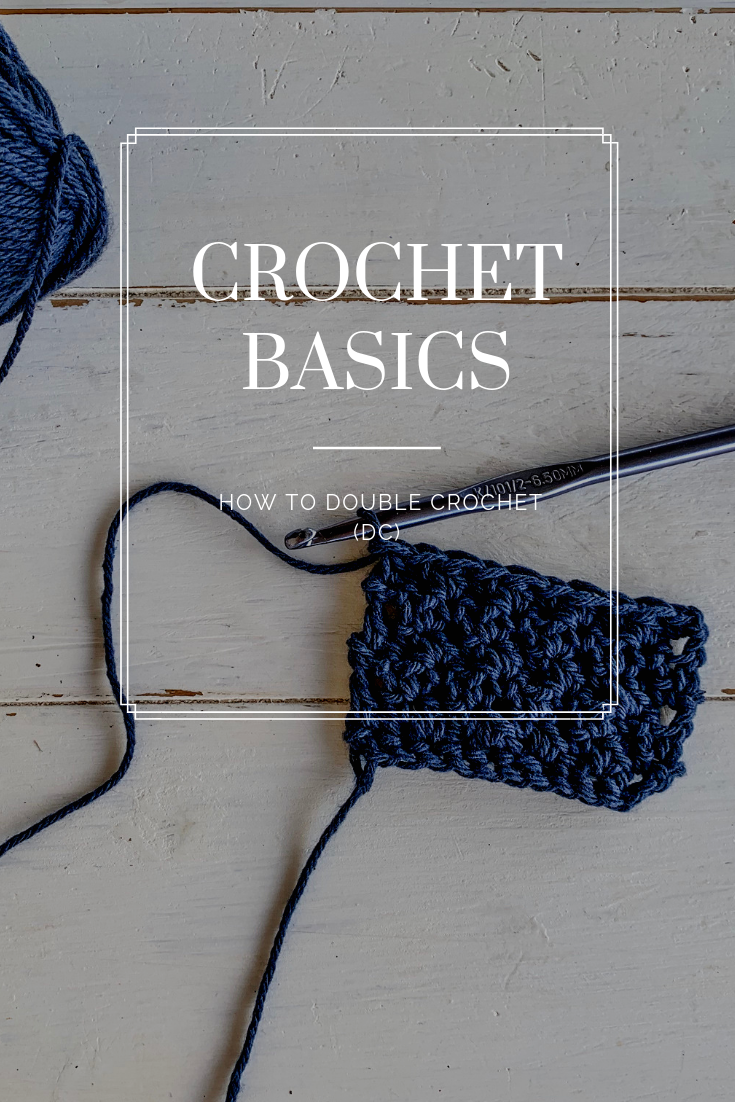
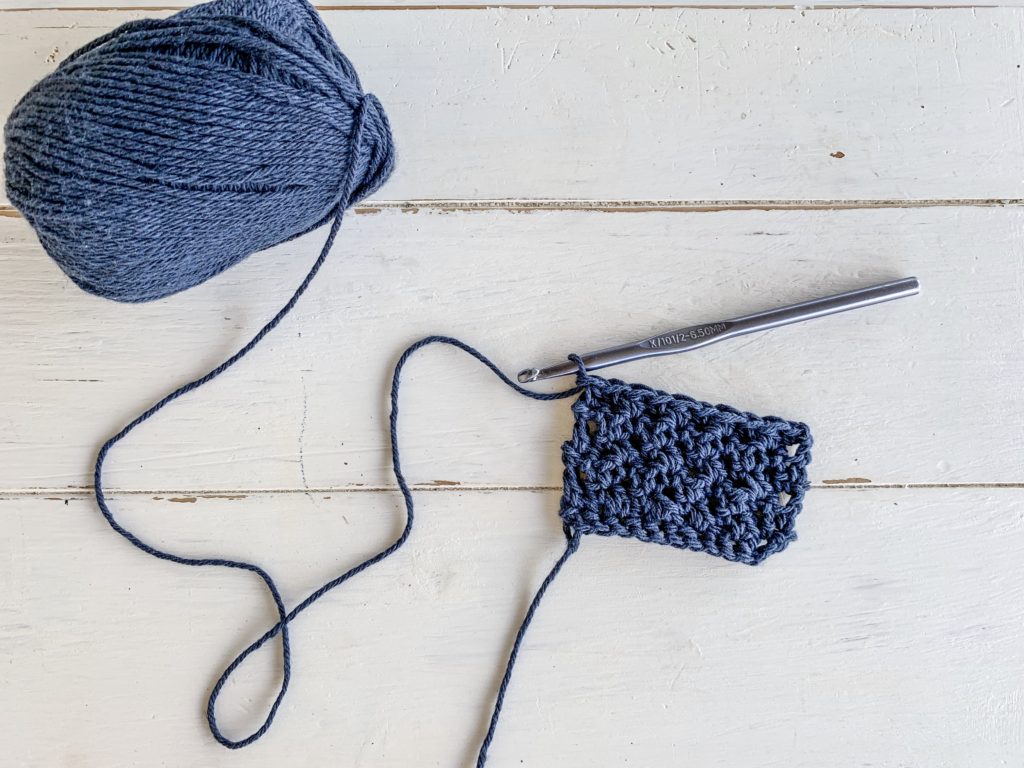
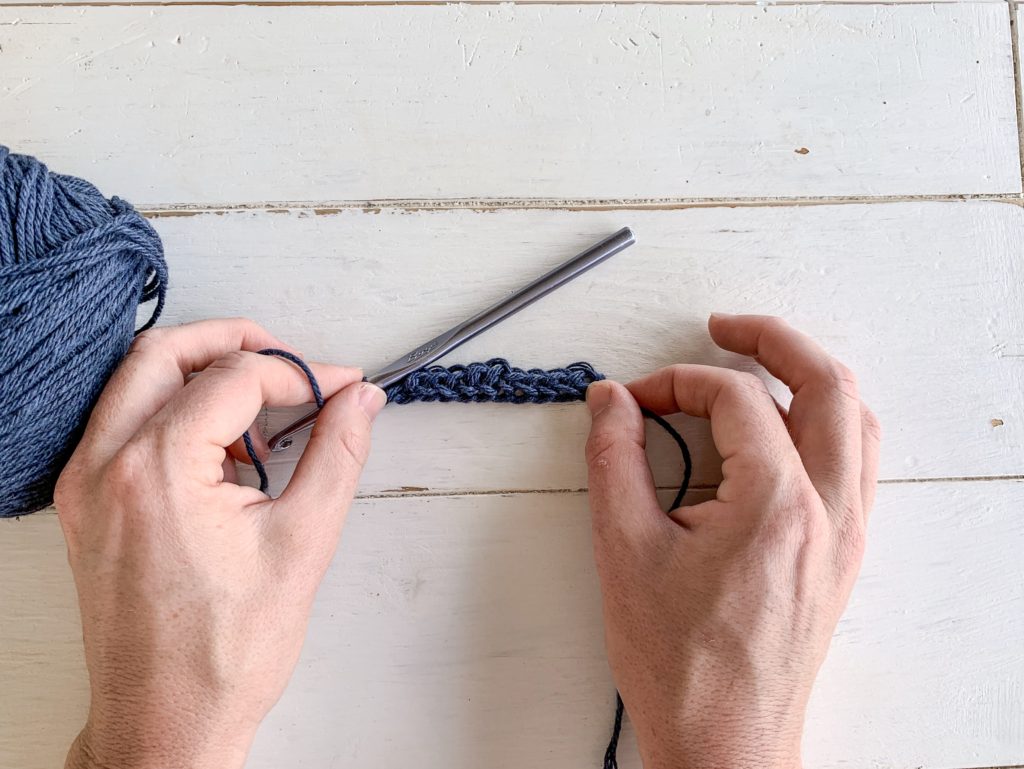
Friend! Are you as excited as I am that you’re here? I’m so proud of you for conquering single crochets! Today we are moving onto double crochet(DC). A double crochet(DC) is basically 2 single crochets(SC) on top of each other.
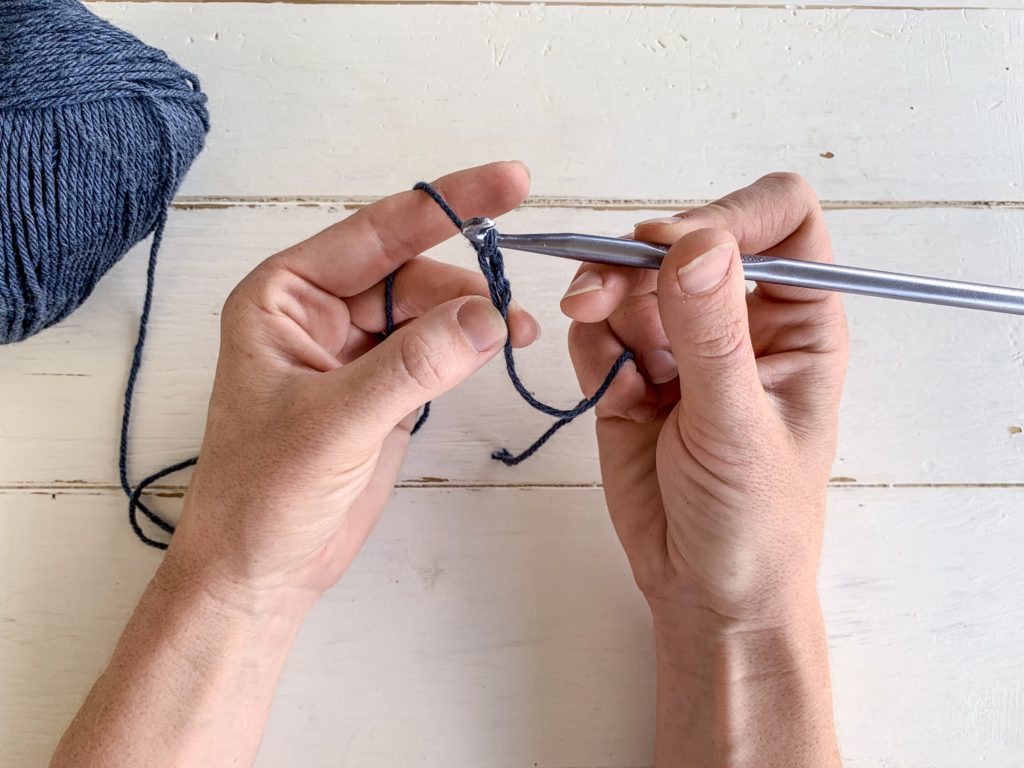
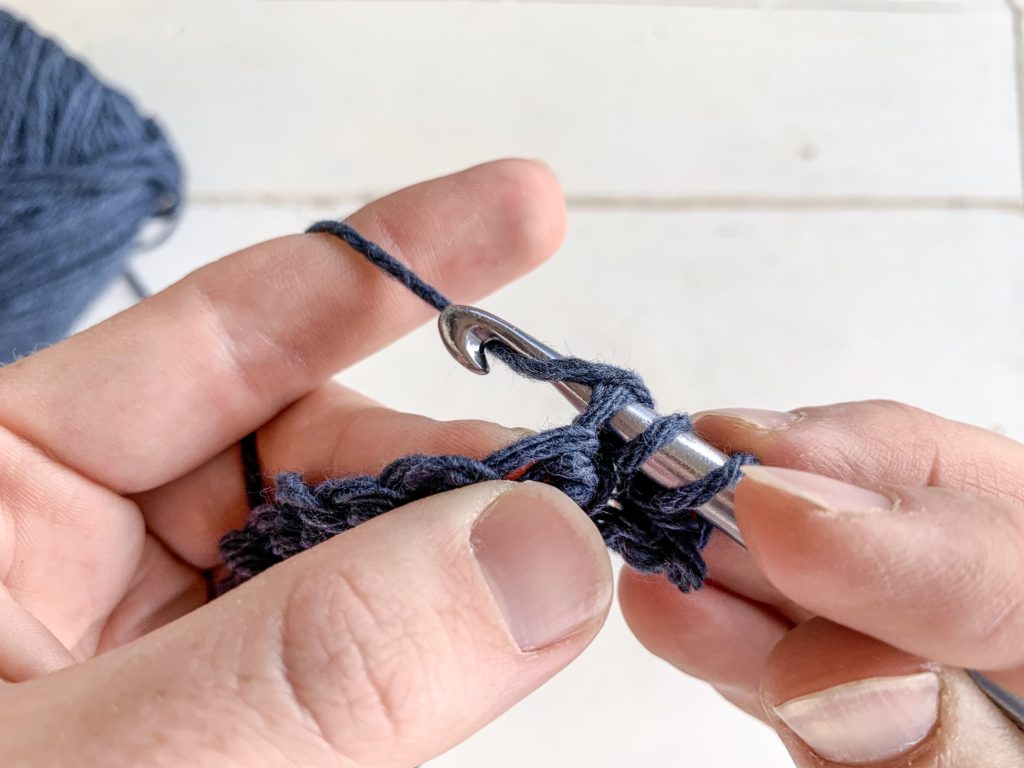
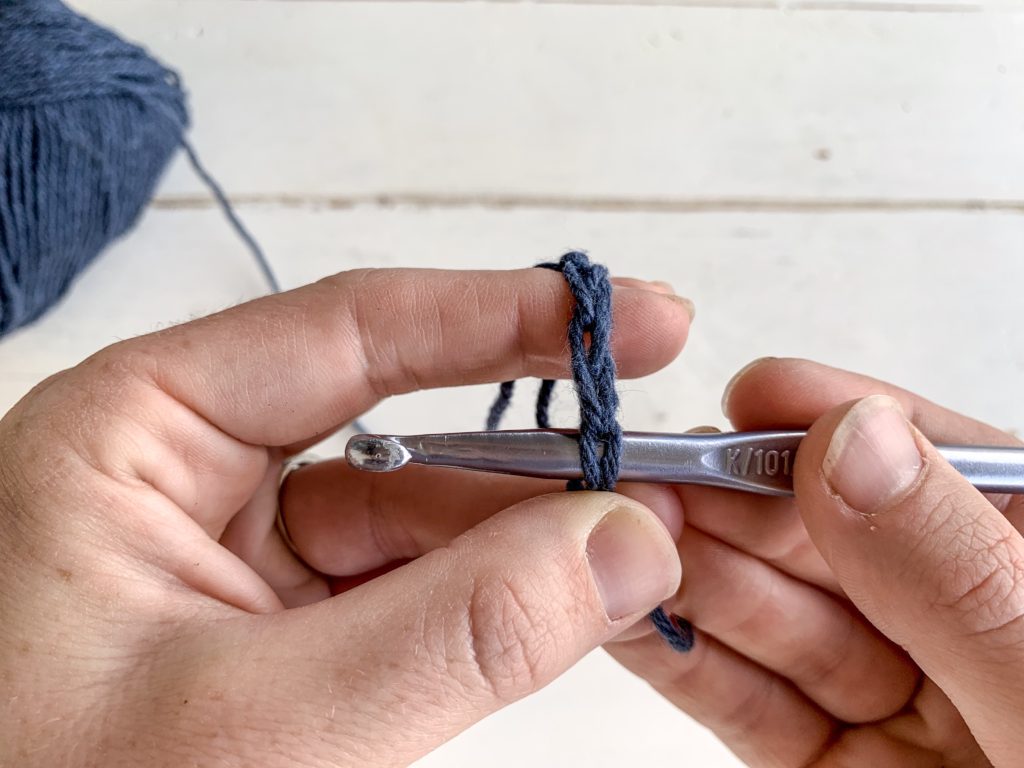
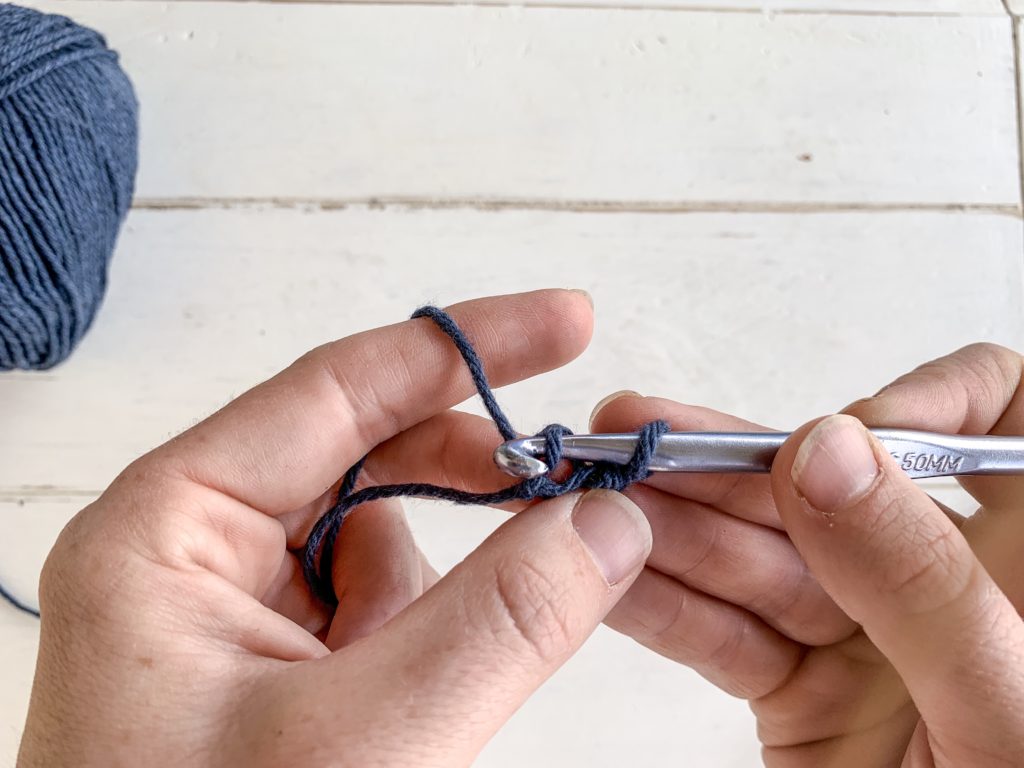
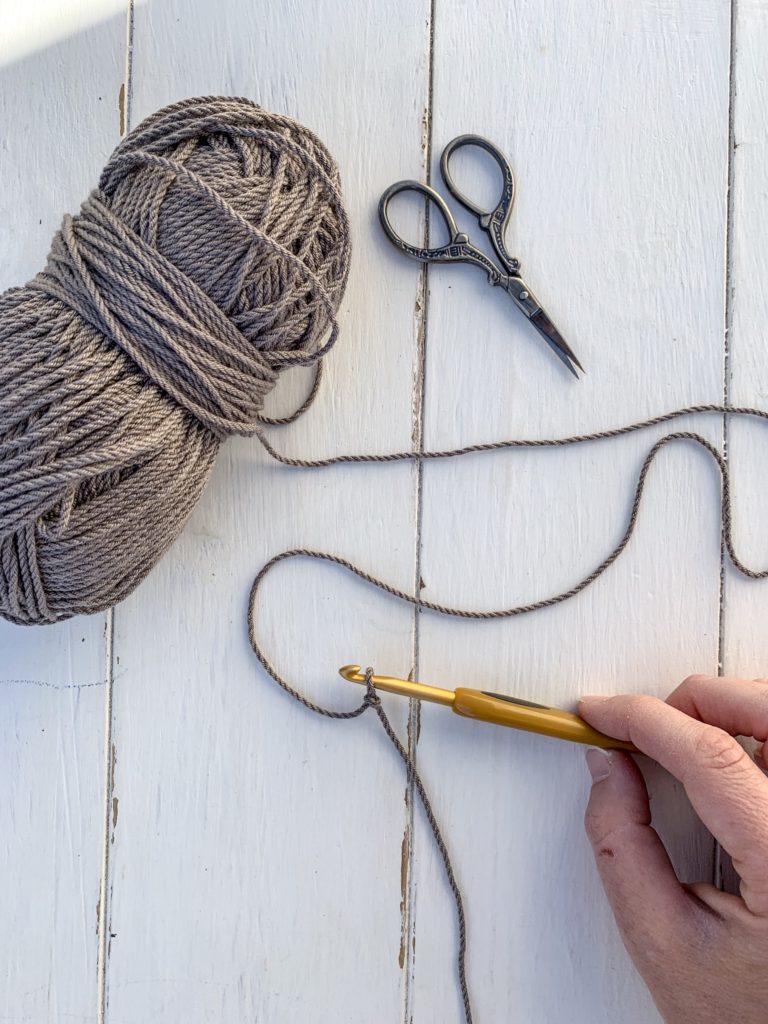
Your going to start by yarning over(wrapping the yarn around your hook) then inserting your hook into the 3rd chain(CH).
Yarn over and draw up through the chain(CH) space.
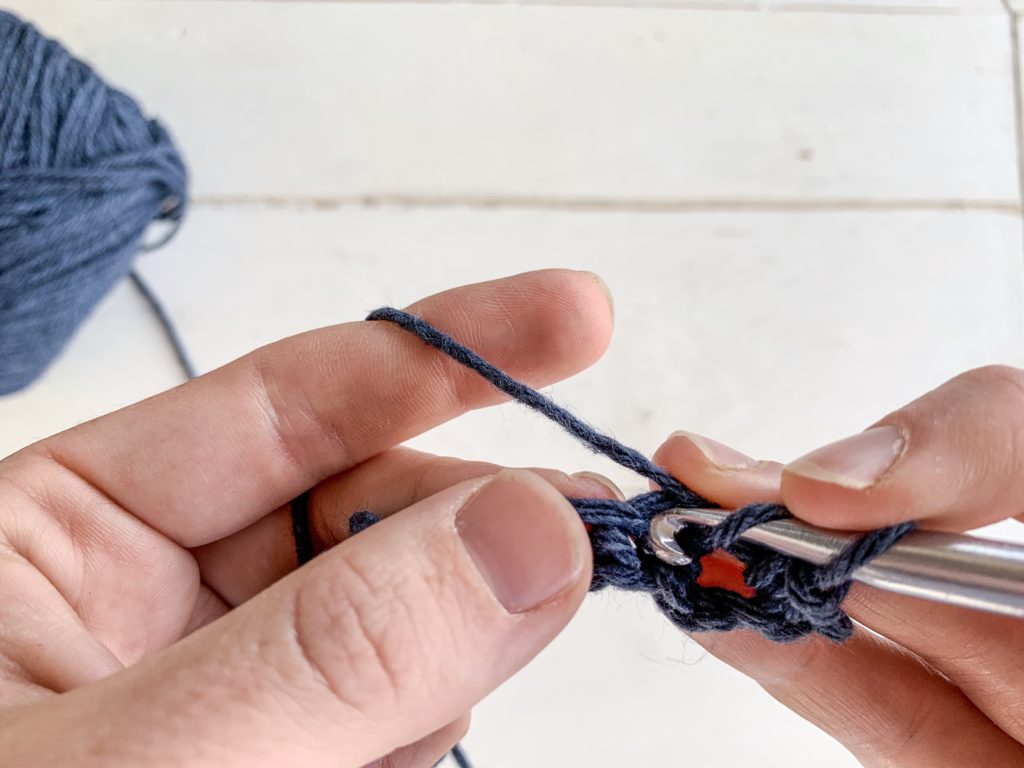
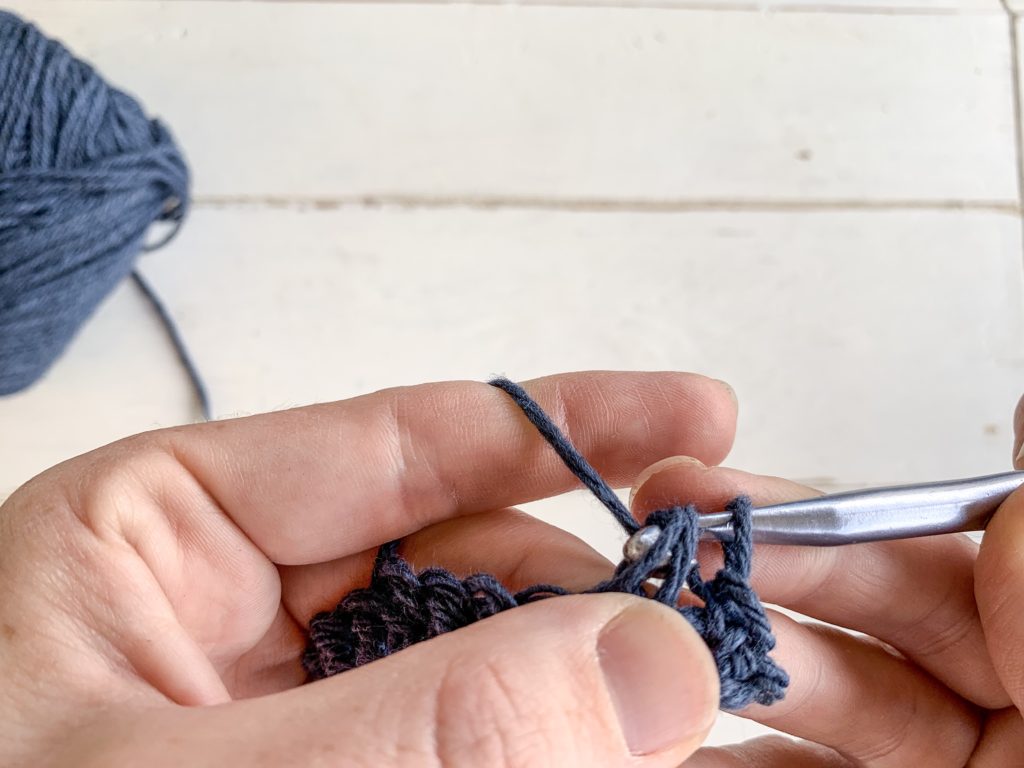
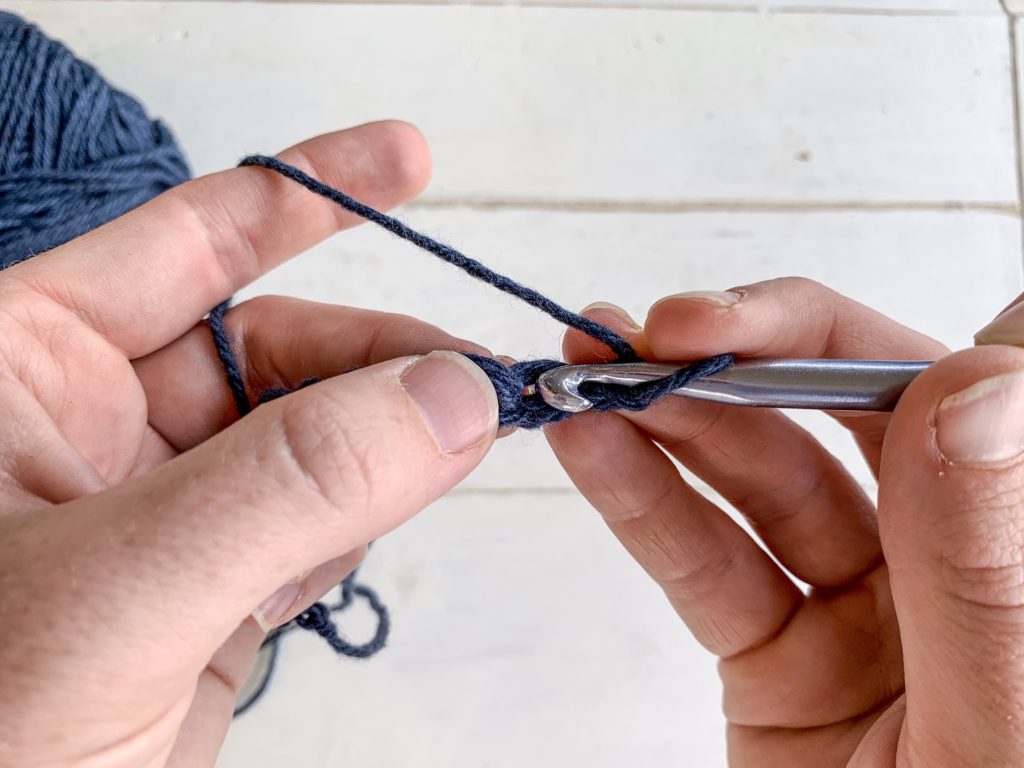
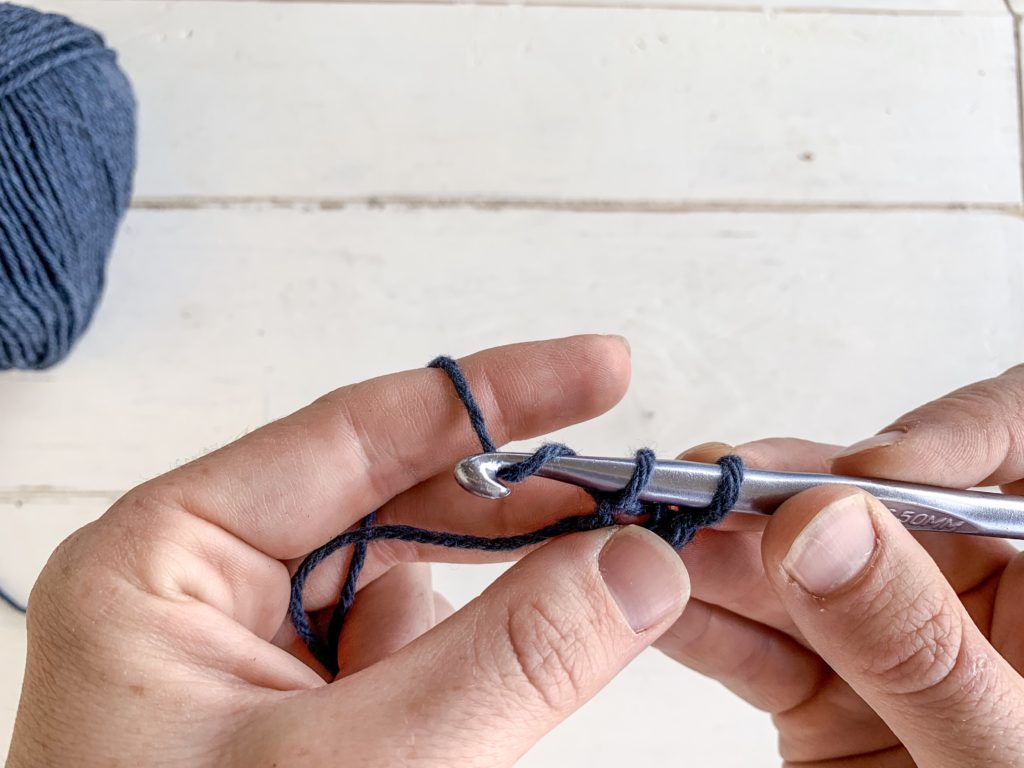
You should now have 3 loops on your hook. Yarn over and draw through 2 of the loops on your hook.
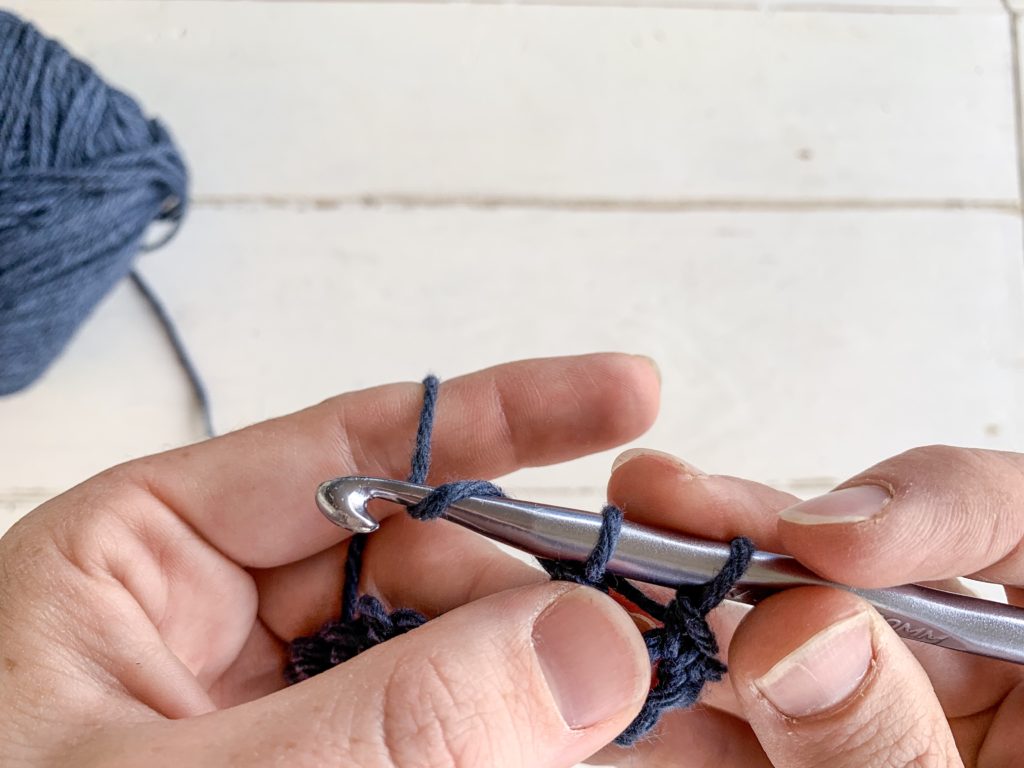
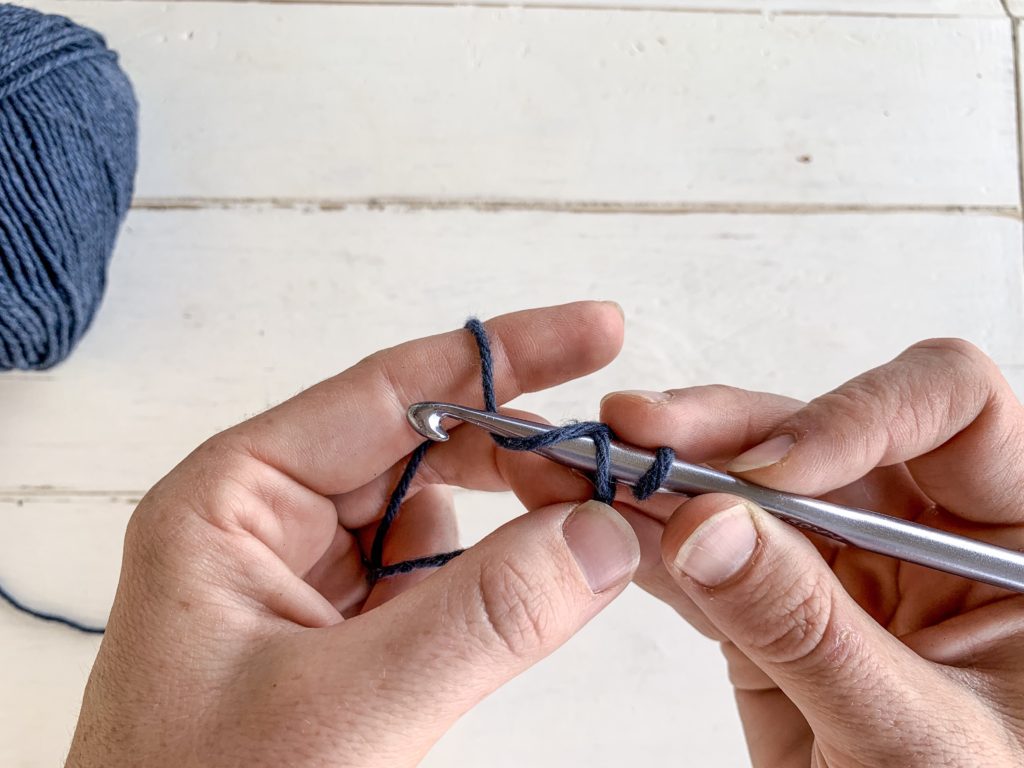
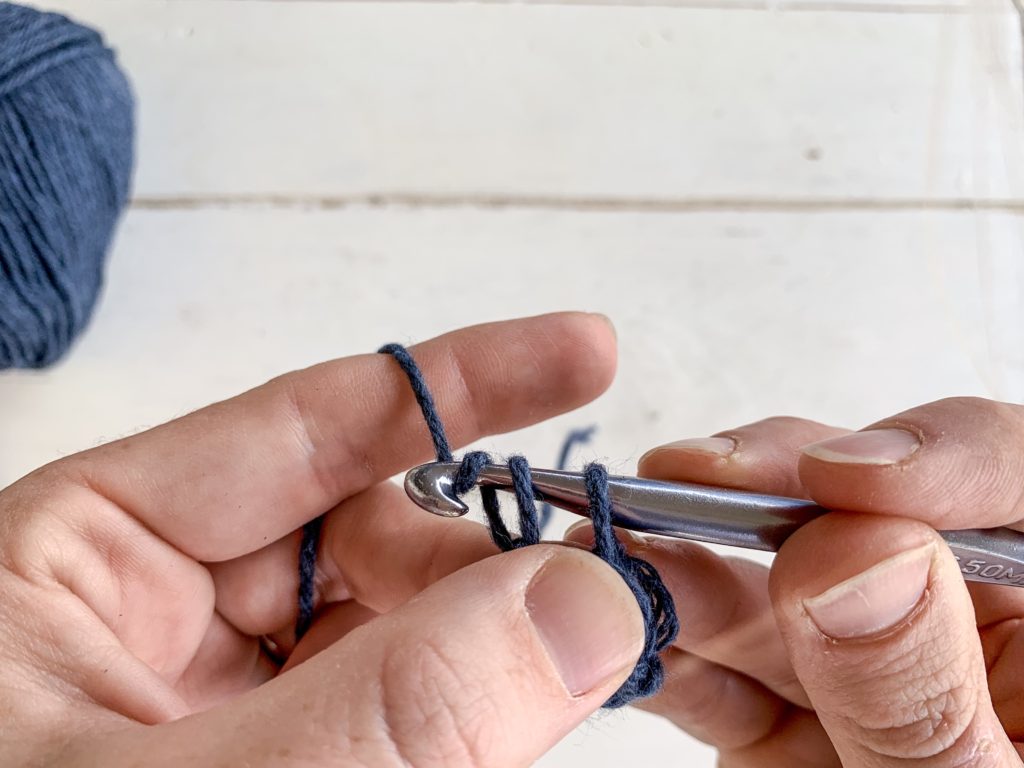
With 2 remaining loops on your hook, yarn over and draw through both loops.
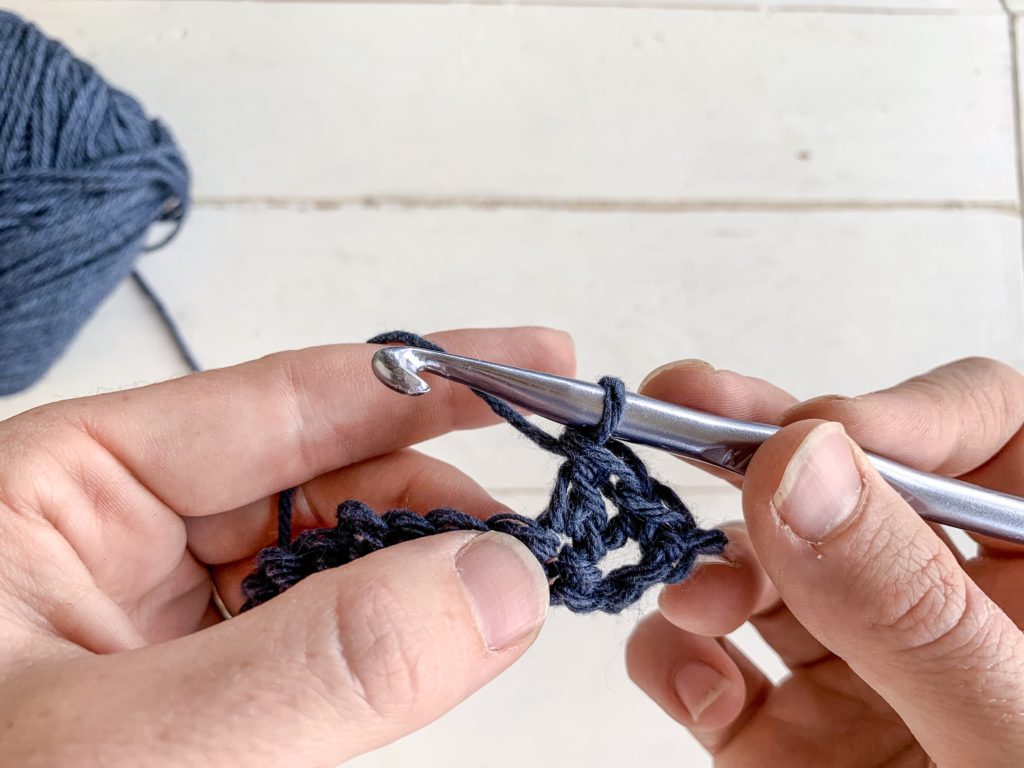
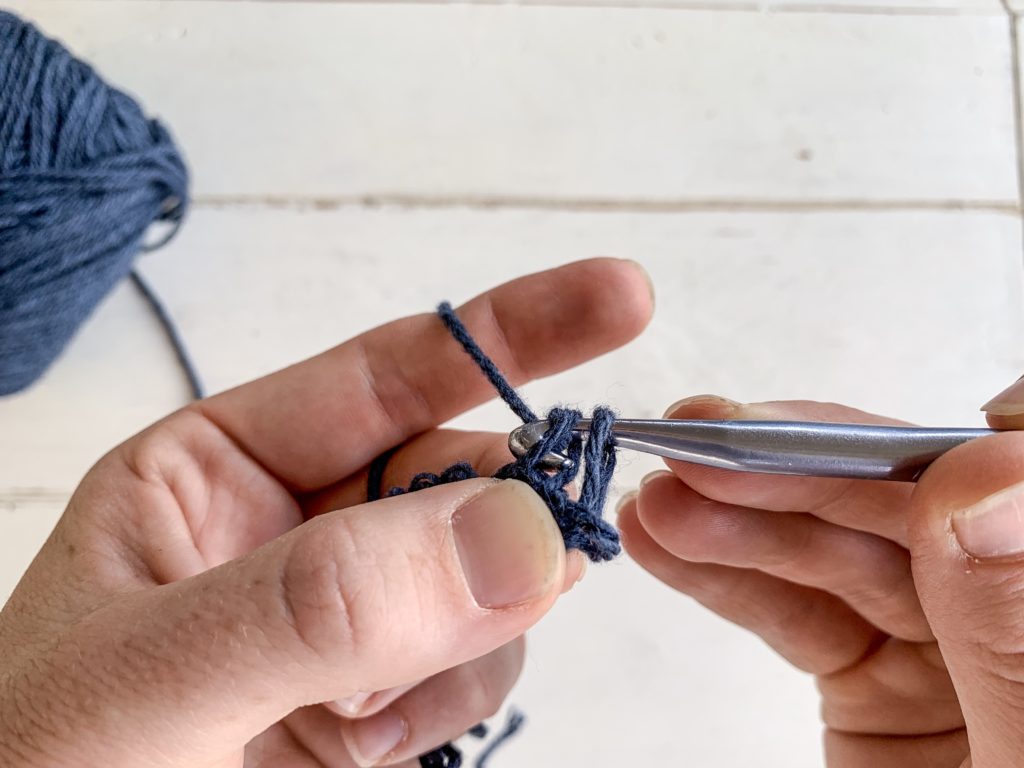
You just created a double crochet(DC)! Repeat- Yarn over, insert your hook into the chain space, draw up a loop. Yarn over and pull through 2 loops. Yarn over and pull through 2 loops again. You have a double crochet(DC). Continue double crocheting(DC) all the way to the end, for a total of 10 double crochets(DC). Chain(CH) 2 and turn. Practice double crocheting(DC) across each row until you feel comfortable learning a new stitch.
Hey! I’d like to start out by first saying how happy I am that you are here. I know you’ve been practicing How To Hold Your Yarn & Hook and working hard learning How To Chain. I’m so excited to be teaching you how to single crochet(SC). Just in case that last sentence confused you SC is an abbreviation for S-single C-crochet. I want to add these abbreviations to future posts and get you familiar with seeing them. This will help you later in your crochet journey to read patterns easily.
Back to single crochet. I’d like you to attach your yarn to your crochet hook and chain(CH) 11. When counting your chains(CH) look for the V’s or as my daughter likes to call them hearts. Each V is one chain.
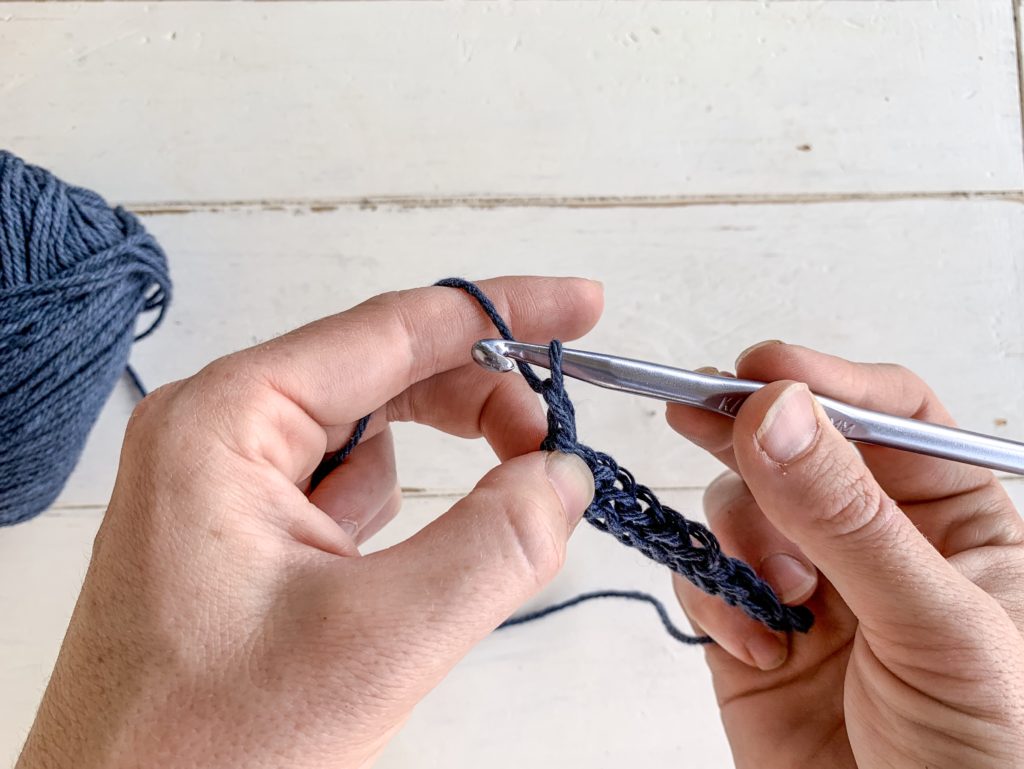
Now that you have 11 CH(chains), insert your hook into the second chain from your hook.
Next you’re going to wrap the working yarn around the crochet hook and draw it through the chain.
You should have 2 loops on your crochet hook.
Wrap the working yarn around your crochet hook one more time.
Pull through both loops on your hook. You just created your first single crochet!
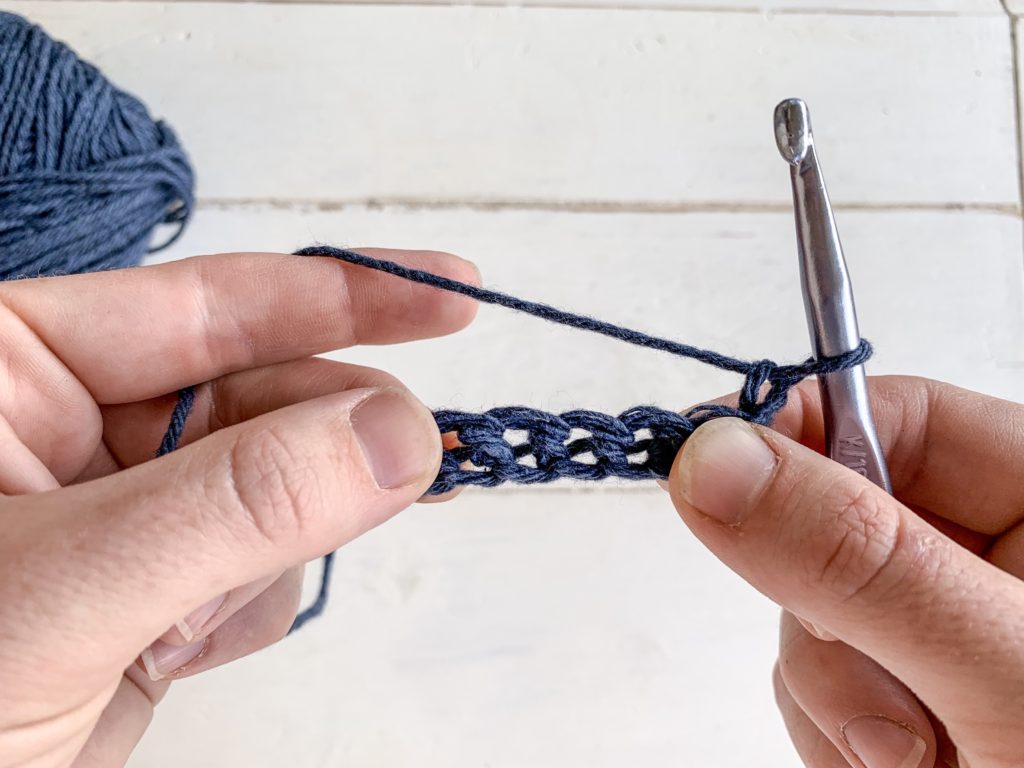
Repeat for the remaining chains(CH) for a total of 10 single crochets(SC). Insert your hook into the next chain space. Wrap your working yarn around the hook and draw through the chain space. With 2 loops on your hook, yarn over(wrapping the yarn around the hook) and pull through both loops.
Now we are going to build on top of that first row by chaining(CH) 1 and turning your work over. Single crocheting(SC) on top of the previous row.
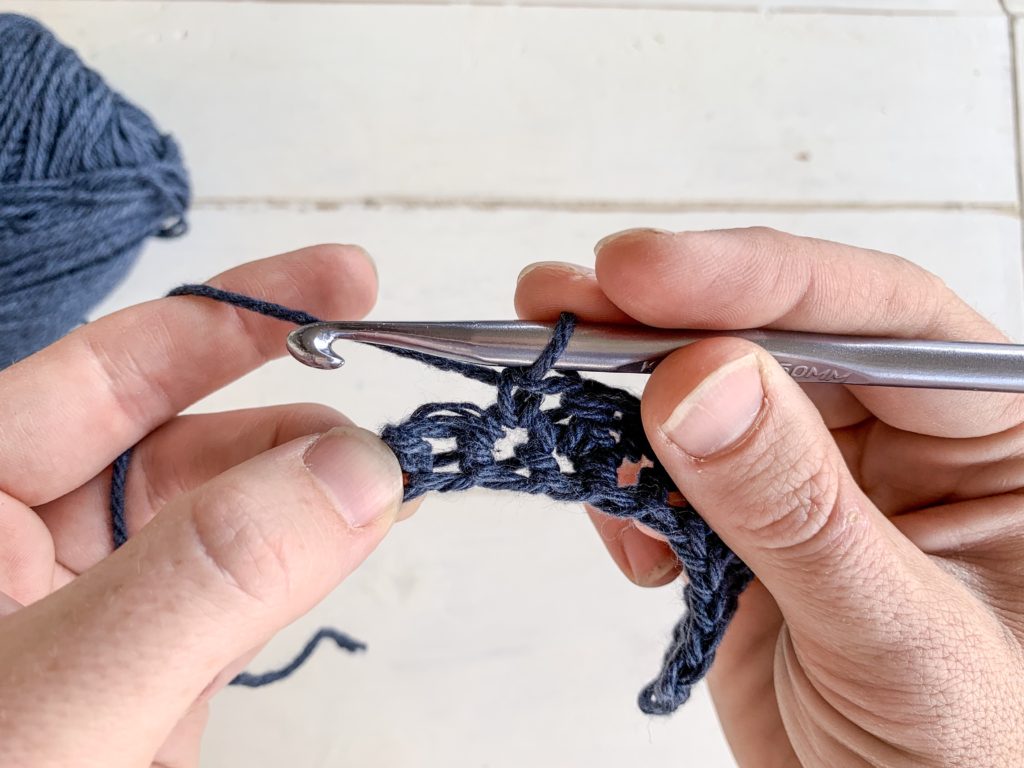
Insert your hook into the first opening and draw up a loop. Yarn over and pull through both loops on your hook. You will continue inserting your hook into the previous single crochet(SC) space, drawing up a loop, yarning over and pulling through both loops to create a single crochet(SC).
When you get to the end it may be a little tricky. Try looking from the top of your work instead of the side. Do you see the sideways V? Insert your hook under the two strands that make up the V. Draw up a loop, yarn over and pull through both loops to create your last single crochet(SC) for that row. Chain(CH) 1 and turn your work, single crocheting on top of the row you just made.
PIN IT FOR LATER!!!
To count your stitches turn your work slightly so that you’re looking at it from the top instead of the side. Count each sideways V or 2 strands of yarn. You should have 10 SC-single crochets. Continue working 10 single crochets(SC) across each row. Chaining(CH) 1 and turning to start another row. Once you feel comfortable single crocheting(SC) you can move onto a double crochet(DC). Don’t forget to tag me on Instagram @shesrootedhome#abeginnersguidetocrocheting so I can see your progress and cheer you on my sweet friend!
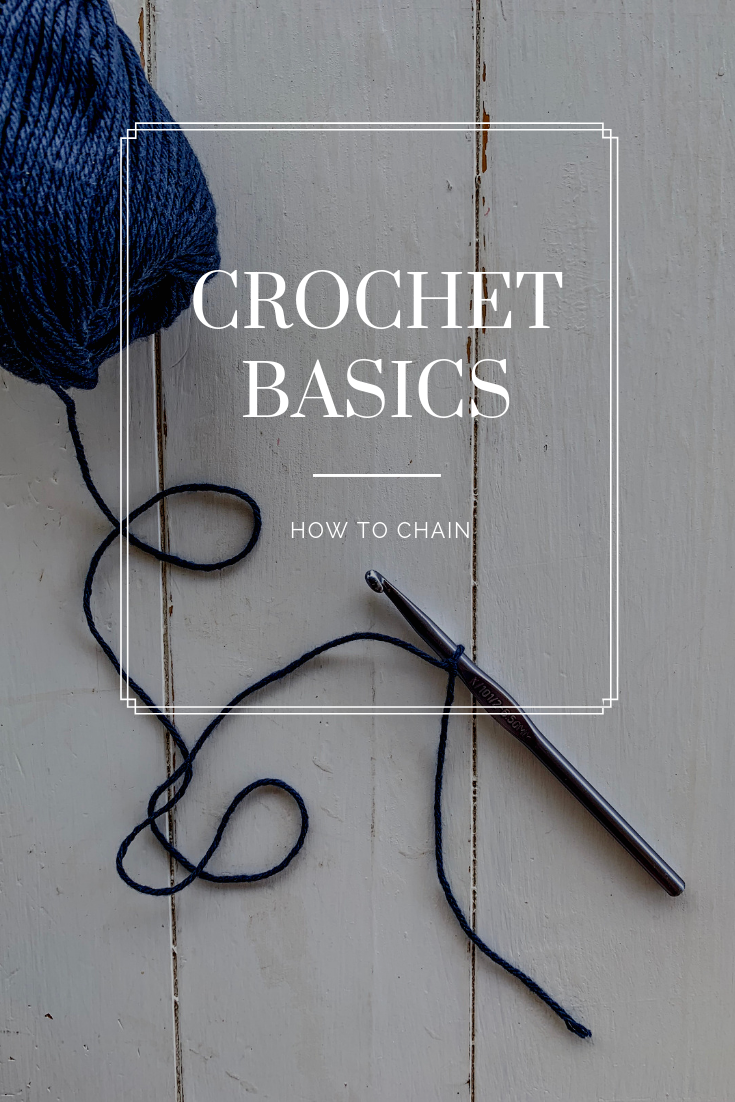
Learn how to chain when crocheting. A beginners guide to crocheting.
Hello friend! I’m so glad your here, aren’t you? We are finally working on stitches now that we know all the basics. Like how to create a slip knot and how to hold our yarn & hook.
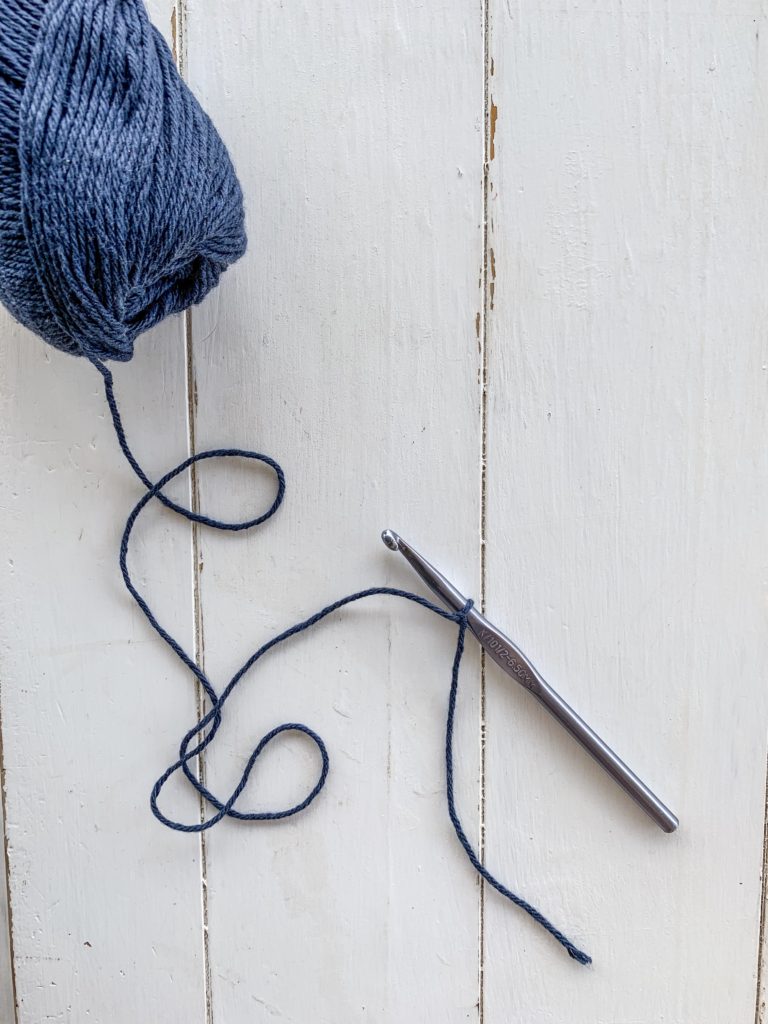
Chaining is the most basic stitch when crocheting. You will use chains to start a new project, to build onto of a previous row and to create designs throughout your pattern. If you can create a chain, I believe you can crochet.
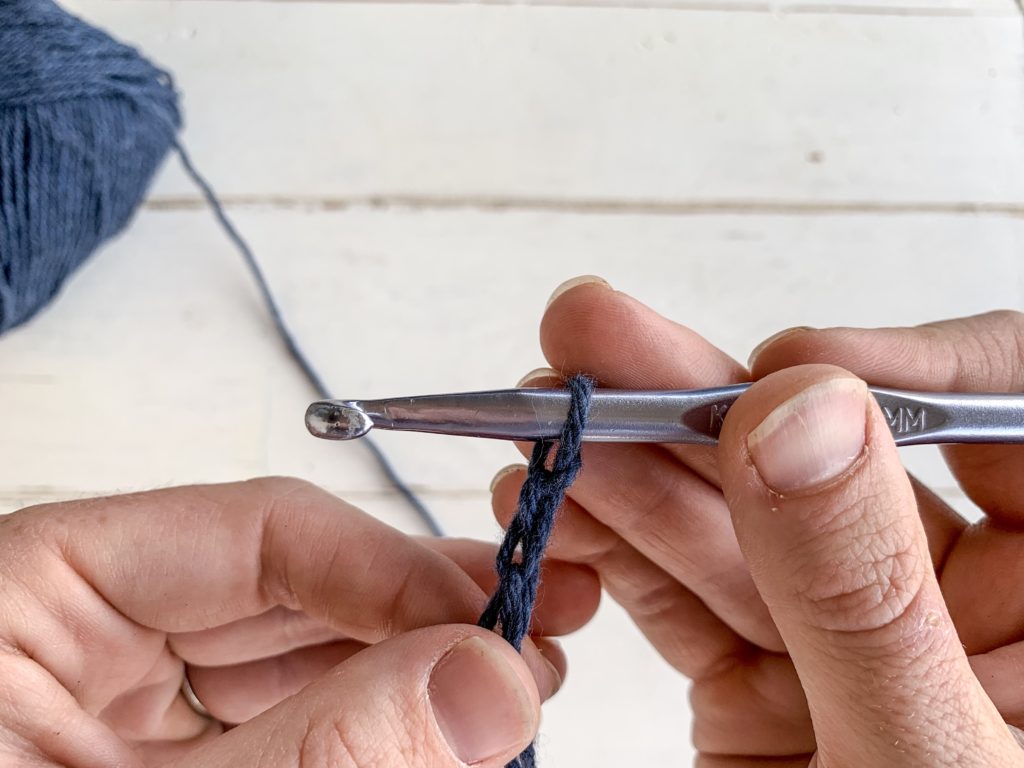
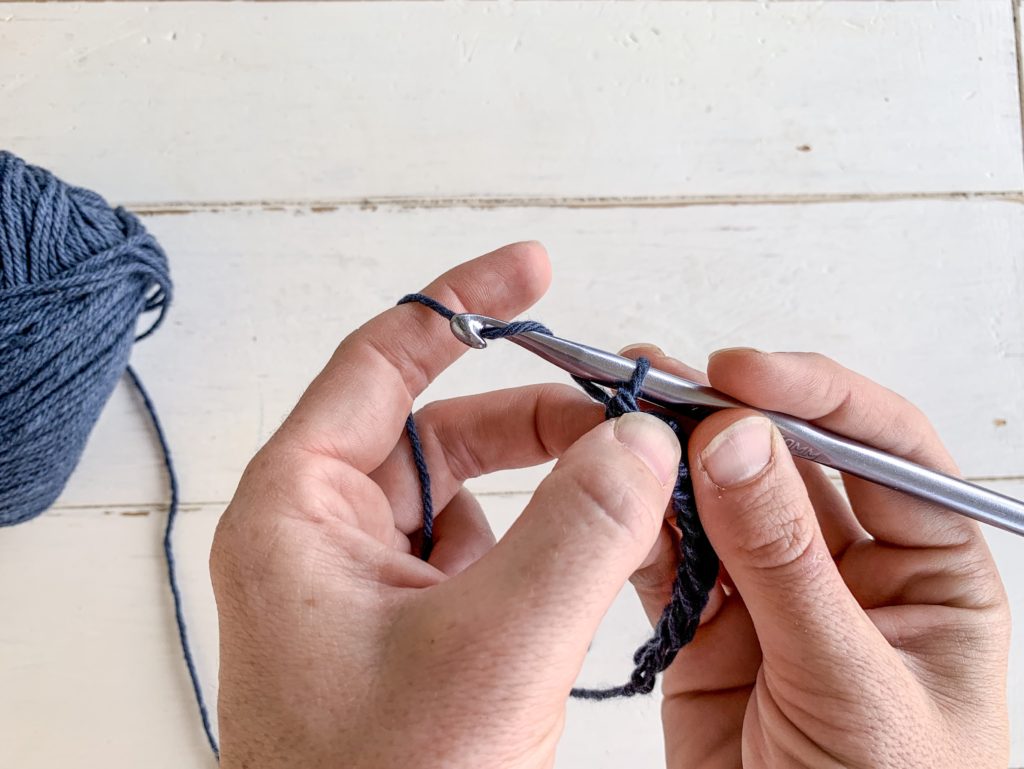
Create a slip knot and attach it to your crochet hook.
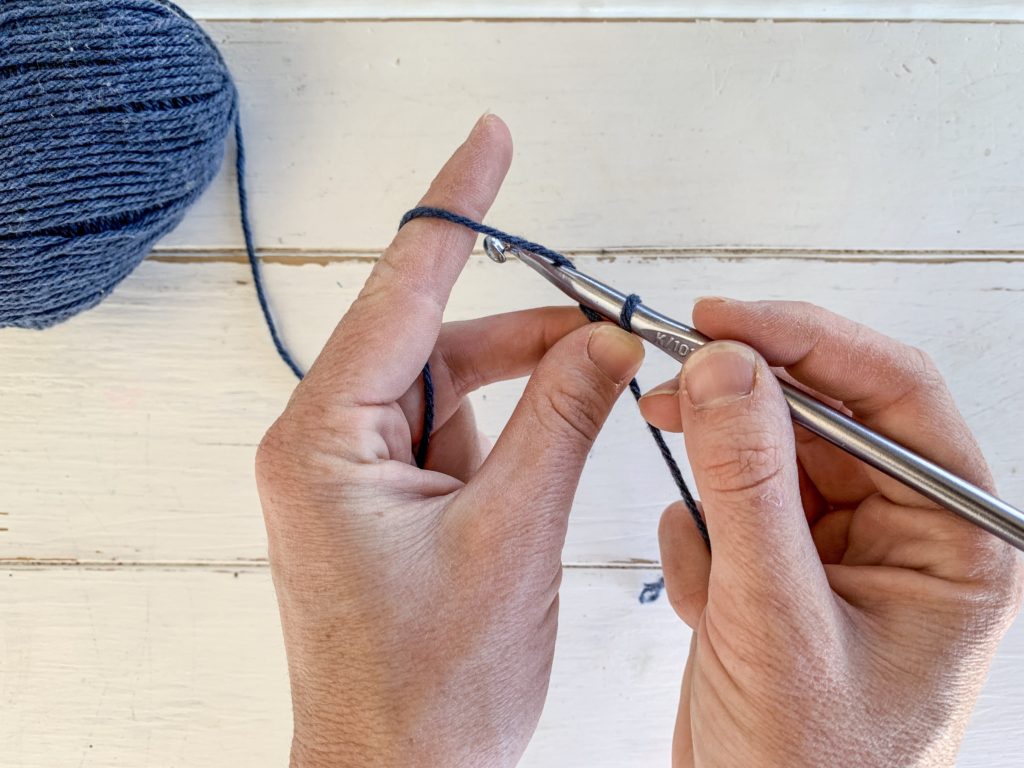
With your hook facing down, wrap a loop around the crochet hook.
Slide that loop through your slip knot and repeat. *Hook facing down, wrap the yarn around the hook and slide it through the loop you just made.*
Continue doing this until you feel confident woking chains and notice that your stitches are consistent in size. P.S: Head over to my Facebook Group A Beginners Guide To Crocheting and share your progress!
Today I am breaking down how to crochet, starting with the basics. How to hold your yarn and hook.
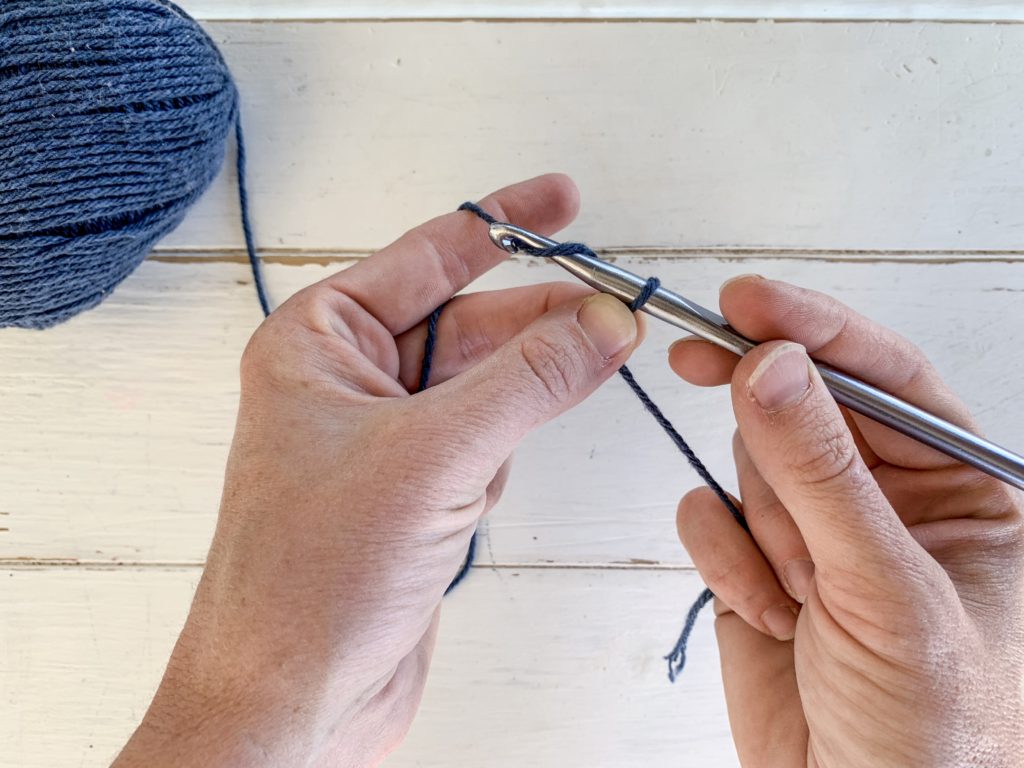
Hello friends, I’m so excited your here and ready to start crocheting!! P.s: Where are all my left handed friends? Yes girl, I see you! For this tutorial simply switch hands. You can do this! Now let’s get started!
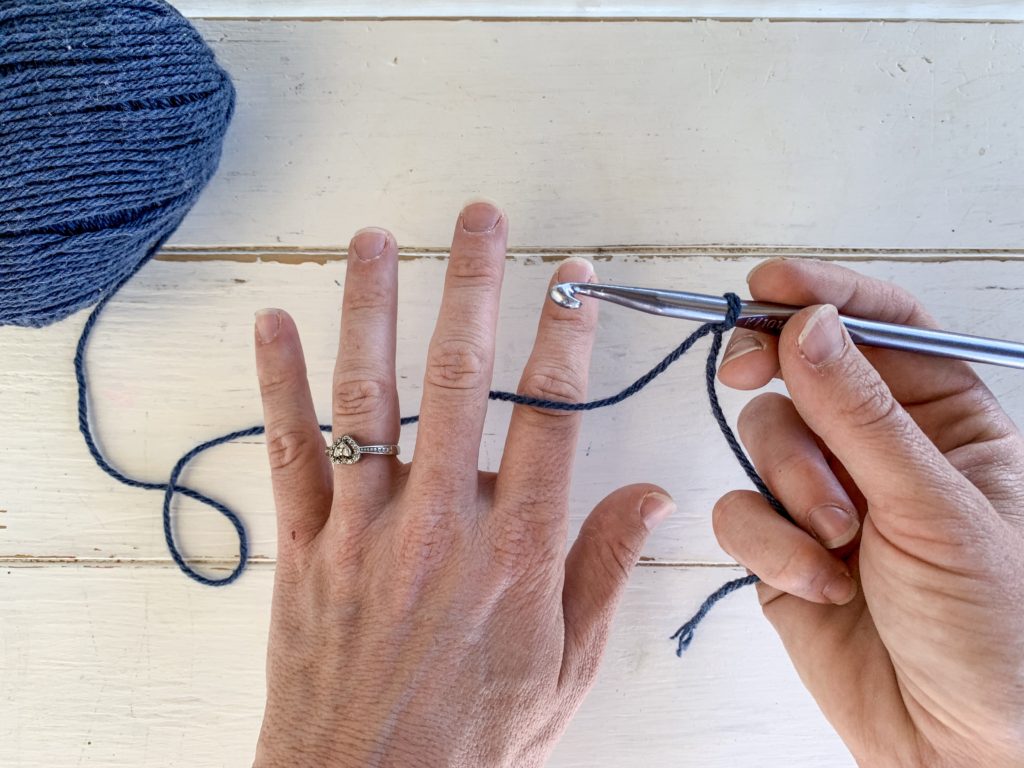
Start by creating a slip knot. (Not sure how? Click here for a full tutorial) With your right hand pick up your hook. I personally like to hold it like a pencil, but you can also hold it like a child holds a spoon. I like to use my right pinkie finger to grab the tail end of the yarn, keeping it out of the way of my working yarn. This is not important but I find it helpful.
With your left hand I want you to open it up and separate your fingers. Like you’re showing a child 5 fingers. Place your working yarn between your pointer and middle finger. Turn your hand over, palm facing you. Make sure the yarn is going over your pointer finger, then under. Close your last two fingers around the yarn. This is where it might feel really awkward.
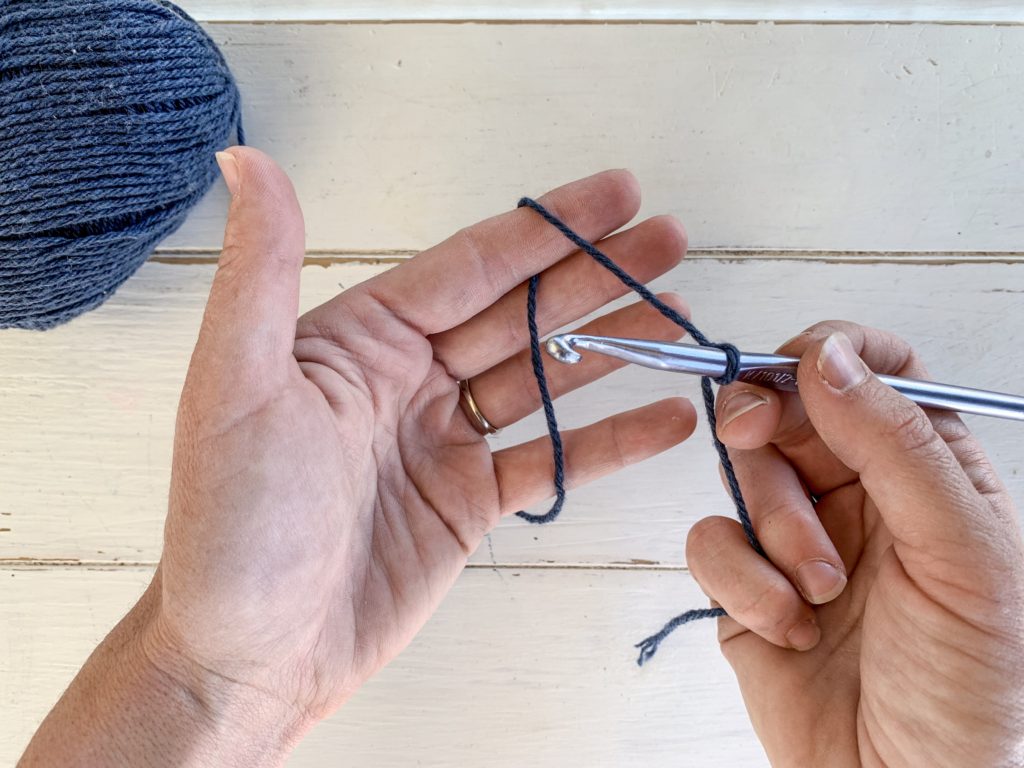
Keep your pointer finger and thumb up, place your middle finger behind the slip knot. Then place your thumb on top. Pinching the knot of your slip knot. This will allow you to hold your work as you crochet. Slightly pull down, so that your hook can freely move through the loop.
How does it feel? A little awkward? Thats ok, remember practice makes perfect and friend, I KNOW YOU CAN DO THIS!
Not sure what a slip knot is? Today I will be showing you step by step, how to make a slip knot and attach your yarn to a crochet hook.
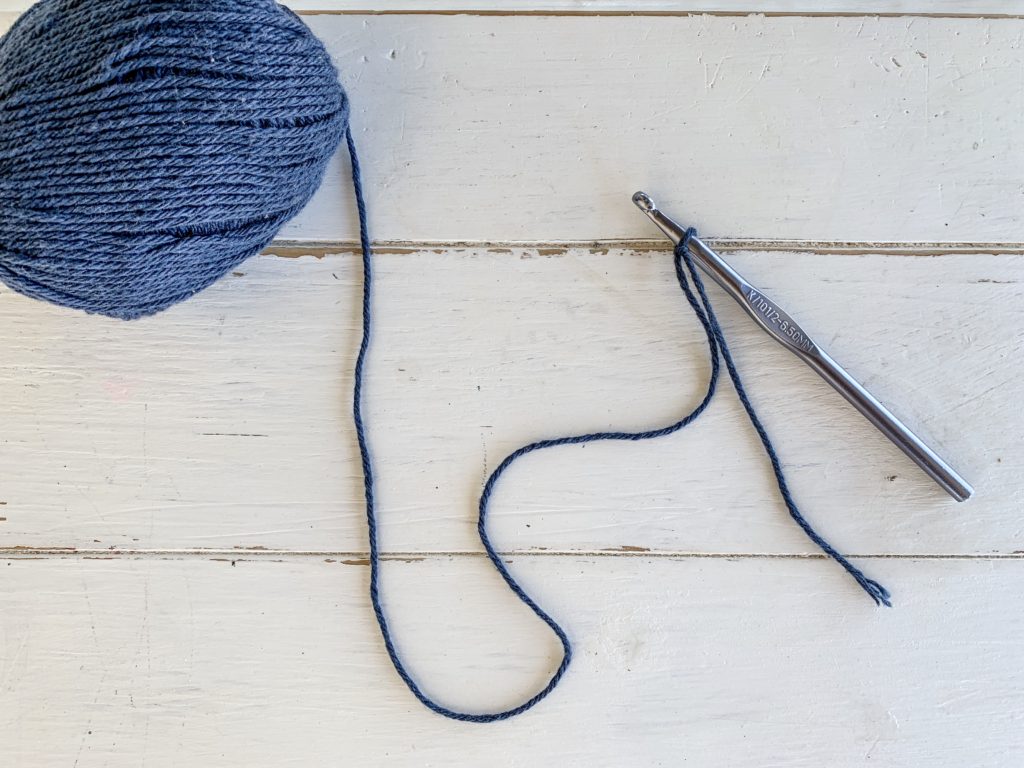
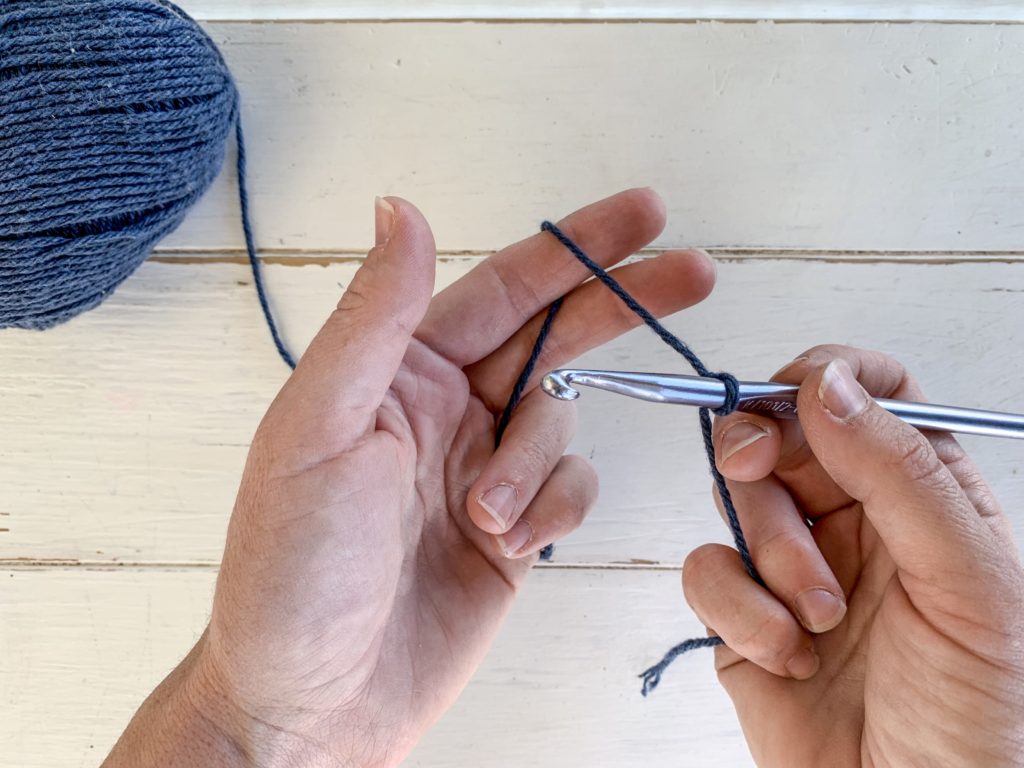
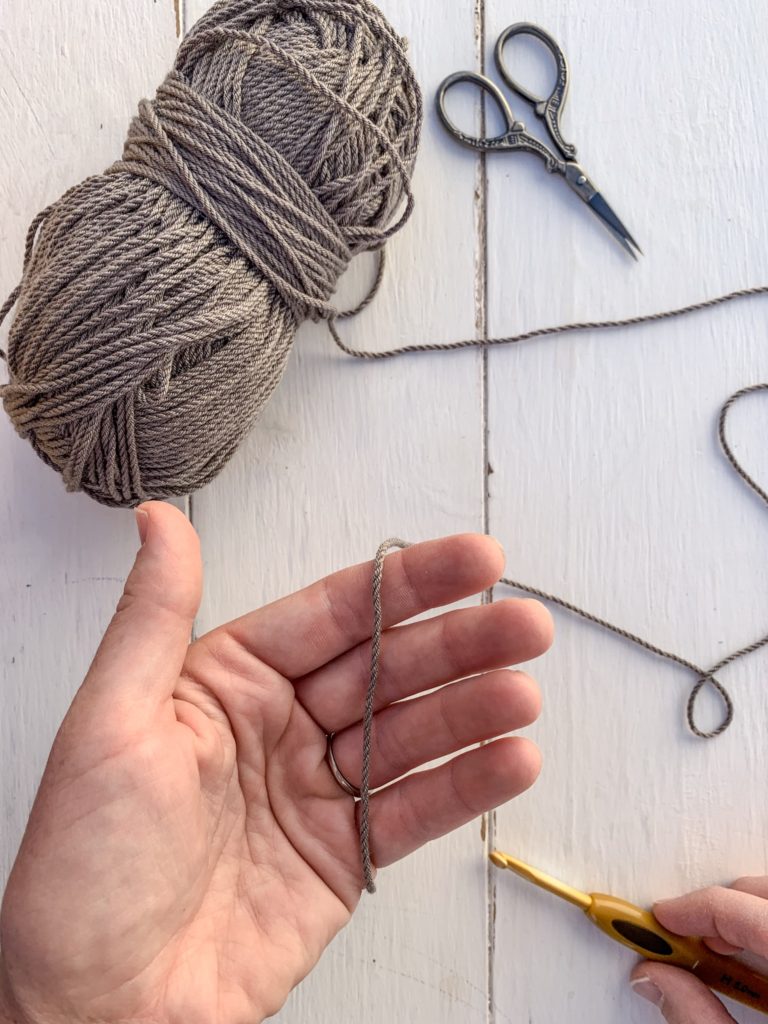
To add your yarn to the hook, you’ll need to create a slip knot. First find the end of your yarn, either unraveling the outside or pulling from the center.
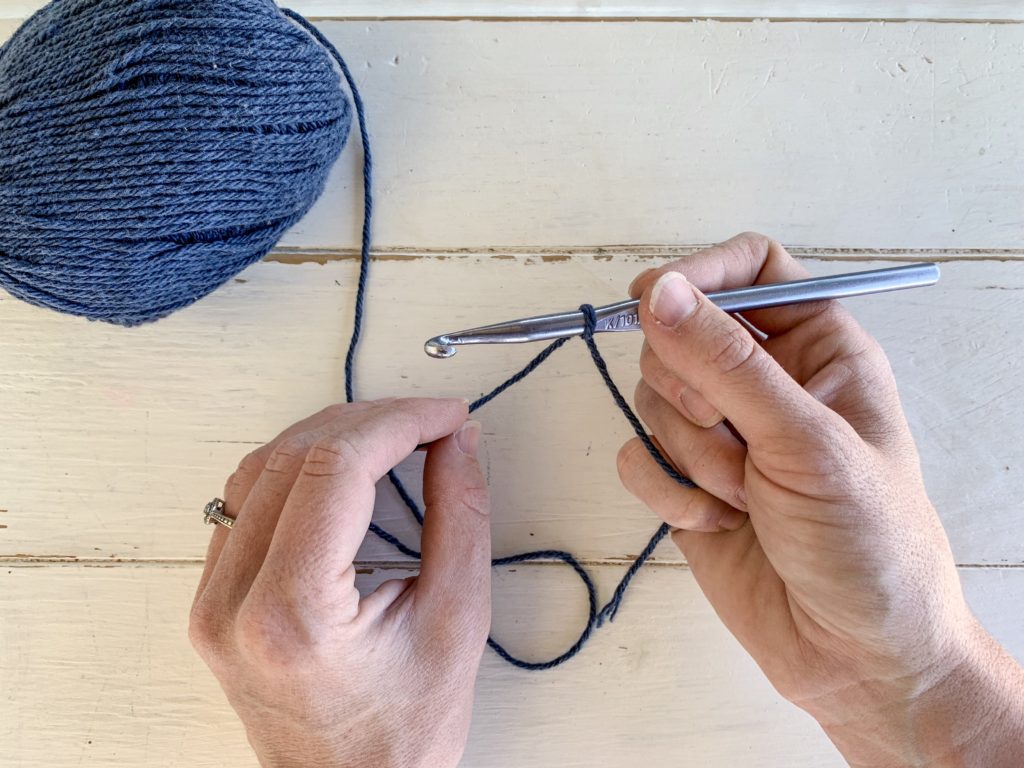
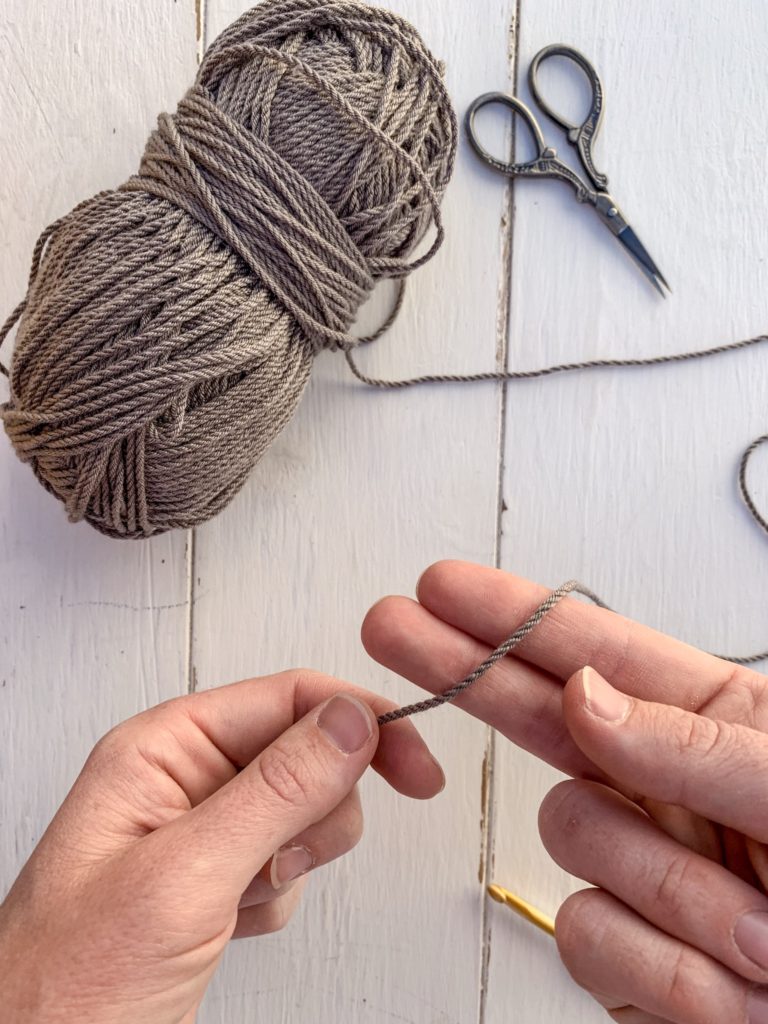
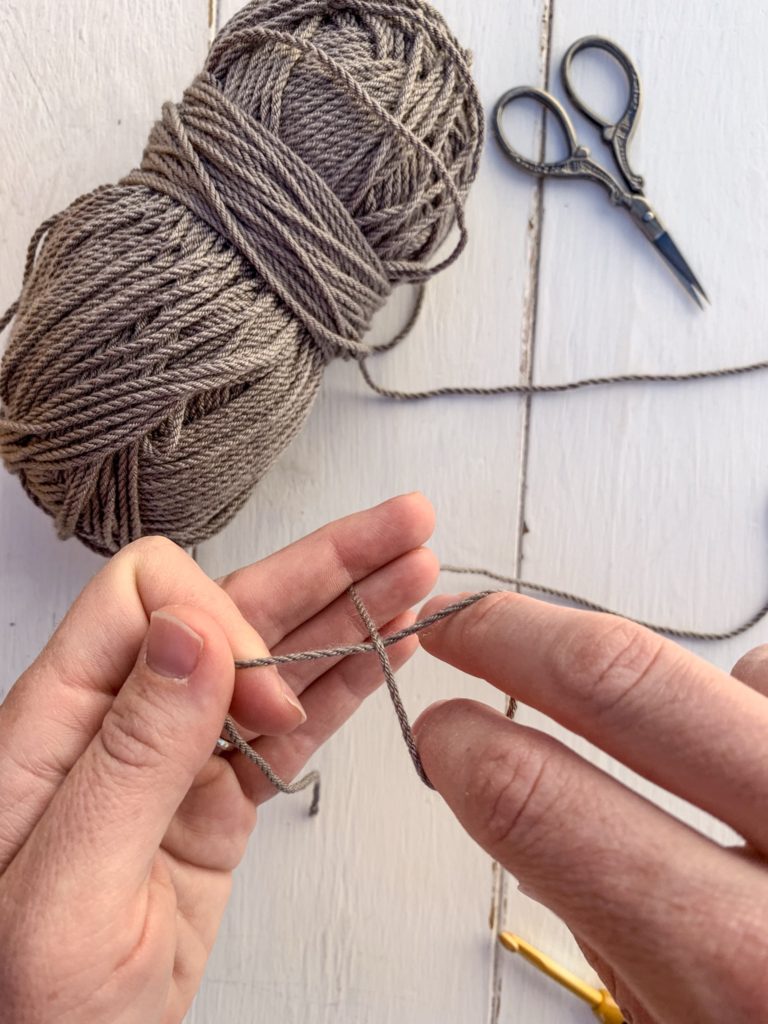
Starting with your left hand, hold the end or starting point of your yarn. Now with your right hand, use you first two fingers and thumb pinch the yarn a few inches from the end.
Twist your fingers towards you as you hold the yarn. The yarn should create a circle.
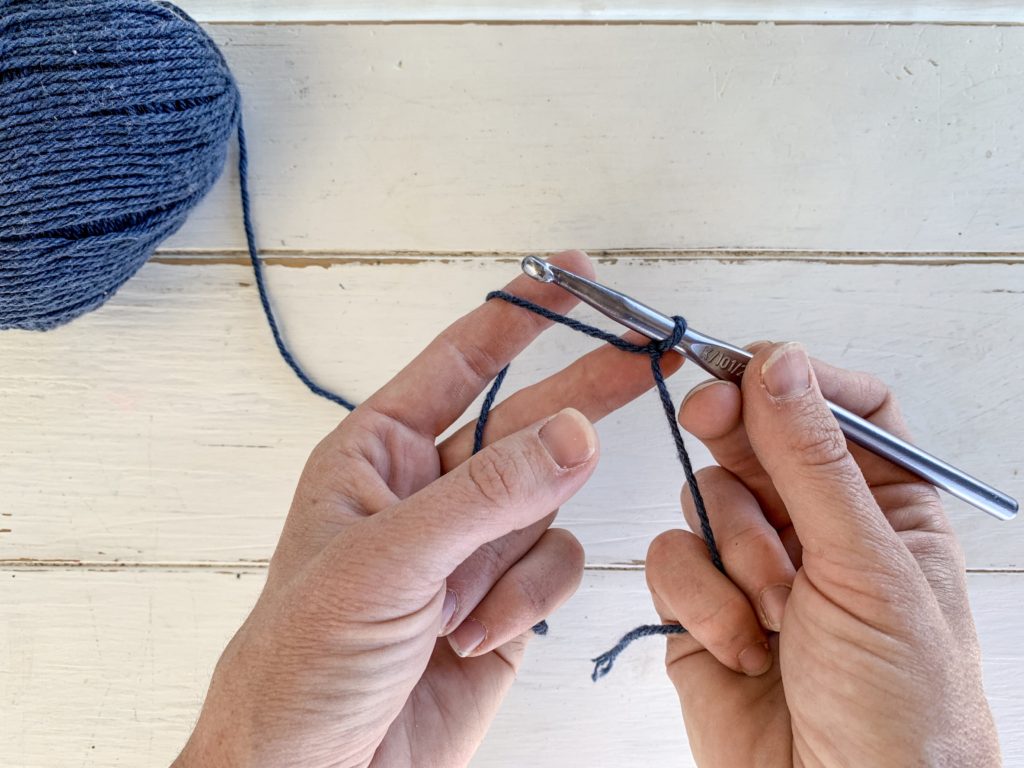
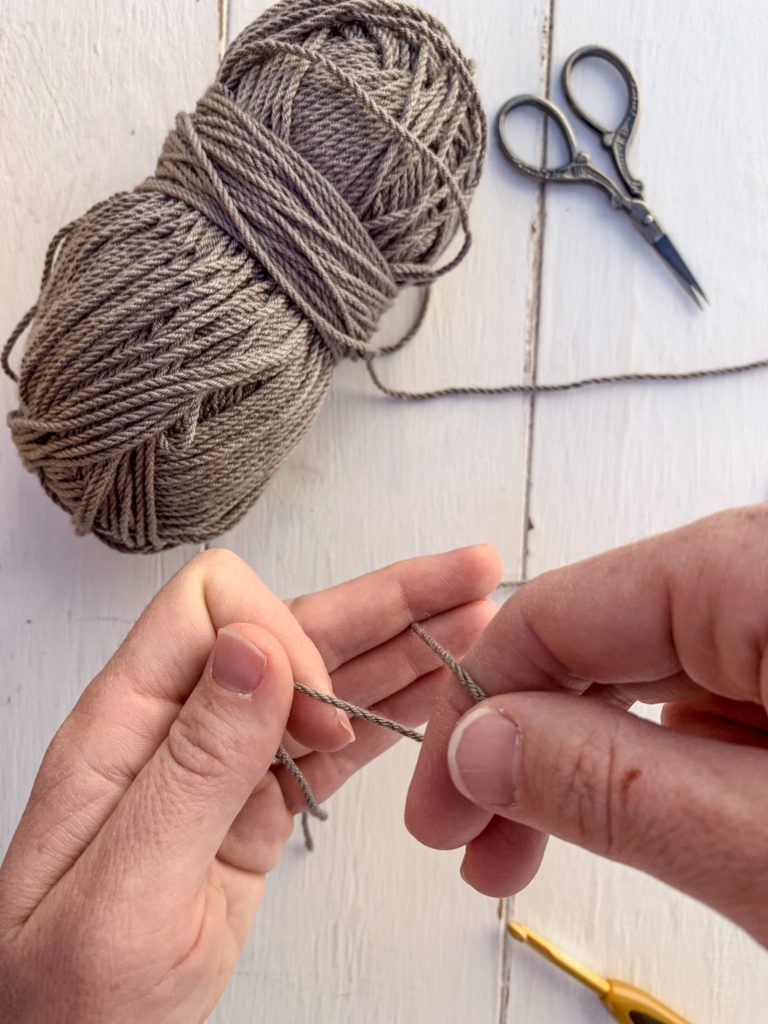
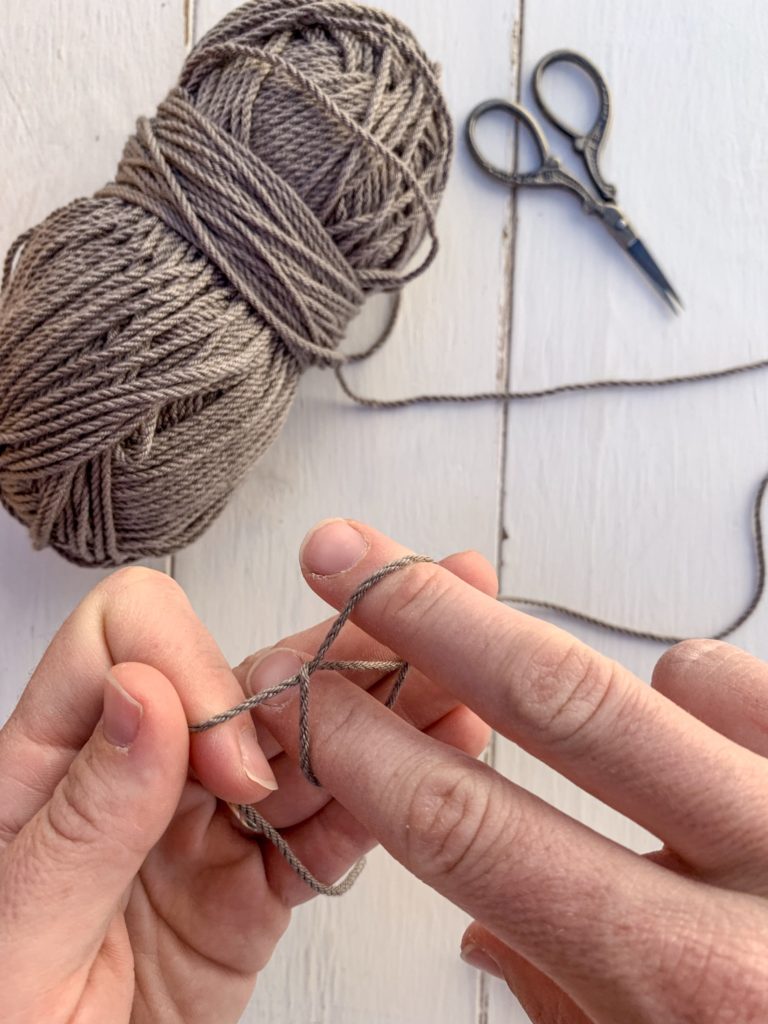
Now there should be a strand of yarn under your fingers, which is the working yarn (The yarn that is attached to the ball). Using those two fingers pinch the yarn between them. Pull up on that yarn through the circle and tug tightly to create your slip knot. This is what you should have.
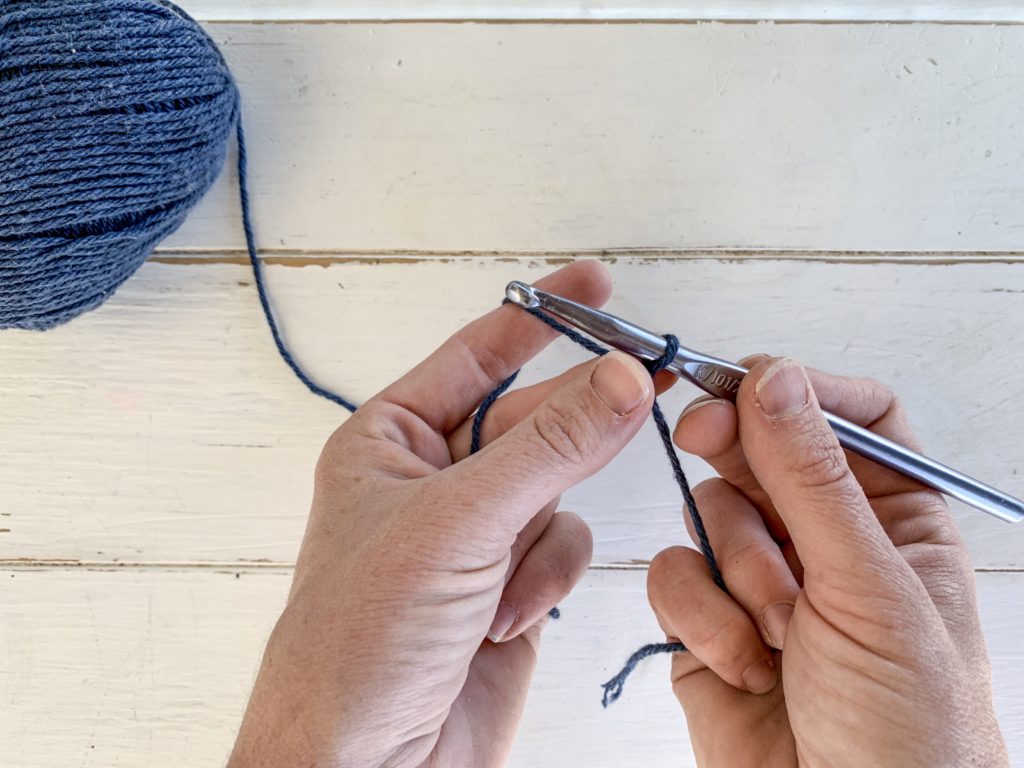
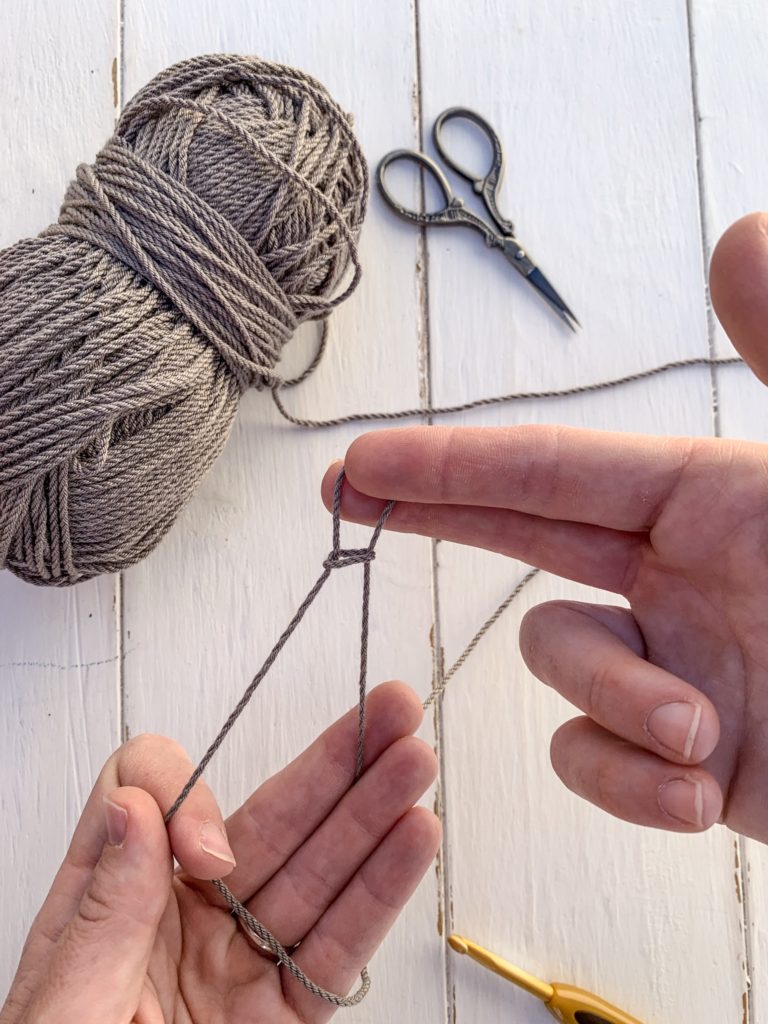
Place your hook inside of the loop and tug on the two strands of yarn to secure the loop on your hook. Now you are ready for the next step in my series “A Beginners Guide To Crocheting,” How To Hold Your Yarn & Hook.