Author: Tara Philipp

  • Cultivating A Homestead: Our Farm Setup

    Cultivating A Homestead: Our Farm Setup

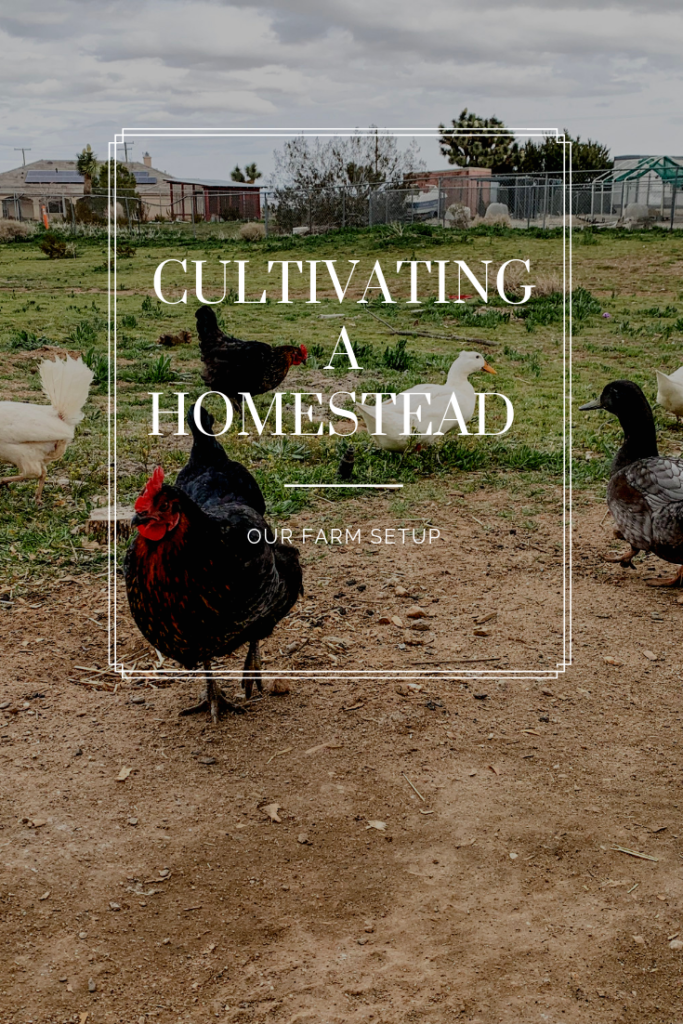
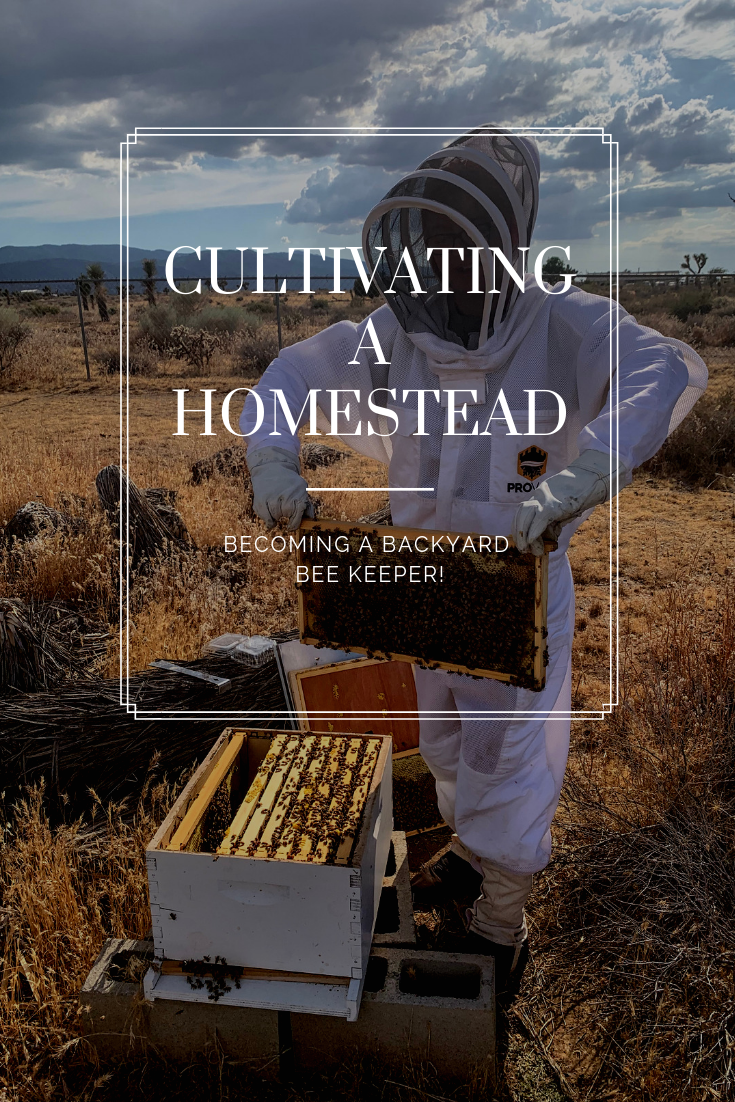
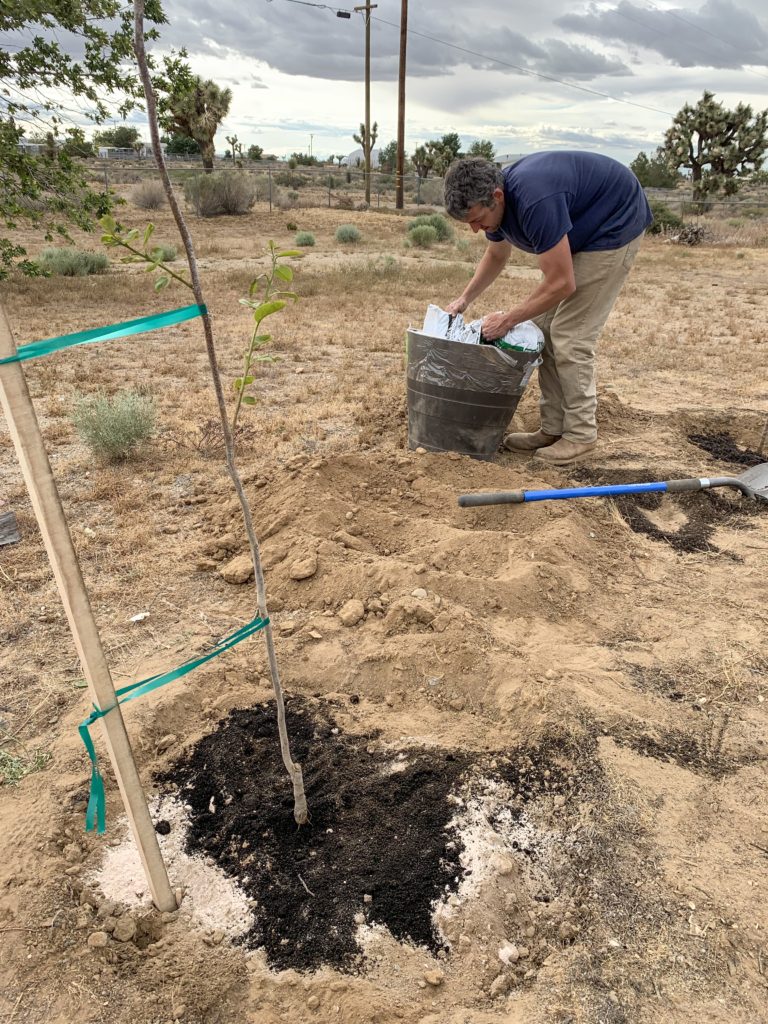
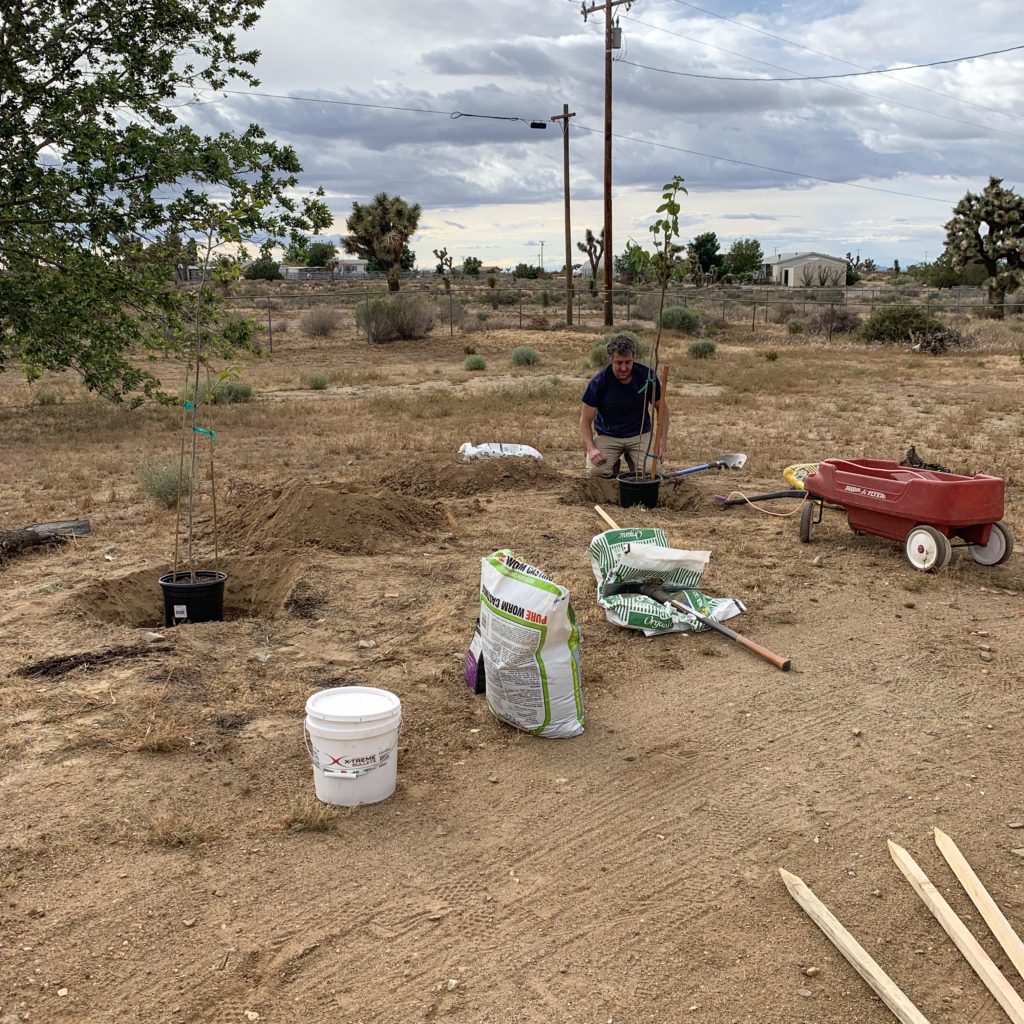
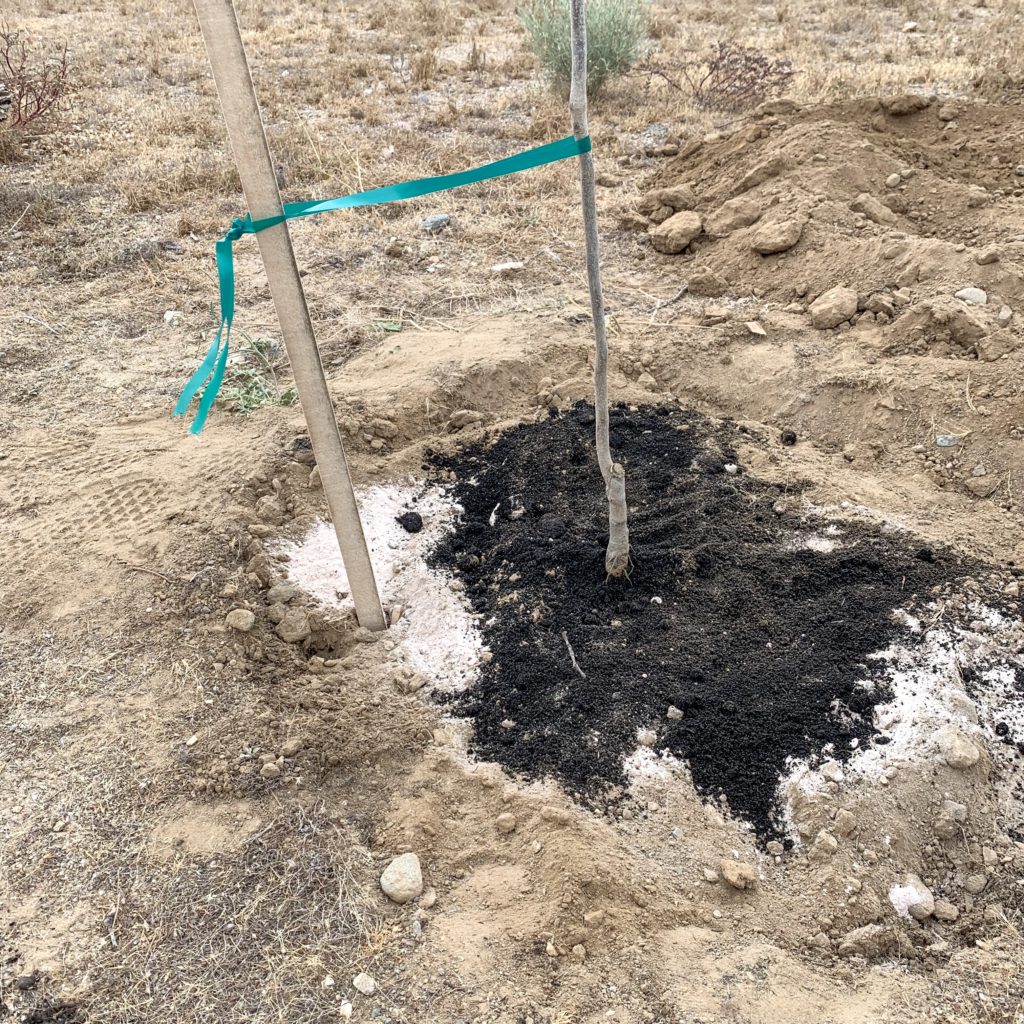
    How to get started cultivating a homestead with our farm setup.

    For some that dream feels impossible!

    The idea of getting back to the farm and enjoying the simpler things life has to offer is increasingly growing, but for some that dream feels impossible! I’m here to share how we got started with our small backyard farm and how you can too with little or no yard at all.

    This post contains affiliate links, which means I make a small commission at no extra cost to you.

    Cultivating a farm here..

    My family and I live in the Southern California desert on 2 1/2 acres and you maybe thinking I wish I had that much land or the short winters. Both of them are nice but it didn’t always seem possible to start cultivating a farm here, right where we are.

    This became a big block in the road for me.

    The desert is dry, meaning there is no grass and very little shade for animals. We don’t have meadows and creeks for the animals to graze. This became a big block in the road for me. I felt like we had to move in order to have the dream farm I desired, and although I still dream of this vision of a farm with green meadows and streams, I didn’t have to move to start cultivating a farm.

    You can start right where you’re at.

    Let’s also talk about land for a minute. I have heard many times that someone doesn’t have enough land to start a farm. My response to that is similar to the above paragraph. You may not have the land you want for your dream farm, but you can start right where you’re at.

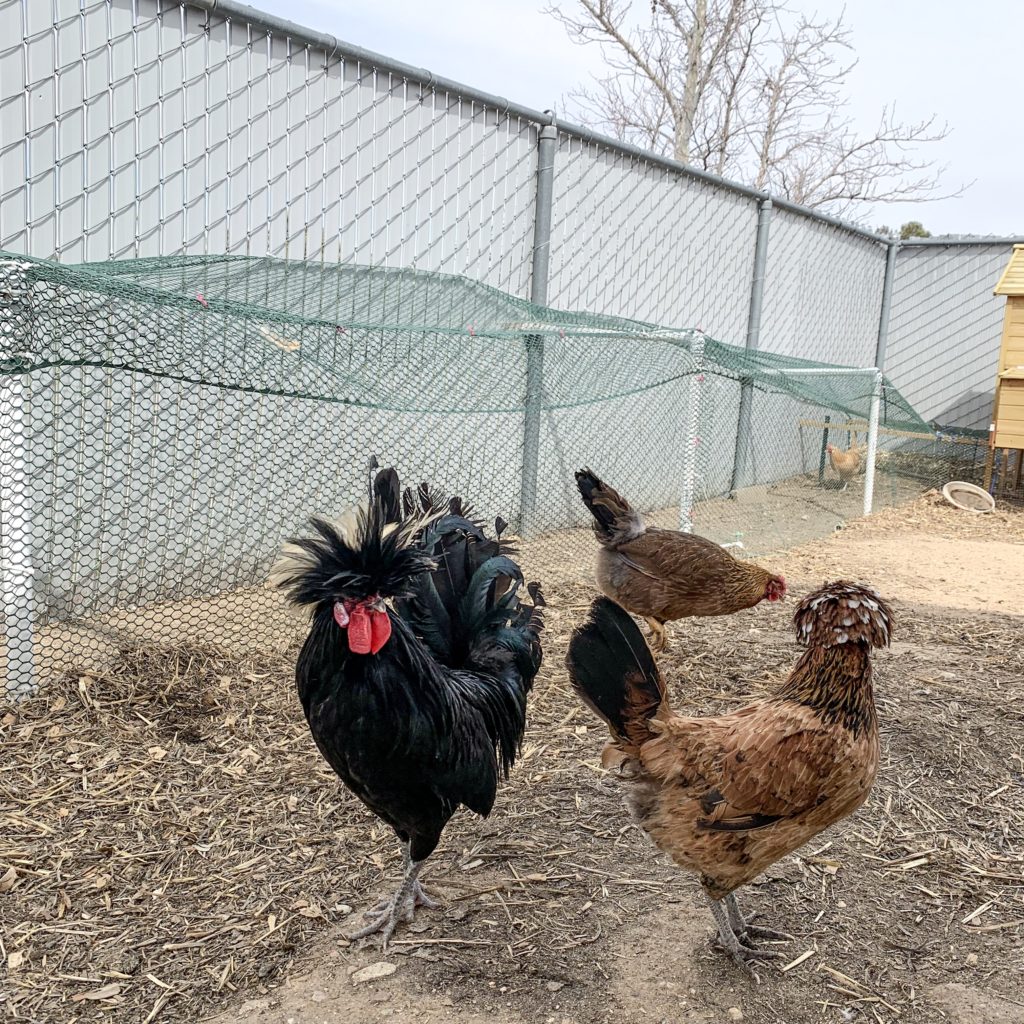
    Our chickens and ducks started in a tractor supply coop that turned into two coops, then 3 coops and a run. Now they free range our larger backyard and go in a small fenced in coop at night.

    It can be as simple as..

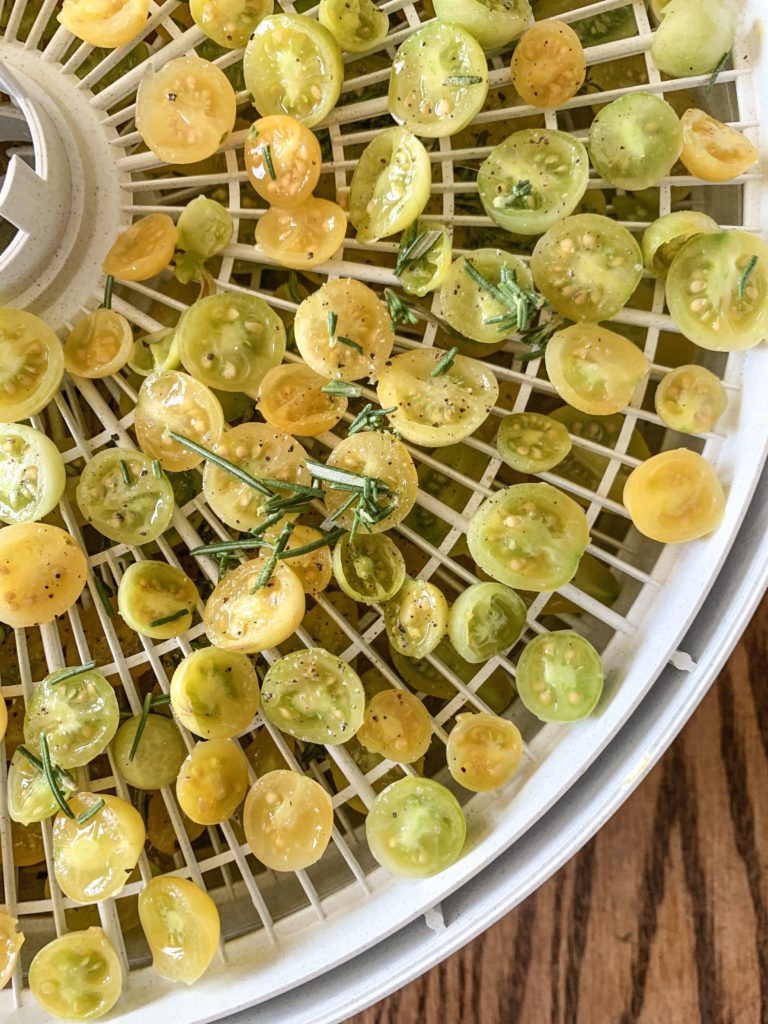
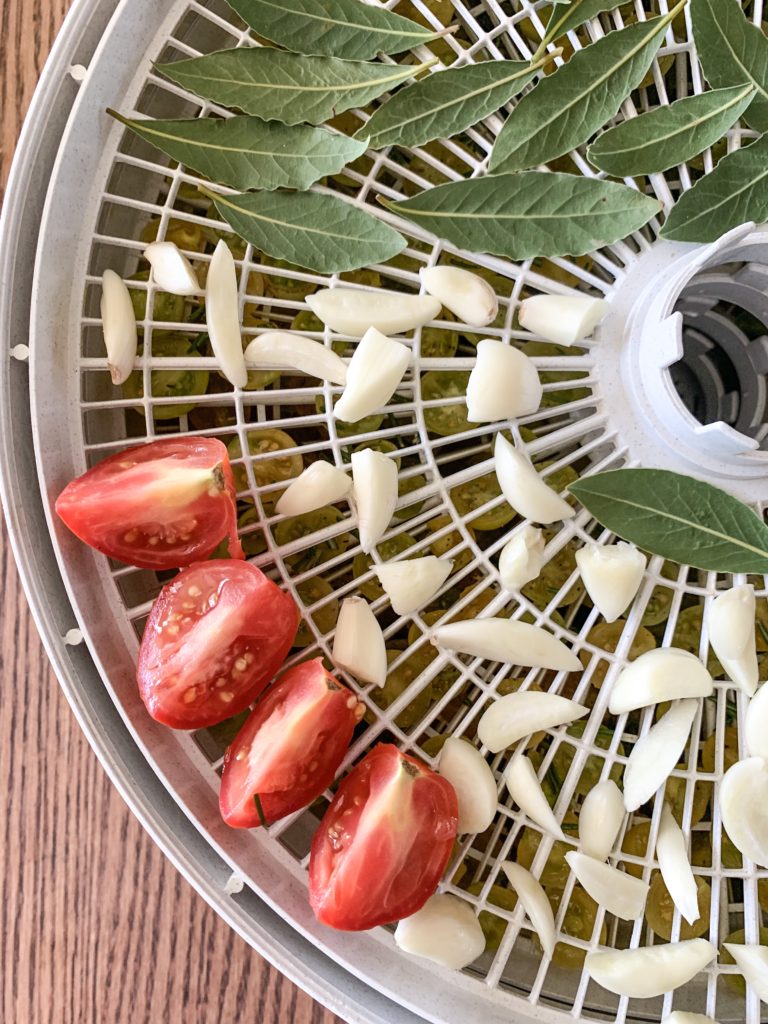
    A farm doesn’t have to have fields of veggies growing and every barnyard animal you can think of. It can be as simple as lettuce or tomatoes growing on your apartment balcony and eggs from your local farmer. Or a small coop with 2 laying hens.

    Support other local farmers.

    Start right where you are and support other local farmers. Get connected with them and tour their farms. Start learning the skills needed to cultivate your dream farm, and when the opportunity comes you’ll be ready for your version of a dream farm!

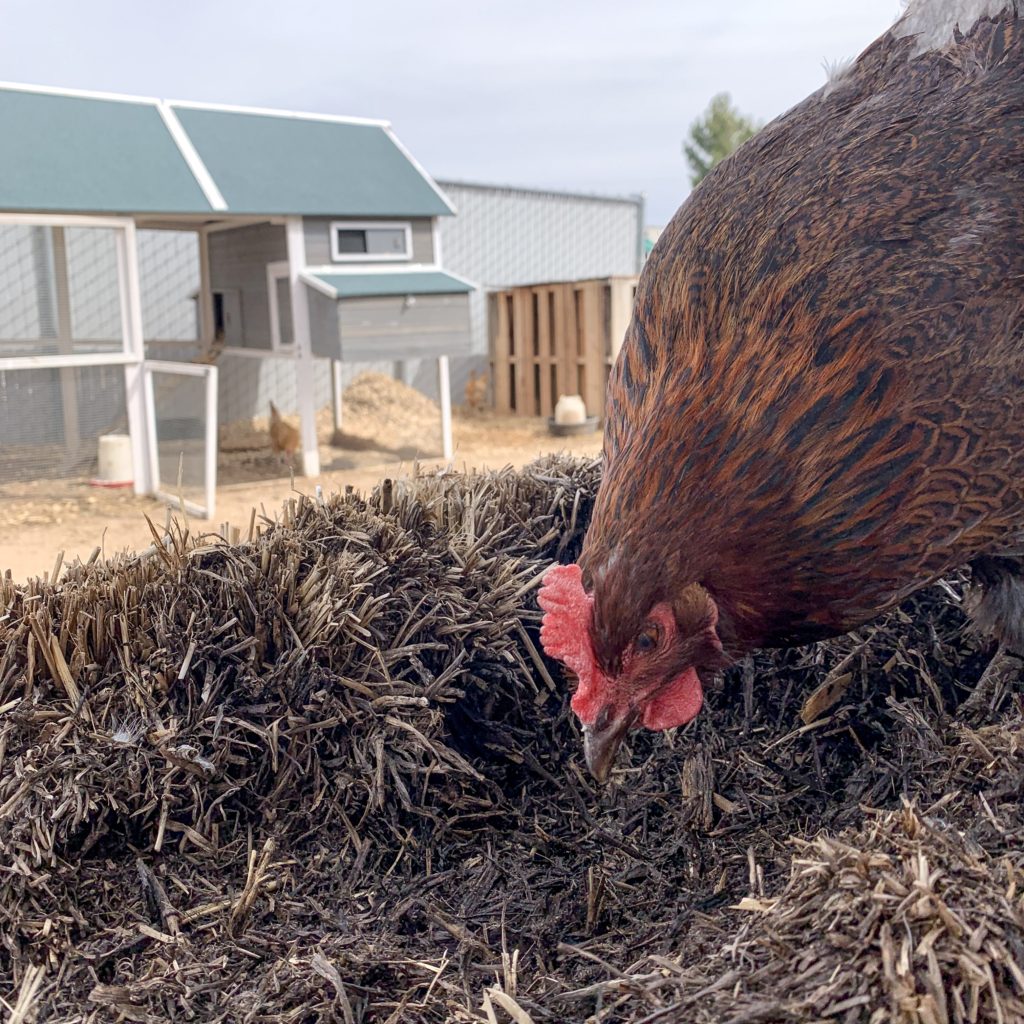
    A look into our farm setup.

    Here’s a look into our farm setup. Starting with one small tractor supply coop was cost effective for us and because we already had one coop, it made since to buy another and link them together. After the chickens out grew the two coops, it was time to get a third coop.

    I loved baby chicks so much that eventually our chickens out grew the 3 coops and it was time to add a chicken run. Please note hubby wasn’t always as enthusiastic as I was to do some coop redecorating! (laughing emoji here!) Now they are in our larger backyard, where they free range.

    We started small and grew from there. The take away…. Start! You’ll learn so much along the way and the process is so much more rewarding then the destination!!

    PIN IT FOR LATER!!!

  • How To Use Up Extra Garden Tomatoes

    How To Use Up Extra Garden Tomatoes

    Do you have more tomatoes than you know what to do with? Today I am sharing how I use up extra garden tomatoes.

    With summer comes tomatoes and lots of them.

    If your like me and don’t necessarily like eating tomatoes straight from the garden or you have way more than you can eat, then this post is for you.

    This post contains affiliate links, which means I make a small commission at no extra cost to you.

    I had so many tomatoes, I couldn’t give them away fast enough.

    Each day I was getting bowls full. I started giving them away, but I still had so many in the fridge I knew I couldn’t eat. Knowing nothing about how to make spaghetti or marianna sauce, I thought what about sun dried tomatoes! That’s pretty simple and they’re delicious.

    I pulled out my dehydrator and the bowls full of tomatoes from the fridge, then began slicing away. I found myself walking out to the garden looking for more. More tomatoes, more herbs, searching for anything else to add to the dehydrator.

    It couldn’t be more simple.

    Slice small tomatoes in half, medium tomatoes in fourths, and larger tomatoes in six or eight slices. Be sure to slice the tomatoes evenly so they each dry in the same amount of time. Place tomatoes on dehydrator wracks, sprinkle with salt, pepper if you’d like, and top with fresh herbs of choice. I used rosemary and added halved garlic cloves.

    Allow tomatoes to fully dry on the “fruit and vegetable” setting overnight or up to 24 hours. Store in a plastic ziplock bag/air tight container up to 6 months or in the fridge with olive oil for 2 weeks. Canning is another option that will give you a longer shelf life.

    PIN IT FOR LATER!

    As summer is quickly coming to an end and the thought of warm bread and hot soups enter my mind, I decided it was a good idea to pick some bay leaves to add to the dehydrator too. Now I’m on a dehydrator kick!

    What will you add to your dehydrator next?

  • Becoming A Backyard Bee Keeper

    Becoming A Backyard Bee Keeper

    Becoming a bee keeper and owning a backyard hive.

    Talk with a local bee keeper.

    Visiting my farmers market, I tried some delicious honey and got to talking with a local bee keeper. He was able to share enough information with me that made me question everything I had assumed about bees. After some research myself, I convinced my husband to let me buy a hive.

    What stood out the most was collecting our own honey!

    Don’t get me wrong, there was a lot of fear of being stung, the hive swarming, or one of our family members being allergic to a bee sting. We considered all the possibilities and what stood out the most was collecting our own honey.

    Our local bee keeper was able to give us a few lessons.

    Our local bee keeper was able to give us a few lessons on how to open the hive, what to look for and how to care for the bees. Not to mention the endless Youtube videos we watched.

    Just watch the Bee Movie.

    It took some time before I was able to call bee keeping relaxing, but there truly is something so peaceful about a colony of bees working together. Protecting the queen, caring for the young, building wax cells, filling them with honey, and bringing in pollen. We laugh because the Bee Movie is one of our favorites and it’s just so accurate.

    What are some things that you believe about bees that maybe keeping you from purchasing a hive?

  • 4 Simple Ways To Keep Your Garden Rodent Free

    4 simple ways to keeping a rodent free garden.

    grow your own food cheap and easy diy raised garden bed

    Something I get asked about often is how do we manage rodent control. I know different states and cities have different rules so I have compiled a list of ideas to consider.

    This post contains affiliate links, which means I make a small commission at no extra cost to you.

    #1 Fencing

    We added a Simple DIY privacy fence around our raised bed garden to keep out the local rabbit and squirrel population. When we bought our house the smaller backyard fence already had slats installed, which also helps keep the rodents from squeezing through or climbing over the fence and getting to our fruit trees.

    DIY Privacy fence, rodent control, fence, garden fence, rodent free, rodent free garden

    #2 Traps

    A few years ago we had a family of rats that decided to make there home in our garage and attic. Family suggested we put a marshmallow on top of the rat trap. To my surprise it worked almost instantly. Occasionally we catch a rabbit or squirrel, and a few birds. We also invested in a one door animal trap. Check your city and states rules about catch & release, as well as catch & kill rules.

    # 3 Pellet Gun

    If you live in a more rural part of town and the laws permit you can also use a pellet gun to get rid of the rodents in your yard.

    # 4 Cats

    Another great option is getting barn or outside cats. Consider getting them when they are kittens so they understand not to attack your chickens and other small birds. Also you may want to keep in mind they can turn your raised beds into a litter box. Plus we learned that cats invite other cats from the neighborhood over, and thats a whole lot of extra feed.

    Pin It For Later!

    What methods do you use to keep rodents out of your garden?

  • How To Plant A Fruit Tree

    How To Plant A Fruit Tree

    How to plant a fruit tree in 5 easy steps. A step by step photo tutorial for planting fruit trees.

    Planting fruit trees is one of the best investments for your homestead and in my opinion one of the first steps in cultivating a sustainable lifestyle. Before planting that beautiful vegetable garden I hope you will consider adding fruit trees to your landscape. I know we regret not planting our fruit trees sooner!

    This post contains affiliate links, which means I make a small commission at no extra cost to you.

    Using a pick axe or shovel start digging.

    First you’ll want to consider proper sunlight, wind protection and irrigation. Keep in mind the saying “out of site, out of mind.” Once you have your new trees location, start digging. Using a pick axe or shovel dig a hole 2 to 3 times wide and deeper than the pot it came in.

    Mix 50% native soil with 50% composted mulch.

    Mix 50% native soil with 50% composted mulch. Mix well. Partially back fill hole with 50/50 mixture, so that the tree sits on top of soft and healthy soil. Sprinkle 1 tbsp Myco Bliss Organic Mycorrhizal Fungi (5 Endo Mycorrhizae Species Mix) for Plants (Powder, 2 lb) on top of 50/50 mixture.

    Sprinkle 1 tbsp mycorrhiza.

    Take the tree out of its pot and place on top of mycorrhiza + 50/50 soil mixture. Make sure that the top of the tree soil is level with the ground soil before back filling the hole.

    Add a 2 inch layer of compost, few handfuls azomite, and few handfuls of worm castings

    Back fill with the remaining 50/50 soil mixture. In no specific order add a 2 inch layer of compost, few handfuls Root Naturally Azomite Rock Dust – 10 Pounds, and few handfuls of Wiggle Worm WWSB30LB Unco Industries Builder Worm Castings, 30 lb Compost, Soil, 30-Pound. Then add approximately 6 inches of mulch. Anything will do, grass clippings, wood chips, pine needles or leaves. Be sure to keep mulch away from the trees trunk.

    With leftover dirt make a well or berm around the trees drip line.

    With leftover dirt make a well or berm around the trees drip line(Furthest tree branches). You’ll want to water your tree right away with 4 times the amount of water then the pot it came in. For example, if your tree came in a 5 gallon pot, then it needs 20 gallons of water. We also like to add 1 oz of Neptune’s Harvest FS191 Hydrolized Fish & Seaweed at the time of watering.

    Pin it for later!!!

    What fruit trees will you add first?