Author: Tara Philipp

  • How To Get Started With A Sourdough Starter

    How To Get Started With A Sourdough Starter

    Sharing how to get started with a sourdough starter.

    A starter is used to break down grains using a fermentation progress. Once you have an active sourdough stater, you will use it to help all of your bake goods rise, such as bread and muffins.

    This post contains affiliate links, which means I make a small commission at no extra cost to you.

    To get started, you’ll need:

    A non-metal bowl, I use glass & spatula

    Flour

    Orange Juice

    Water

    Day 1:

    Add 2 tablespoons fresh orange juice and 2 tablespoons flour. Cover with a tea towel.

    Day 2:

    Add 2 tablespoons fresh orange juice and 2 tablespoons flour. Cover with a tea towel.

    Day 3:

    Add 2 tablespoons fresh orange juice and 2 tablespoons flour. Cover with a tea towel.

    Day 4:

    Scrape away the crusty top if you can, disregard if your starter hasn’t formed a crusty top layer. (I notice this more in the hotter months.) Stir down your sourdough starter. Measure 1/4 cup starter and discard the rest. **Note: This is not active starter, so you don’t want to try making any recipes with it. To the 1/4 cup starter, add 1/4 cup filtered water and 1/4 cup flour. Cover with a tea towel.

    Day 5-14:

    Repeat day 4! Scrape away the crusty top if you can, disregard if your starter hasn’t formed a crusty top layer. (I notice this more in the hotter months.) Stir down your sourdough starter. Measure 1/4 cup starter and discard the rest. **Note: This is not active starter, so you don’t want to try making any recipes with it. To the 1/4 cup starter, add 1/4 cup filtered water and 1/4 cup flour.

    **Note: For a thicker less runny starter, add a tablespoon or 2 more of flour. During the summer months I feed my starter, morning and night, to prevent hooch from forming. If hooch(a liquid) appears on top discard before stirring.
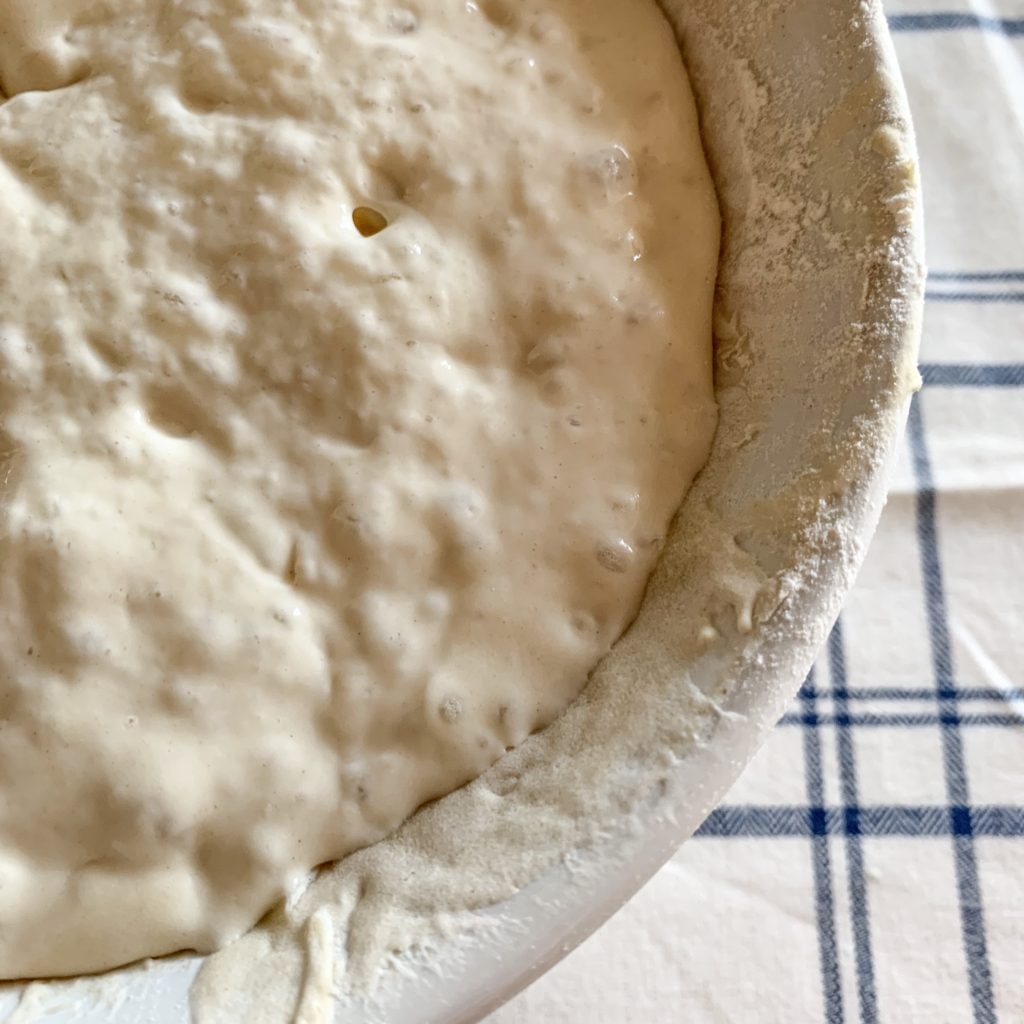
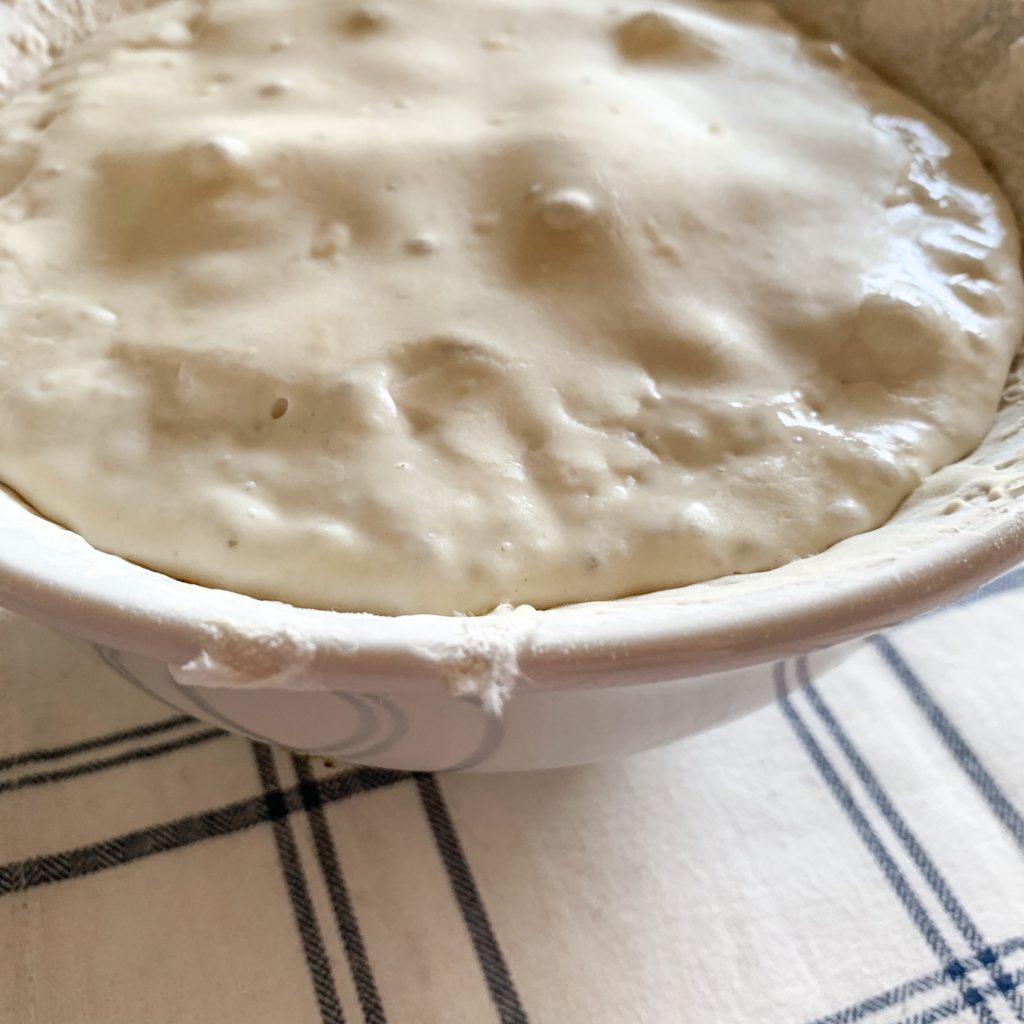
    Day 14:

    Your starter should be bubbly and active.

    Now that your sourdough starter is active you will continue feeding it daily to insure the starter stays alive and active. If you don’t plan on using it in the next few days or weeks, give it a feeding & place in the fridge with a lid. Your starter can go a few months without a feeding. Although if you noticed a liquid on top of the starter, called hotch, its time for another feeding. That just means the yeast and bacteria are dying off. However if you notice mold, throw it out and start again.

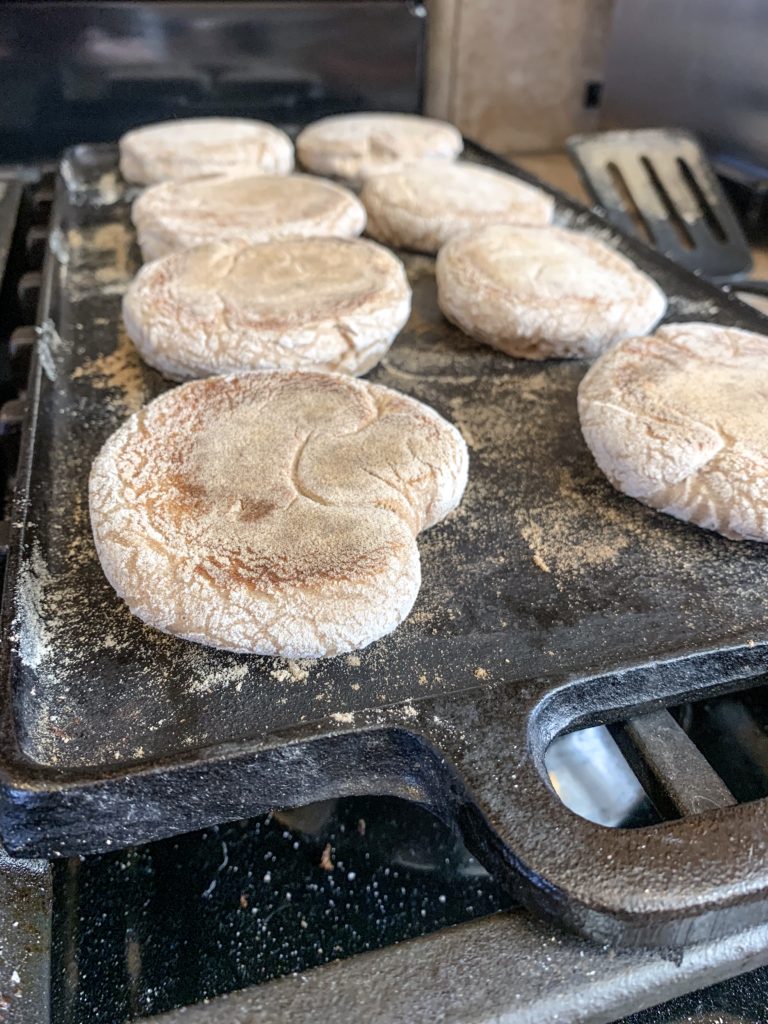
    Our cast iron set is one of our most used kitchen essentials because of how easy they are too clean, not to mention the health benefits. I love this set because it comes with a variety of different pots, pans, skillets and a griddle.

    I love using the dutch oven for soups or sourdough bread making. Our skillet is probably the most used, with breakfast, lunch and dinners throughout the week. My flat skillet cooks up our pancakes and English muffins. While the griddle is great for burgers, steaks and grilled sandwiches.

    PIN IT FOR LATER!!!

    Check out my Instagram highlights for a video tutorial!

  • The Alternate Corkscrew Stitch

    The Alternate Corkscrew Stitch

    Crochet basics- new stitch techniques, featuring the alternating corkscrew stitch.

    I found myself so frustrated with back loop only stitches..

    I found myself so frustrated with back loop only stitches when I was working on a pattern that had ribbing. I would tell close crochet friends how one day I would find a stitch that worked through more than one loop and still created a beautiful ribbing effect.

    I think what bothers me the most about this stitch, is how it stretches out the yarn by pulling on the back loop. Tugging on the back loop only creates a lift on that loop and bunching up the rest of the stitch. I needed something with a little more structure but wanted to keep the ribbing texture.

    I decided to test out a series of different stitches..

    I decided to test out a series of different stitches until I came up with a few different ribbing textures I knew I’d use for future projects. This one being my favorite for sweater ribbing, the Alternating Corkscrew Stitch, ACS.

    The Alternating Corkscrew Stitch (ACS)

    • Start by chaining however many stitches you need for your ribbing.
    • Half double crochet (hdc) across to create your first row. Chain and turn. Here is where you will start creating the ribbing effect by creating the alternating corkscrew stitch.
    • Yarn over and insert your hook through the back & third loop.
    • Yarn over and draw through both loops(back & third).
    • With three loops on your hook yarn over and pull through all three, like a half double crochet.
    • In the next stitch, half double crochet. Repeat alternating between the corkscrew stitch and a half double crochet.

    *I like to start the row with an alternating corkscrew stitch and end each row with a half double crochet.

    PIN IT FOR LATER!!

    P.s: If you’ve tried all of my alternatives to the back loop only stitch, leave a comment below and share your favorite stitch with me!

  • The Corkscrew Stitch

    The Corkscrew Stitch

    Crochet basics new stitch techniques, featuring the corkscrew stitch (CS).

    I found myself so frustrated with back loop only stitches..

    I found myself so frustrated with back loop only stitches when I was working on a pattern that had ribbing. I would tell close crochet friends how one day I would find a stitch that worked through more than one loop and still created a beautiful ribbing effect.

    I think what bothers me the most about this stitch, is how it stretches out the yarn by pulling on the back loop. Tugging on the back loop only creates a lift on that loop and bunching up the rest of the stitch. I needed something with a little more structure but wanted to keep the ribbing texture.

    I decided to test out a series of different stitches..

    I decided to test out a series of different stitches until I came up with a few different ribbing textures I knew I’d use for future projects. This one being my favorite, the corkscrew stitch. I love the idea of this stitch for all ribbing projects.

    The Corkscrew Stitch

    • Start by chaining however many stitches you need for your ribbing.
    • Half double crochet (hdc) across to create your first row. Chain and turn. Here is where you will start creating the ribbing effect by creating the corkscrew stitch (CS).
    • Yarn over and insert your hook into the back and third loop.
    • Yarn over again and draw up a loop.
    • With three loops on your hook, yarn over and draw through all three, like a half double crochet.
    • Repeat until you reach desired ribbing length.

    *If you have tried all of my back loop only alternatives, comment below with your favorite stitch.

    PIN IT FOR LATER!!

    What projects are you using the corkscrew stitch for?

  • Half Double Slip Stitch

    Half Double Slip Stitch

    Crochet basics with new stitch techniques, half double slip stitch HDSS.

    I found myself so frustrated with back loop only stitches..

    I found myself so frustrated with back loop only stitches when I was working on a pattern that had ribbing. I would tell close crochet friends how one day I would find a stitch that worked through more than one loop and still created a beautiful ribbing effect.

    I think what bothers me the most about this stitch, is how it stretches out the yarn by pulling on the back loop. Tugging on the back loop only creates a lift on that loop and bunching up the rest of the stitch. I needed something with a little more structure but wanted to keep the ribbing texture.

    I decided to test out a series of different stitches..

    I decided to test out a series of different stitches until I came up with a few different ribbing textures I knew I’d use for future projects. This one is probably my favorite when it comes to a cardigan, the Half Double Slip Stitch or HDSS.

    The Half Double Slip Stitch or HDSS.

    • Start by chaining however many stitches you need for your ribbing.
    • Half double crochet (hdc) across to create the first row. Chain and turn. Here is where you will start creating the ribbing effect by creating a half double slip stitch.
    • Insert your hook into the back loop only, yarning over and drawing up the second loop on your hook.
    • Now insert your hook through the whole stitch, front and back loop. **Note: you are working in the same stitch.
    • Yarn over and draw up your third loop on your hook.
    • Slip stitch your third loop through the second loop on your hook.
    • With two loops left on your hook single crochet. Repeat across for desired ribbing.

    PIN IT FOR LATER!!

    I hope you found this new stitch fun and plan on using it for all your future ribbing projects! P.s: If you’ve tried any my alternative stitches to back loop only, leave a comment below and let me know which one it your favorite!

  • Back Loop Foundation

    Back Loop Foundation

    Crochet basics, new crochet stitch. Back loop foundation crochet stitch.

    I found myself so frustrated with back loop only stitches..

    I found myself so frustrated with back loop only stitches when I was working on a pattern that had ribbing. I would tell close crochet friends how one day I would find a stitch that worked through more than one loop and still created a beautiful ribbing effect.

    I think what bothers me the most about this stitch, is how it stretches out the yarn by pulling on the back loop. Tugging on the back loop only creates a lift on that loop and bunches up the rest of the stitch. I needed something with a little more structure but wanted to keep the ribbing texture.

    I decided to test out a series of different stitches..

    I decided to test out a series of different stitches until I came up with a few different ribbing textures I knew I’d use for future projects. This one being my first stitch, The Back Loop Foundation or BLF. I love the idea of this stitch for sock ribbing. Finishing off the last few rows of your sock with this stitch will add texture and bunched, layered look.

    The Back Loop Foundation or BLF.

    • Start by chaining however many stitches you need for your ribbing.
    • Half double crochet (hdc) across to create your first row. Chain and turn. Here is where you will start creating the ribbing effect by creating a back loop foundation.
    • Inserting your hook into the back loop only, yarn over and draw up a loop, you should now have 2 loops on your hook.
    • Insert your hook into the whole hdc stitch, front and back loop. **Note: you’re working in the same stitch.
    • Yarn over and draw up your 3rd loop on your hook.
    • Yarn over again and draw through all 3 loops, just like a half double crochet.

    Basically it’s a half double crochet.

    Basically it’s a half double crochet, the only difference is at first you’re going through the back loop only in order to add that 2nd loop to your hook. This gives a simple ribbing effect, but also the foundation of working through 2 loops.

    PIN IT FOR LATER!!

    What projects are you working on, using the back loop foundation stitch?