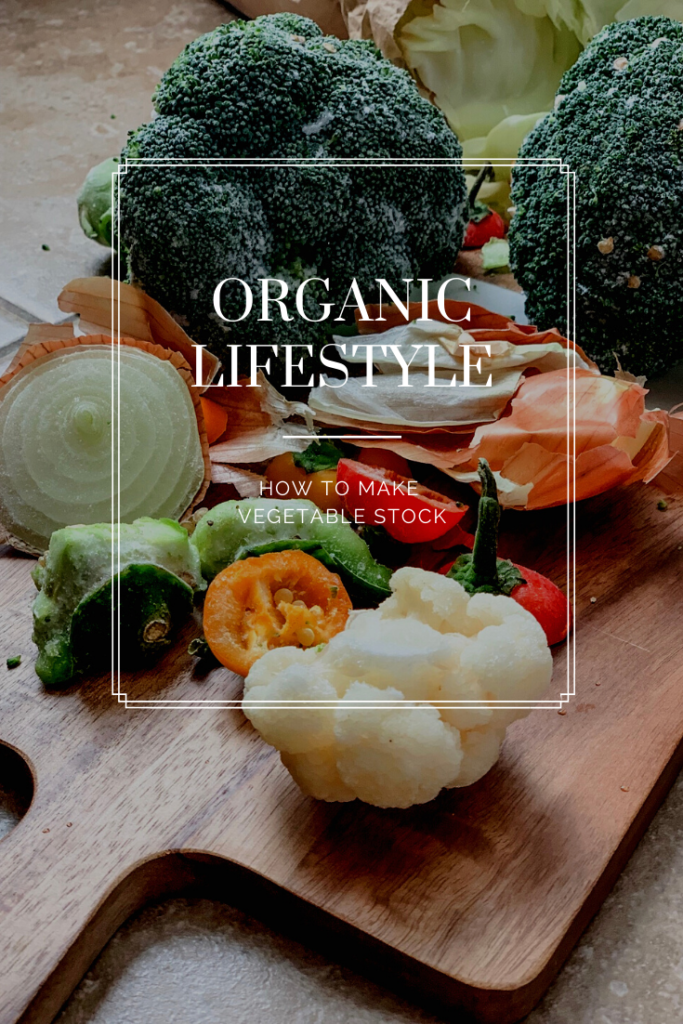
A super simple and no waste recipe for making your own vegetable stock.
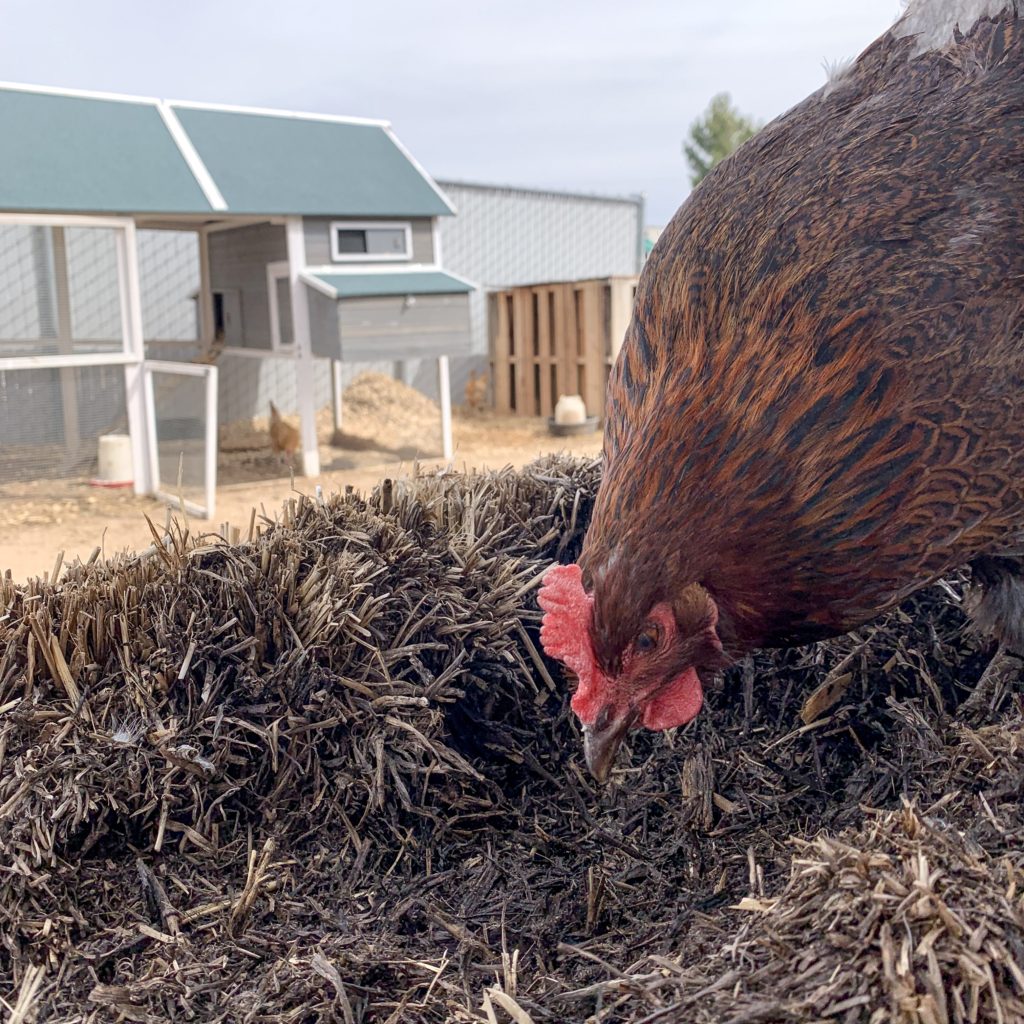
It’s sad really, how much is throw away or even offered to our hens, only to find that they didn’t eat it.
The more our family works hard to cultivate a homestead and moves towards an organic lifestyle, the more I learn about how much we waste. It’s sad really, how much is throw away or even offered to our hens, only to find that they didn’t eat it.
This post contains affiliate links, which means I make a small commission at no extra cost to you.
My only excuse was that we eat chicken and beef stock. I hardly buy vegetable stock.
I’ve realized owning chickens is not like owning a pig, they don’t eat everything. Our old mini pig Ella would eat anything, including banana peels. A friend suggested instead of throwing out our vegetable scraps, simply freezing them in a paper bag for vegetable stock. My only excuse was that we eat chicken and beef stock. I hardly buy vegetable stock.
Pretty soon I was pulling it out of the freezer to add more and more scraps.
One day I noticed we hadn’t eaten a full bag of carrots or celery and I was bummed to throw them out. Knowing that the chickens wouldn’t eat them. So I threw them in the freezer and then started a vegetable scrap brown paper bag. Pretty soon I was pulling it out of the freezer to add more and more scraps.
Now I just have to find more ways to use vegetable stock in our home.
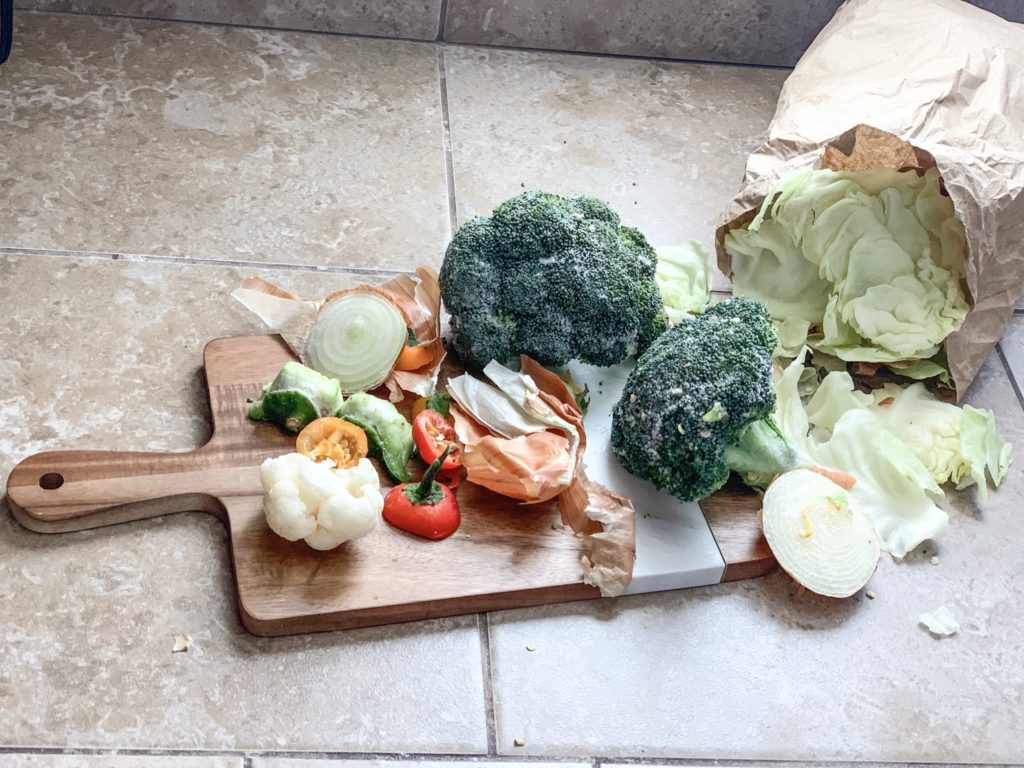
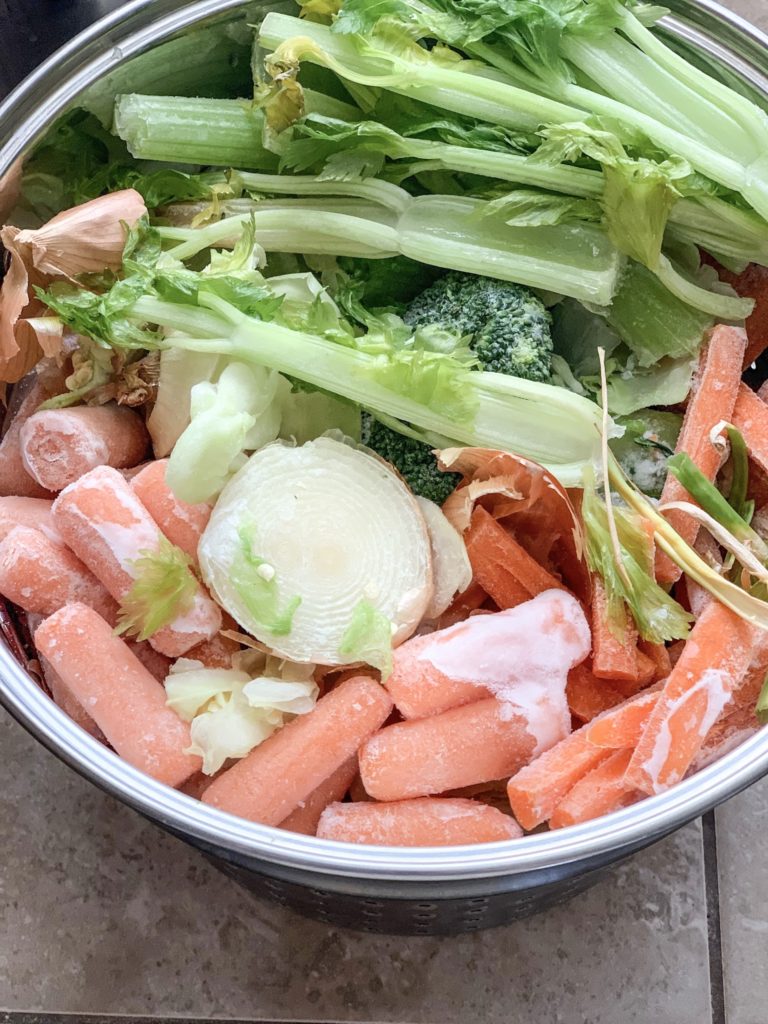
Onion tops, bell pepper heads and seeds, cauliflower and cabbage leaves. Broccoli stocks, carrots, celery, sweet pepper and jalapeño tops. It quickly turned into an obsession and a full freezer. Now I just have to find more ways to use vegetable stock in our home.
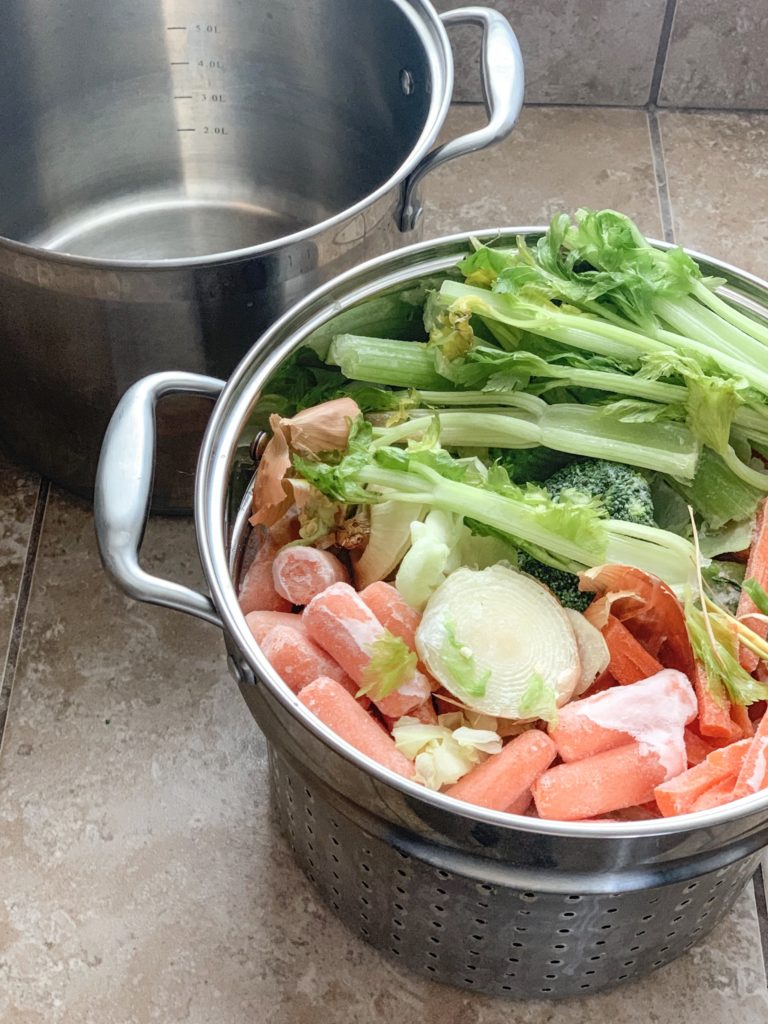
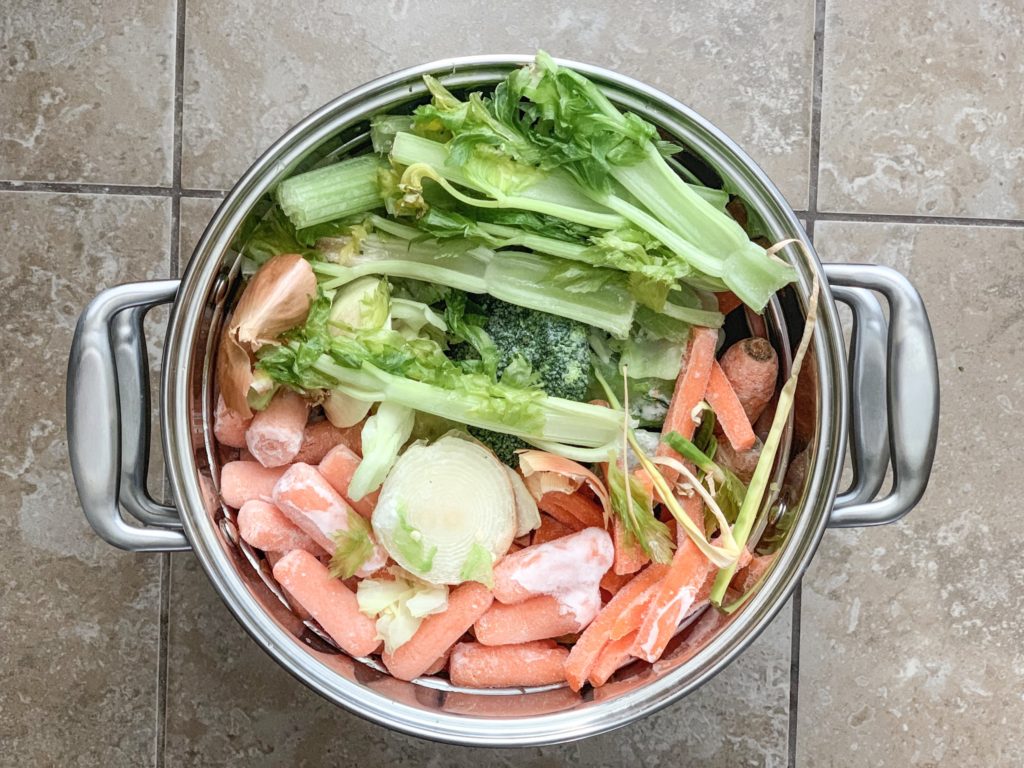
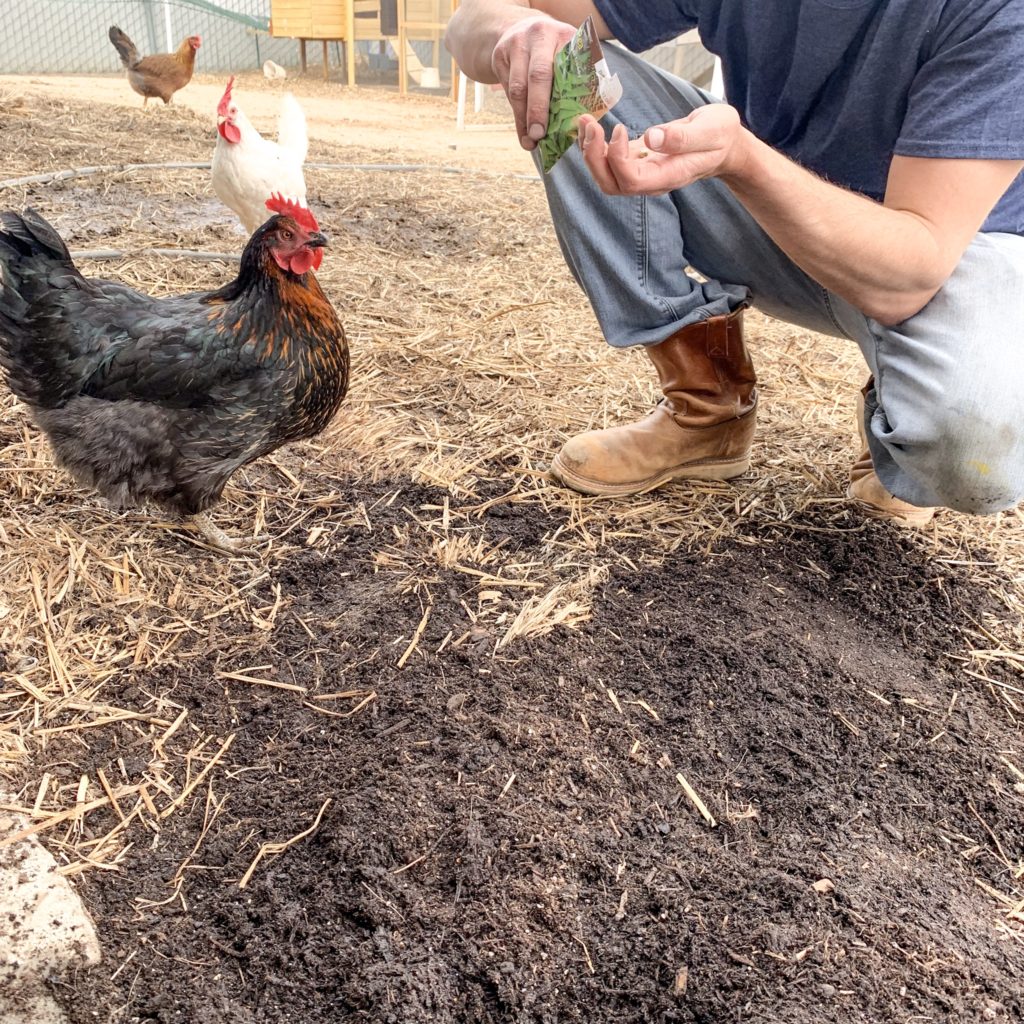
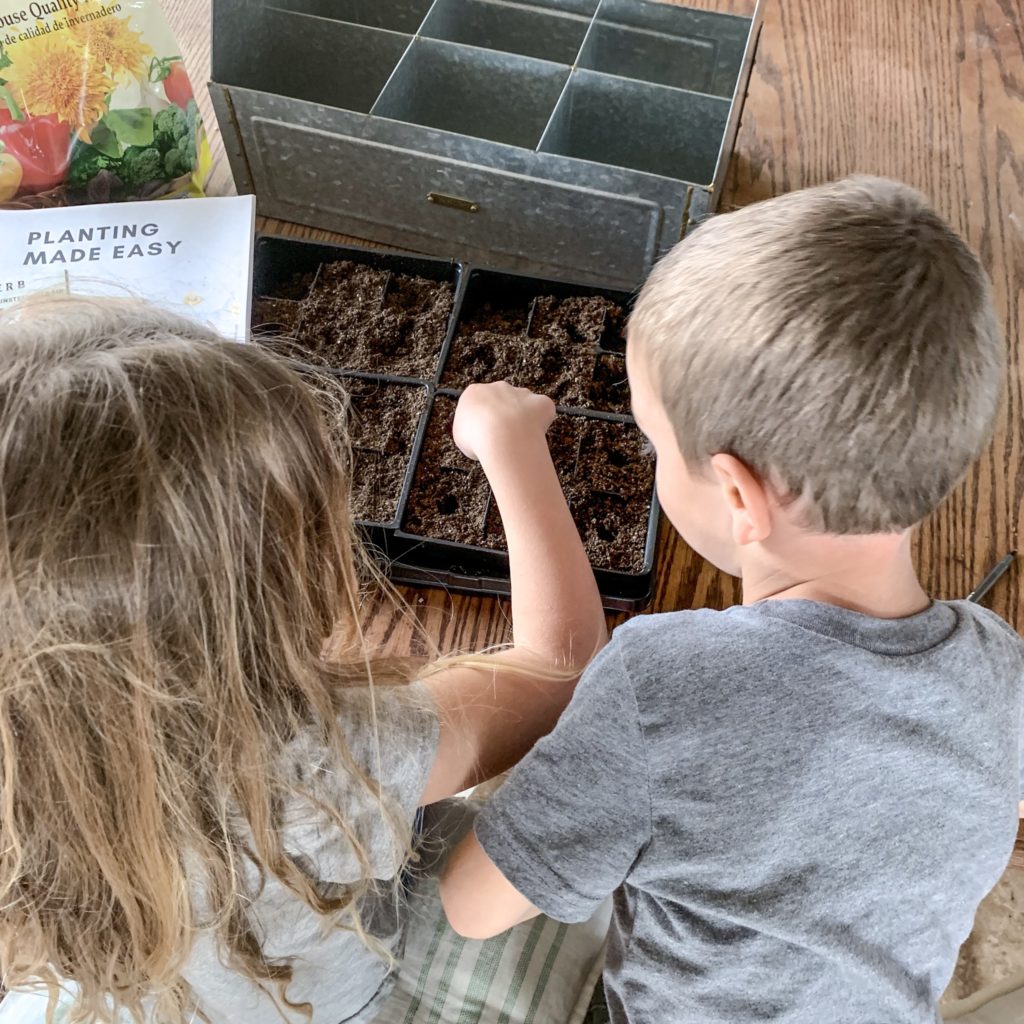
Once you have enough vegetable scraps, place them in a large soup pan and fill with water.
To make your own vegetable stock, start freezing all of your vegetable scraps or fresh veggies that will go bad before you have the chance to eat them. Once you have enough vegetable scraps, place them in a large soup or stock pan and fill with water.
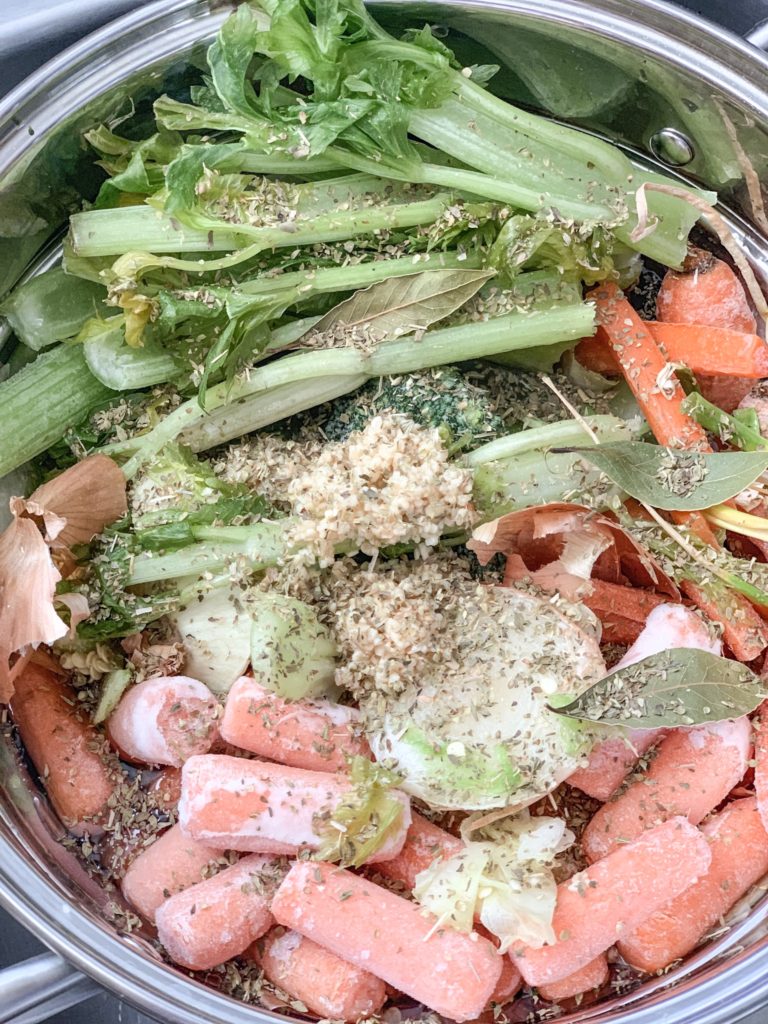
Stir regularly and enjoy!
You may add salt and pepper, garlic, bay leaves, or other herbs and spices. Bring to a boil and then turn down to low heat for approximately 2 hours. I like the color and flavor of the stock the longer it simmers on the stove. For a more flavorful stock, try to use a variety of vegetables not all of one kind. Stir regularly and enjoy!
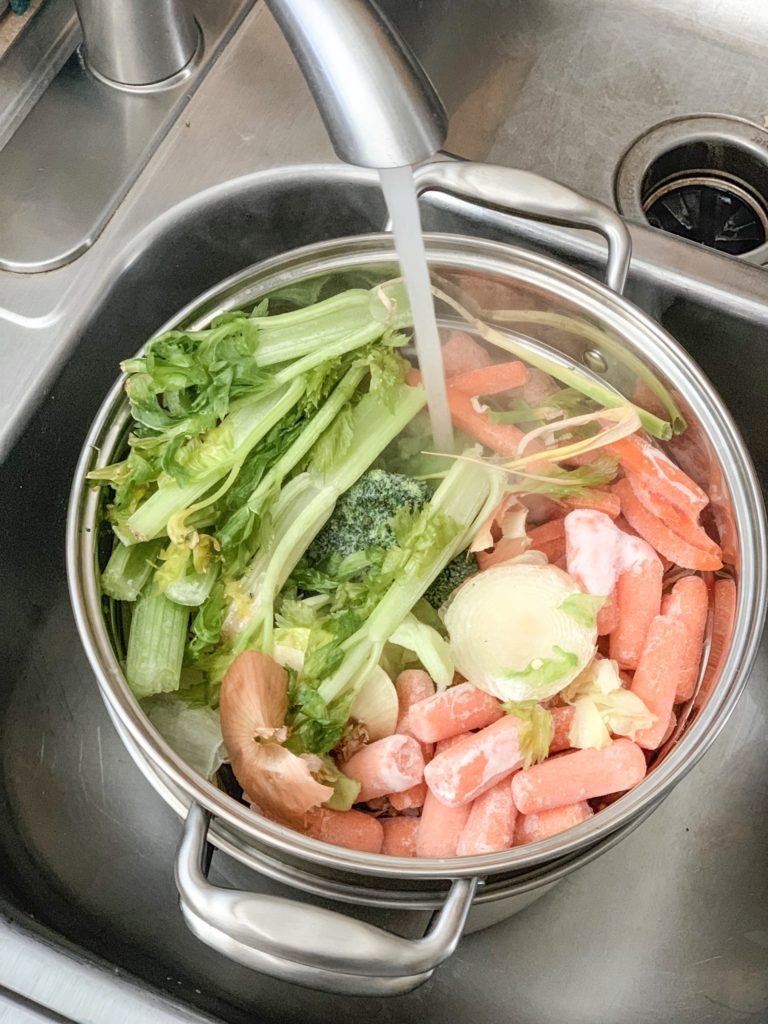
I absolutely love our large stainless steel set of pots and pans because of the large stock pot it came with! Making it so easy to remove all of the vegetable scraps without waiting for the stock to cool or worrying about burning myself as I strain the vegetables out.
Hi friends! I’m Sylvie, and I’m so happy to share another DIY with you guys this week! If you’ve missed out on my last guest post where I show you another simple DIY on making a garden twine jar for your seed exchange box, make sure to check it out! I also introduce myself, if you are wondering a little bit more about who I am.
When I first started gardening, I thought of it as growing plants and collecting bountiful harvests, but I soon realized that a garden is so much more than that. It requires nature to come into play, to attract bees, and butterflies which work to pollinate your plants to be able to harvest those tasty veggies!
The first year I started including flowers, I was surprised with so many bees, butterflies, hummingbirds, chickadees, gold finches, sparrows, and four little swallows that hover over the garden all summer long. Nature is so incredibly magical and I want to inspire others to bring nature into their gardens. One of the best ways to do that is to feed your pollinators! Flowers are food for all of those little friends you want to invite into your garden. Birds do eat those pesky insects in your garden, but why not give them a little treat by setting out some seeds? It may even help attract new birds to your garden as well!
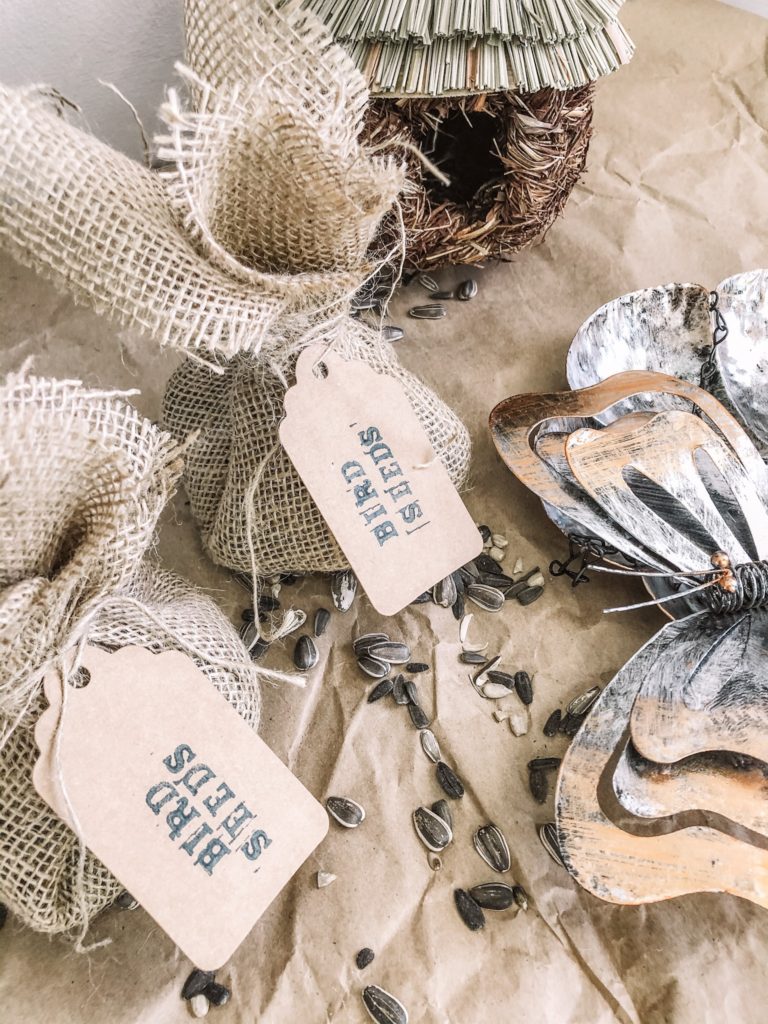
Including a bird feeder in your seed exchange box is also a great way to help your partner attract more birds into their garden. I’m going to share with you a quick and easy way to include a small bag of seeds to go with your bird feeder!
What you’ll need:
1 12×12-inch piece of burlap
A 10-inch piece of twine
A paper tag or label
Letter stamps
Ink pad or paint
Cut a piece of burlap according to size. You can also choose a bigger or smaller size depending on the amount of seeds you’d like to send! A 12×12-inch piece of burlap fits about 1.5 cups of seeds tucked inside.
Next, punch a hole in your tag. Take your stamps & ink or paint and write down anything you’d like to label your seeds with. Once it’s dry, loop your twine through the hole of your tag.
Lay your piece of burlap down and pour your seeds in the very middle. Take the opposite corners of the burlap and pull them up in the center, doing this with all four corners, and hanging on tight with one of your hands right above the seeds.
Grab your tag with the twine, and loop it around the bag a few times underneath where you are hanging onto it. Tie a couple knots, and you can also finish up with a bow!
Seed Exchange package guide for the homesteading partner.
A homesteads goal is to supply a families needs. Backyard chickens(egg layers and meat birds), raised garden beds, food from scratch and lots of homemade/handmade pieces, are all things you can find at a homesteading home. I compiled a small list of ideas that I think any homesteader would enjoy unboxing.
This post contains affiliate links, which means I make a small commission at no extra cost to you.
Hi friends! I’m so happy to have this little space on Tara’s blog to share with you a simple and easy DIY for your seed exchange partner!
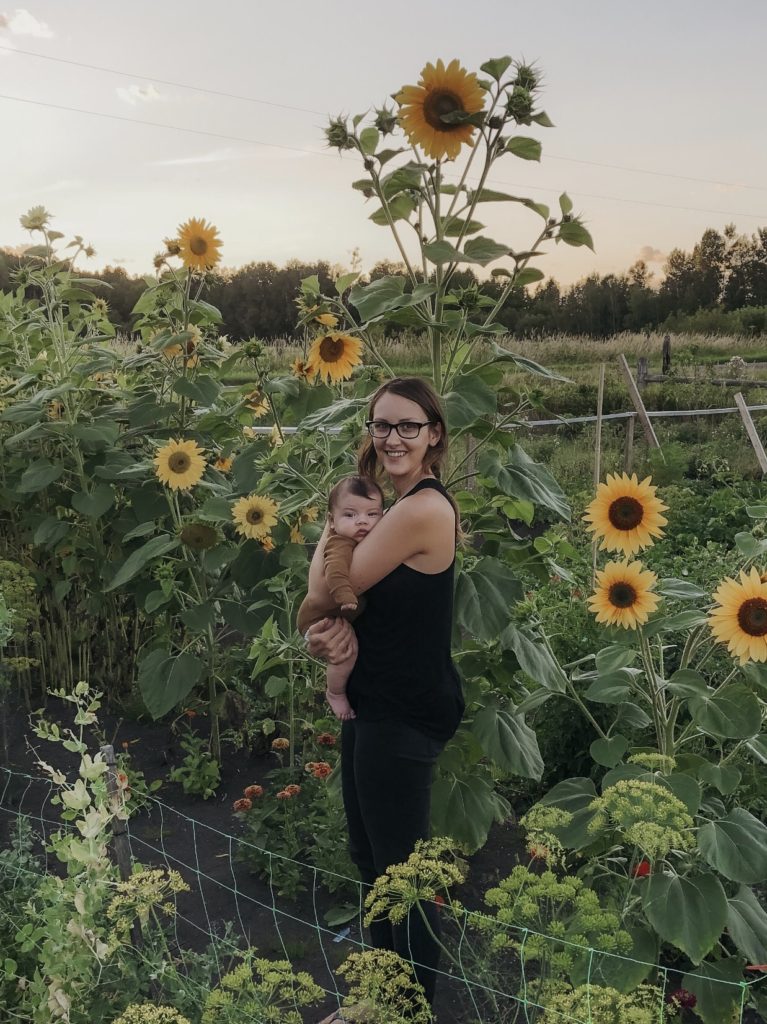
But first, I’m Sylvie! You can find me over at @smanderstrom where I share a piece of my everyday life in tiny squares. My little family and I live on a 1 acre homestead where we learnt that gardening is a hard labour of love. I spend most of my spring days starting tiny seedlings indoors and playing in the dirt prepping the soil of our 50×50 garden patch as well as a few garden beds. Our garden space grows every year as with my love for gardening and I can never seem to have a big enough garden!
In the summer I love waking up to the sunrise, grabbing a mug with what my taste buds are craving in the moment and heading out to the garden to take a stroll while the sun glimmers and sparkles on the dewy plants. If I’m lucky, I may even be joined by a couple hummingbirds that like to flutter around with my company. The sound of the bees buzzing and the beautiful morning light in my garden is the perfect way to start my day.
Before we dig in, Tara asked me to share my vision of a seed exchange box!
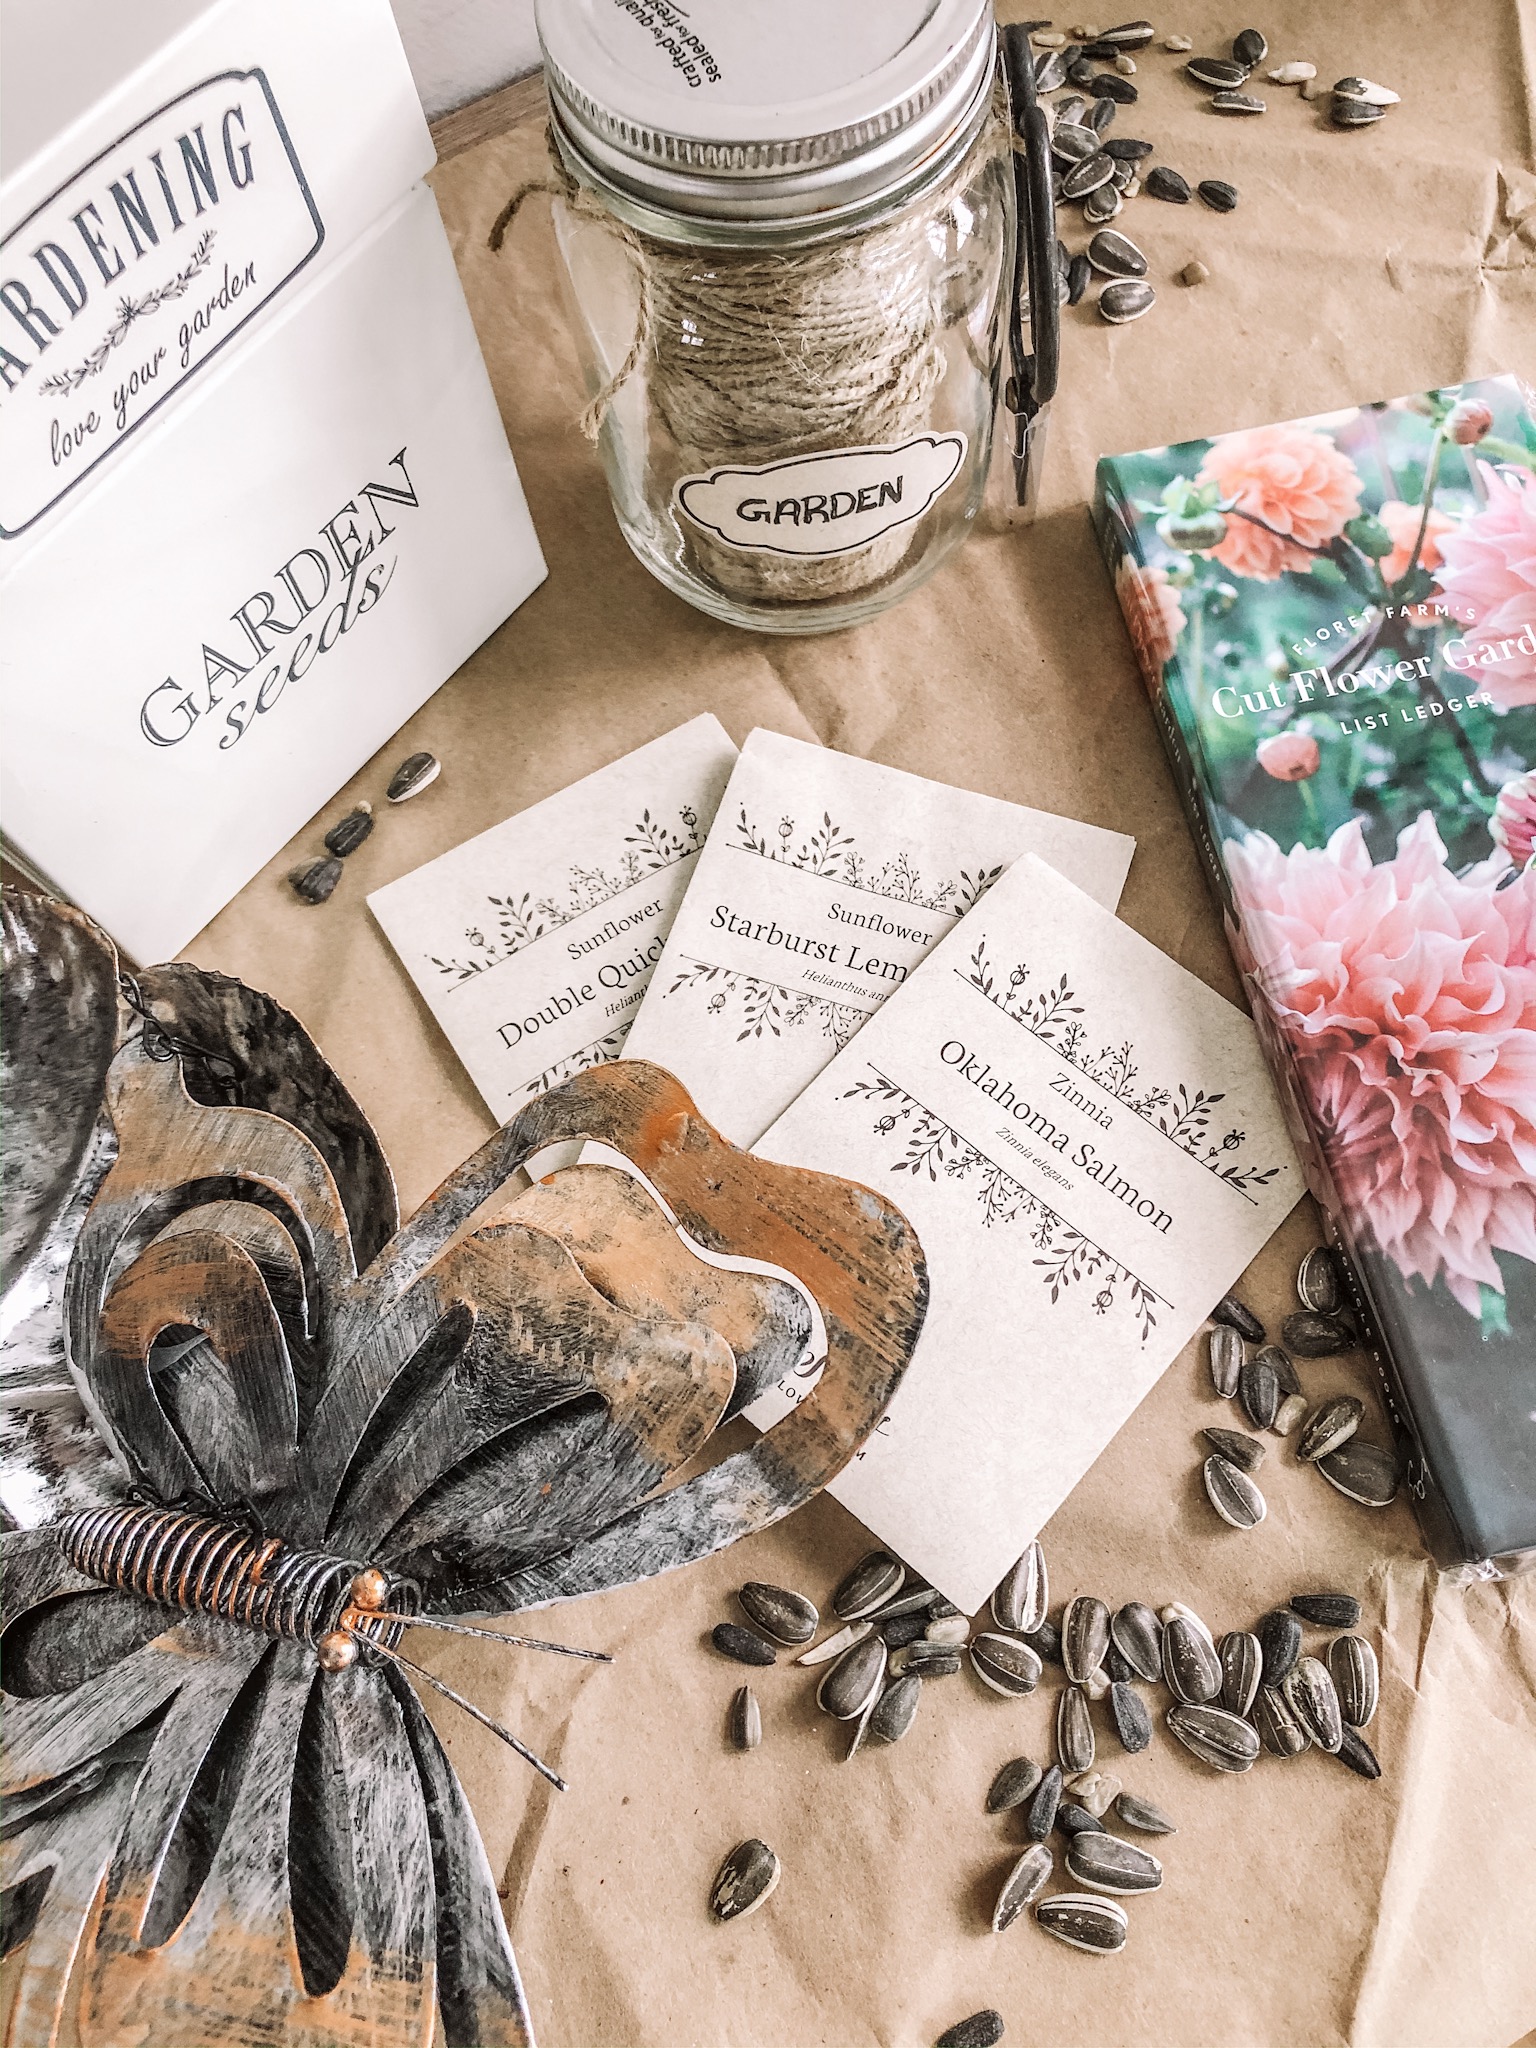
My vision of a seed exchange box is to include some of my favourite must have garden items that I use all season long, as well as a few other items to help your garden thrive with friendly pollinators. I couldn’t imagine my garden without bees, butterflies & birds and I’d love my partner to experience a garden full of life!
Flower seeds were the first to come to mind.
They are the perfect way to attract all beneficial insects as well as birds. Cosmos, sunflowers, and zinnias being some of my favourites and these cut flowers are so incredibly easy to grow, even for beginners! Floret (USA friends) & Stems Flower Farm (Canadian friends) have beautiful unique varieties of flowers to choose from!
If you’d like to add something a little more, why not add a few flower bulbs inside your box? Gladiolus are some of the easiest bulbs to grow and attract hummingbirds to the garden. They are incredibly beautiful and are one of my must-haves to plant every year!
A small seed tin is also great for storing a few seed packets.
I love to use this little tin to keep my seed packets dry when I make my way to my garden to direct seed. It also keeps them all in one place and if a package accidentally opens, I can find my seeds at the very bottom! I found this in a small local shop, but be sure to check out garden sections when you are browsing in stores!
A little notepad is great for the garden.
I love writting notes down whenever I check things out. I can take notes on how things are growing (which helps me better prepare for the following year), pests, or even things I need to do in the garden a little later. I picked this one up from Floret (on sale on Amazon right now!).
A bird feeder is a great little addition to your box.
A unique little idea that some may not think about, but what perfect way to attract those little flutterers to your homestead or local garden! You could even include a little bag of seeds to go along with it. I’ll be sharing a DIY on bird seed bags next week, make sure to check back!
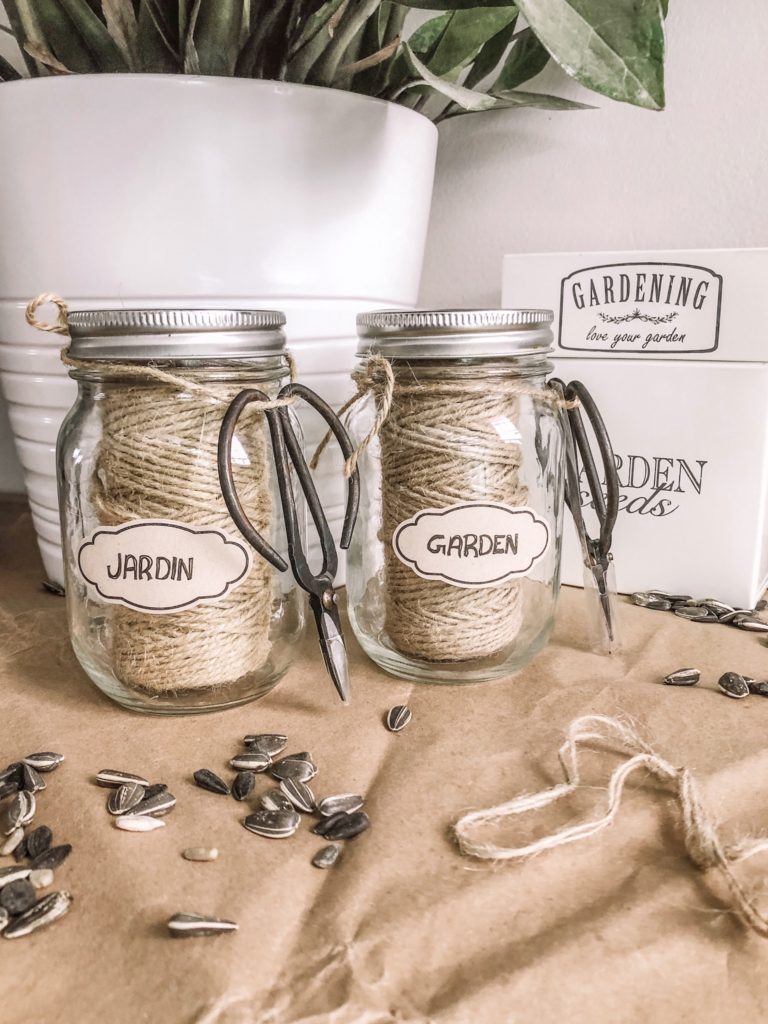
Garden twine.
Twine may not be all that fancy, but it is incredibly versatile in the garden and can be used in so many different ways! I love using it to keep track of my rows when I direct seed in the garden! I also use it to tie plants to stakes as they grow and you can even use it to trellis peas or beans. Read below on how to make your own garden twine jar!
DIY Garden Twine Jar
This twine jar accompanied with twine scissors in the perfect addition to toss into you garden basket when heading to your garden! What you’ll need:
1 mason jar
1 roll of twine
1 pair of twine scissors
Sticker labels
A fine tip marker
The first step is to punch a hole in your mason jar lid. I like to live on the edge a little and I used a star screwdriver. I did this by putting the lid down on a cloth (shiny side up), then punching a hole, but you could also use a drill. Make sure the whole is large enough to pass your twine through. You may also have to sand down the underside of the lid where you punched the hole, just to prevent the twine from tugging on the edges.
Next, cut a piece of twine from your roll long enough to wrap and tie you scissors around the rim of the jar.
You can choose to take the strand of twine and pass it through the hole you made in your lid then simply tape it down with decorative tape, or you can just place the roll inside the jar and tighten up the rim.
Loop your twine around your twine scissors and tie them around the rim.
The last step is to make a pretty little label for your jar. You can get as creative with this as you’d like! I just used simple jar stickers and hand wrote on my label with a marker.
Avery makes all kinds of labels that you can place in your printer and get creative with the templates. If you don’t have a printer, and can’t find sticker labels, you can make a pretty label that wraps around your jar with simple kraft paper. Handwriting your label will give it a pretty vintage look and you can tape it with pretty decorative tape at the back.
You can purchase all of these items to make this DIY from a craft store. Many of these items can also be found on amazon.
I’ve compiled a list of supplies that will get most seed starting gardeners excited. I hope these package ideas give you a boost of inspiration to create a box you believe your partner would enjoy.
This post contains affiliate links, which means I make a small commission at no extra cost to you.
You could add 4 seed packets from GrowOrganic.com at $3.99 each
Total $46.09
Each of thee seed starter kits meets the minimum requirement of 3 seed packets and $50 budget. If you’re a seed starter gardener share in the comments below some of your favorite tools to use.